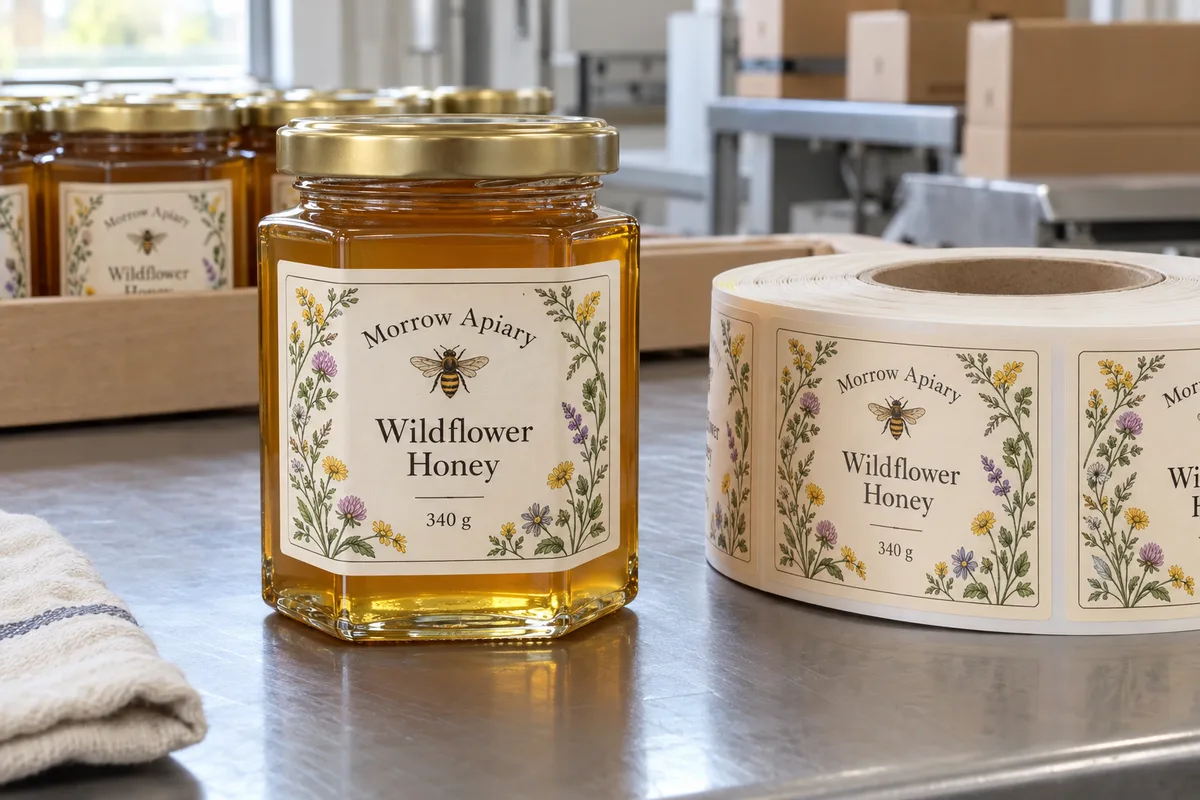
Honey Jar Labels: Measure the Flat Panel Before You Buy the Roll
Measure the usable glass panel, not the widest jar dimension.
Plan Honey LabelsBlog
Practical answers to label cost, material, size, artwork and production questions for food, beverage and wine packaging.
Measure the usable glass panel, not the widest jar dimension.
Plan Honey Labels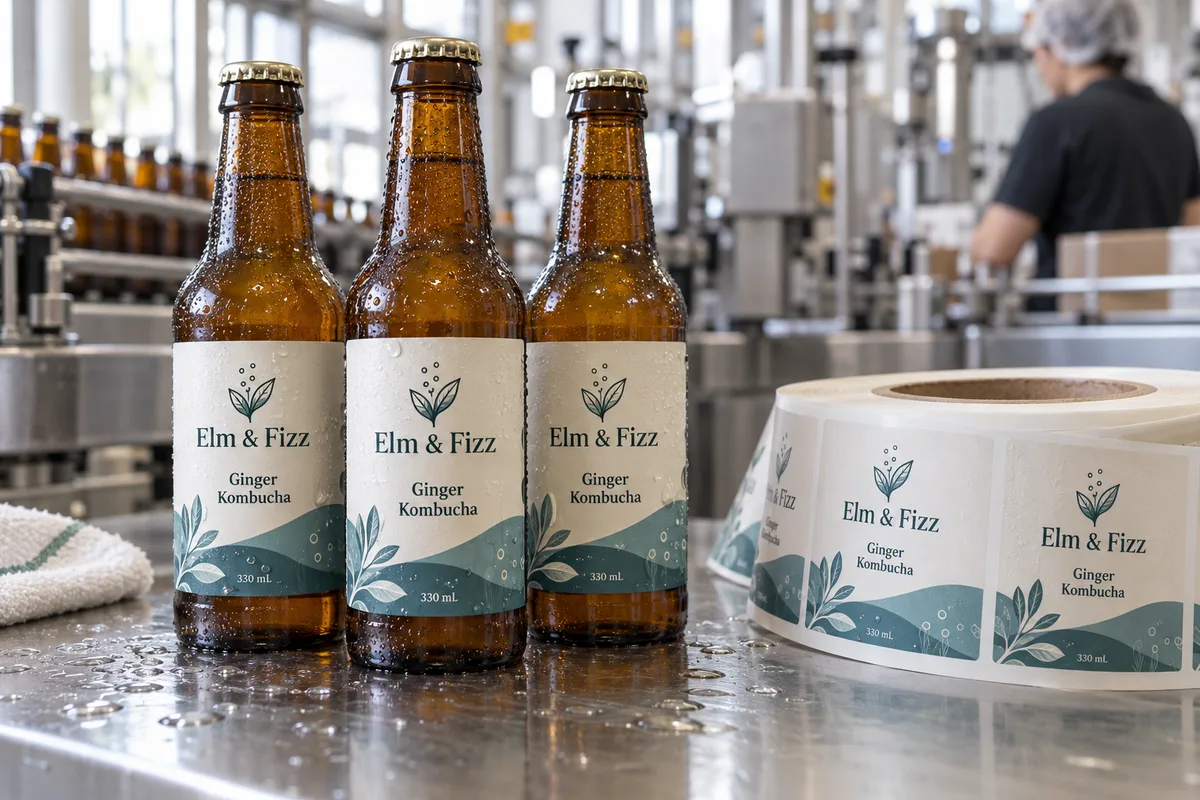
Separate the dry application step from later refrigerated service.
Plan Kombucha Labels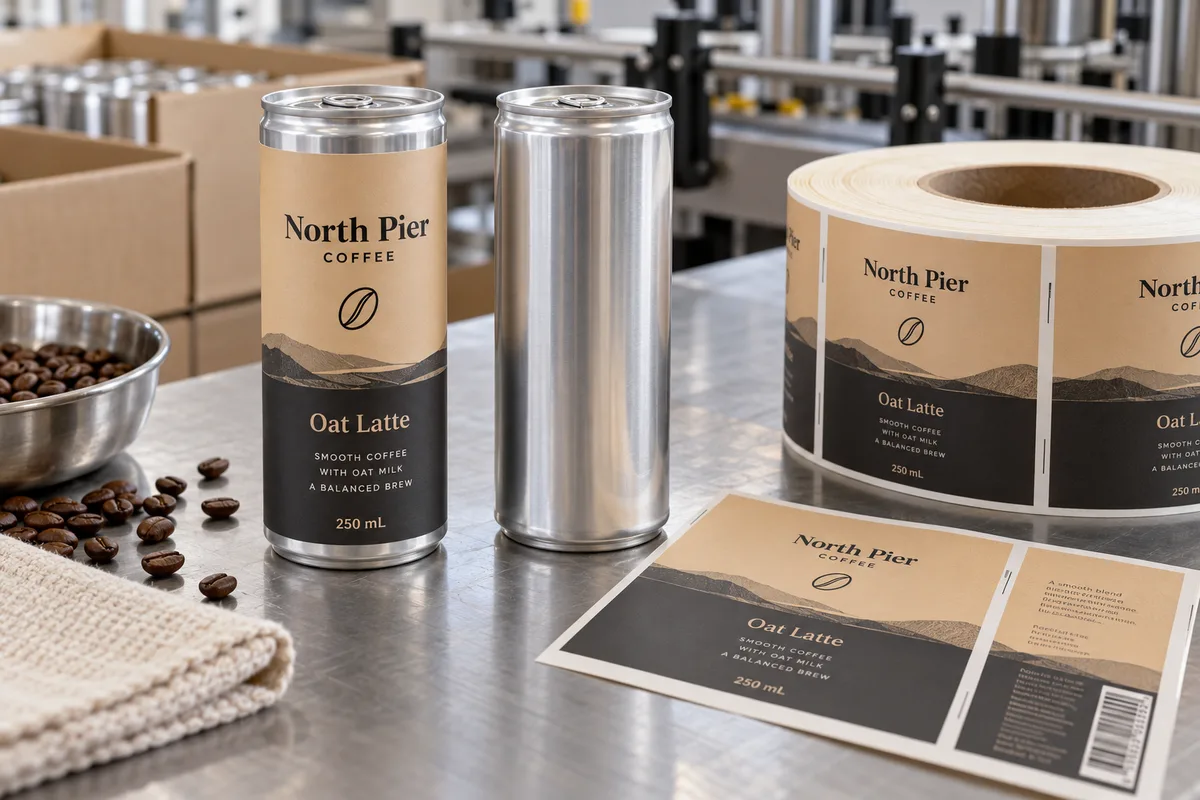
Plan the wrap and application method before approving the design.
Plan Coffee Can Labels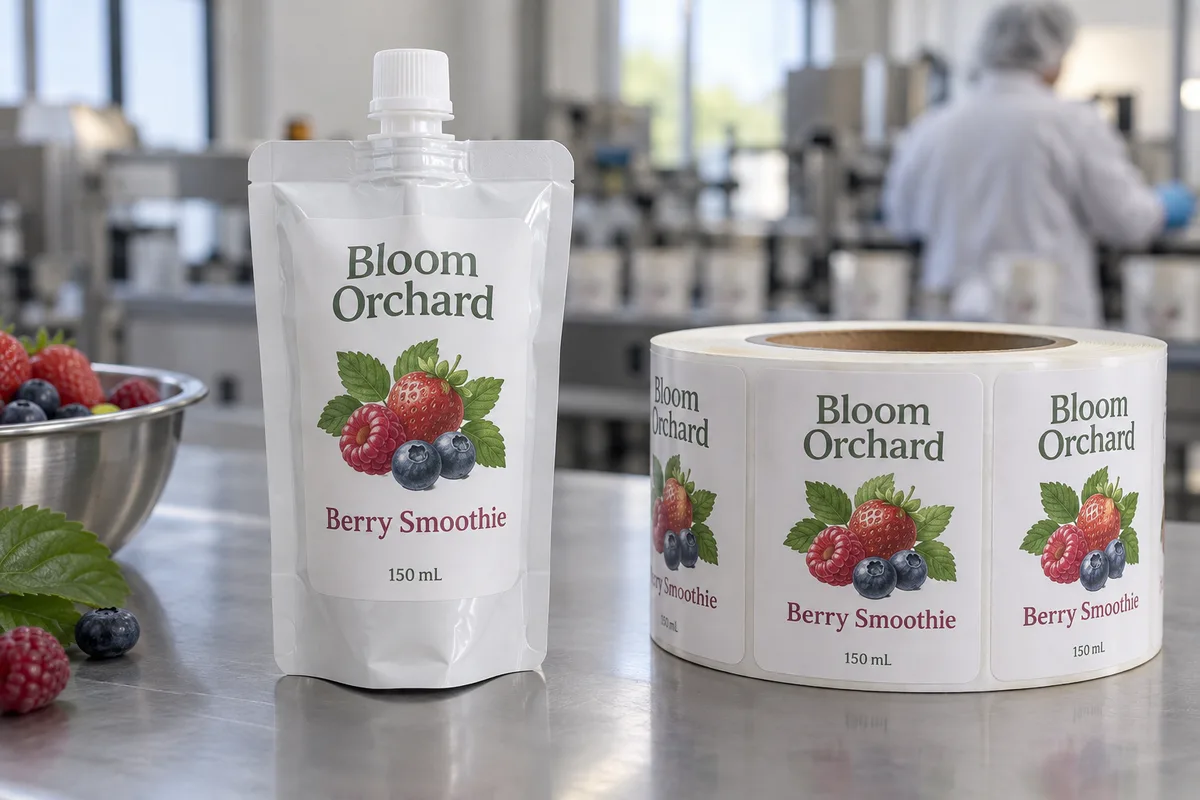
Test placement on the filled pouch, not on a flat empty sample.
Plan Pouch Labels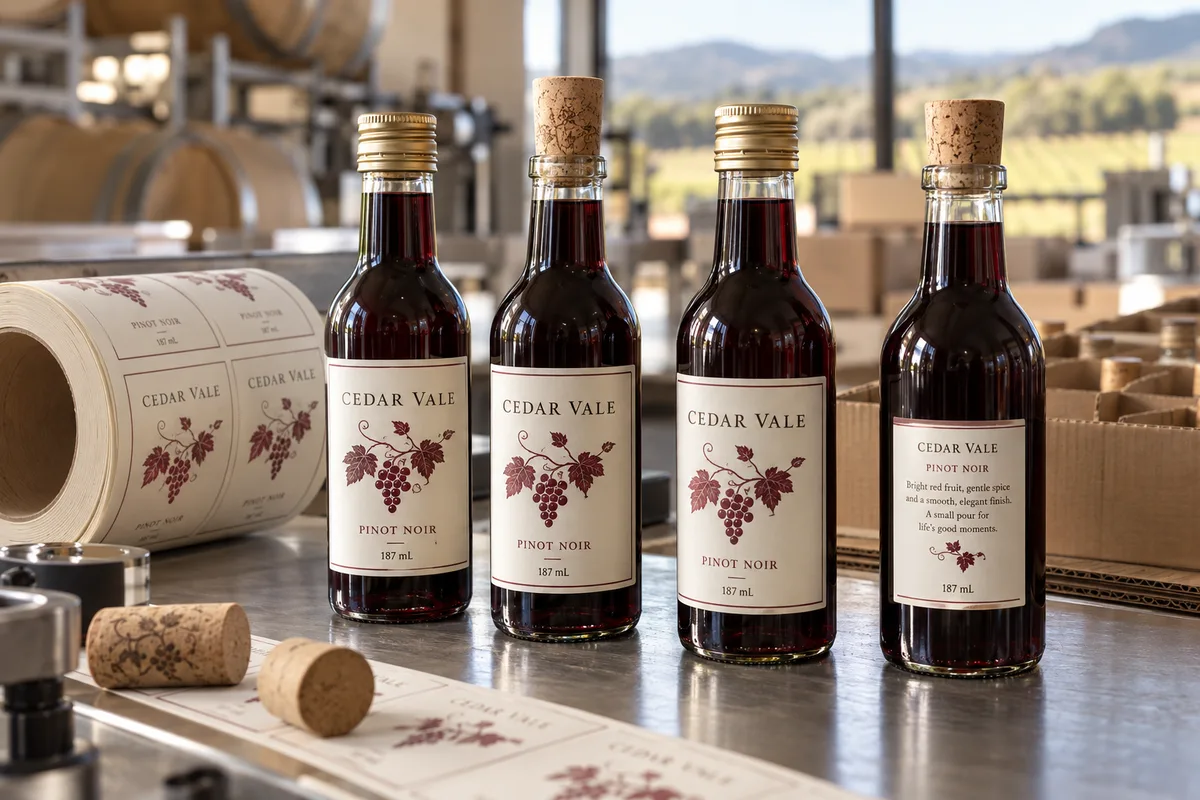
Protect legibility and fit on the real 187 mL bottle.
Plan Mini Wine Labels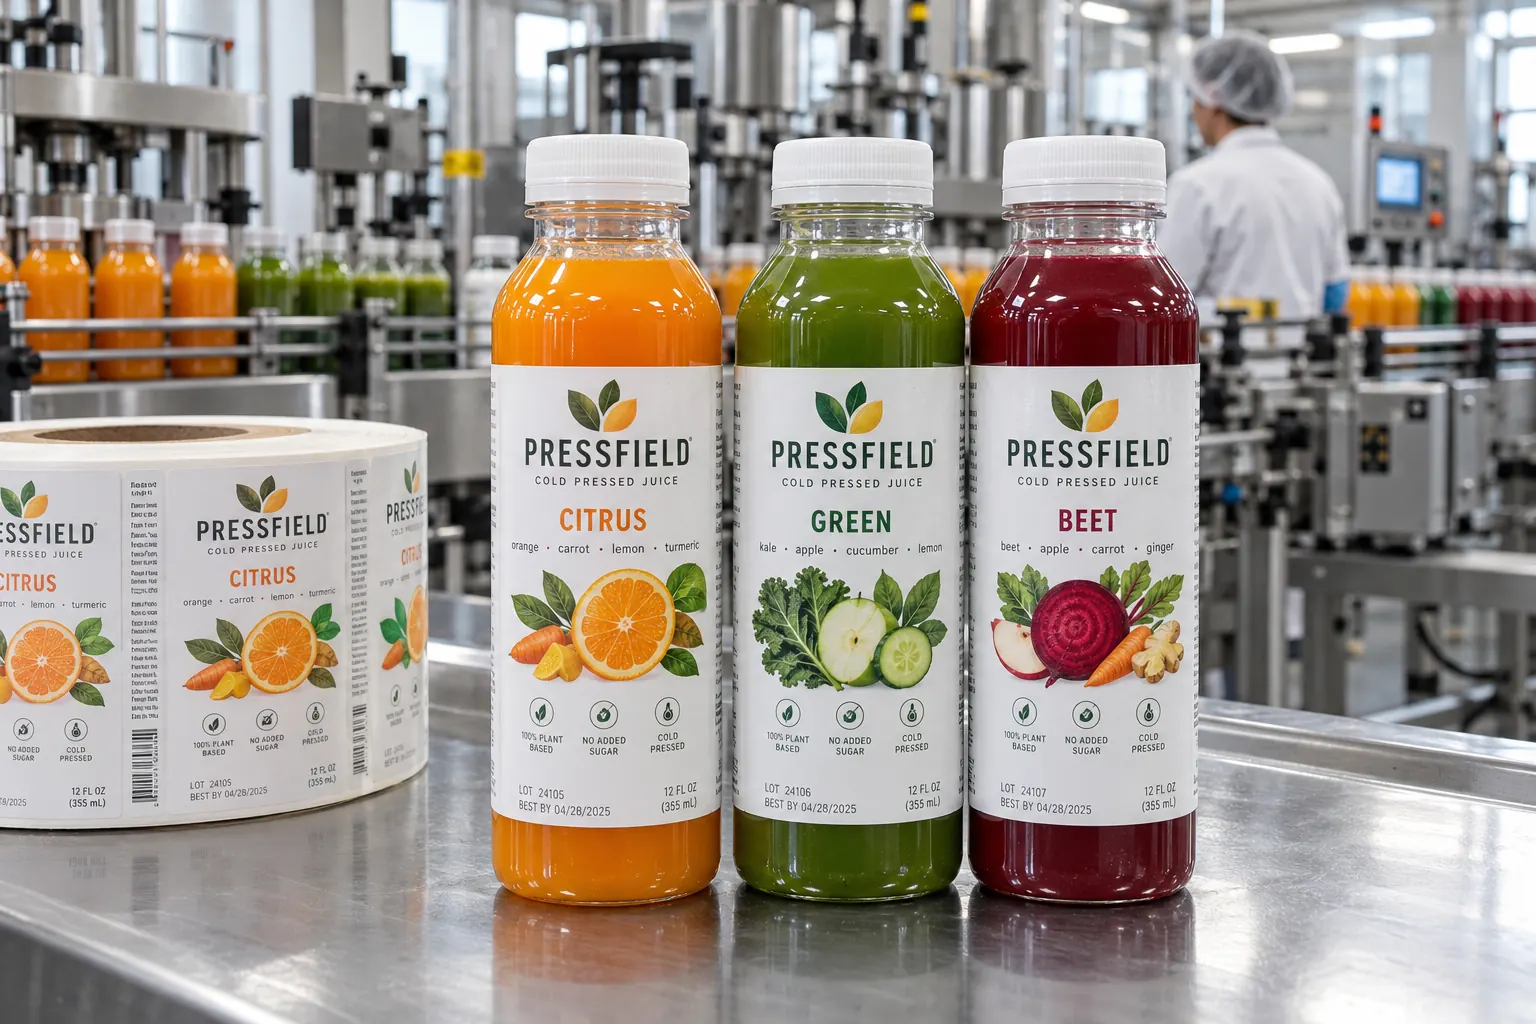
Choose the label application point before specifying the film and adhesive.
Plan HPP Labels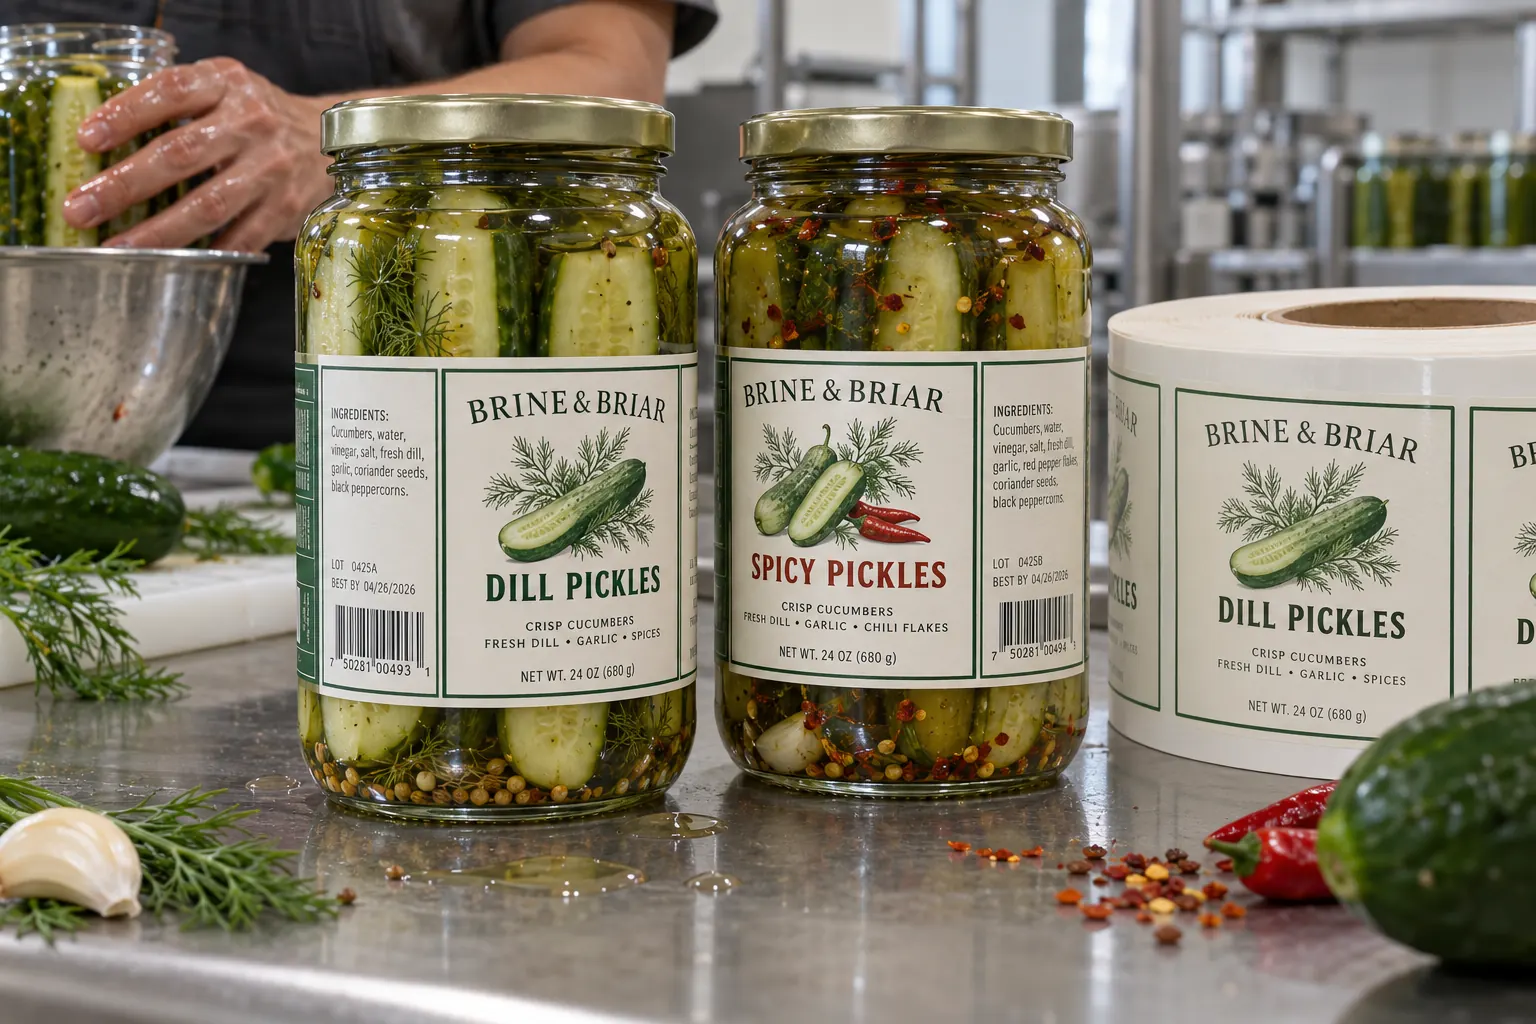
Test the finished jar for brine, refrigeration and repeated handling.
Plan Jar Labels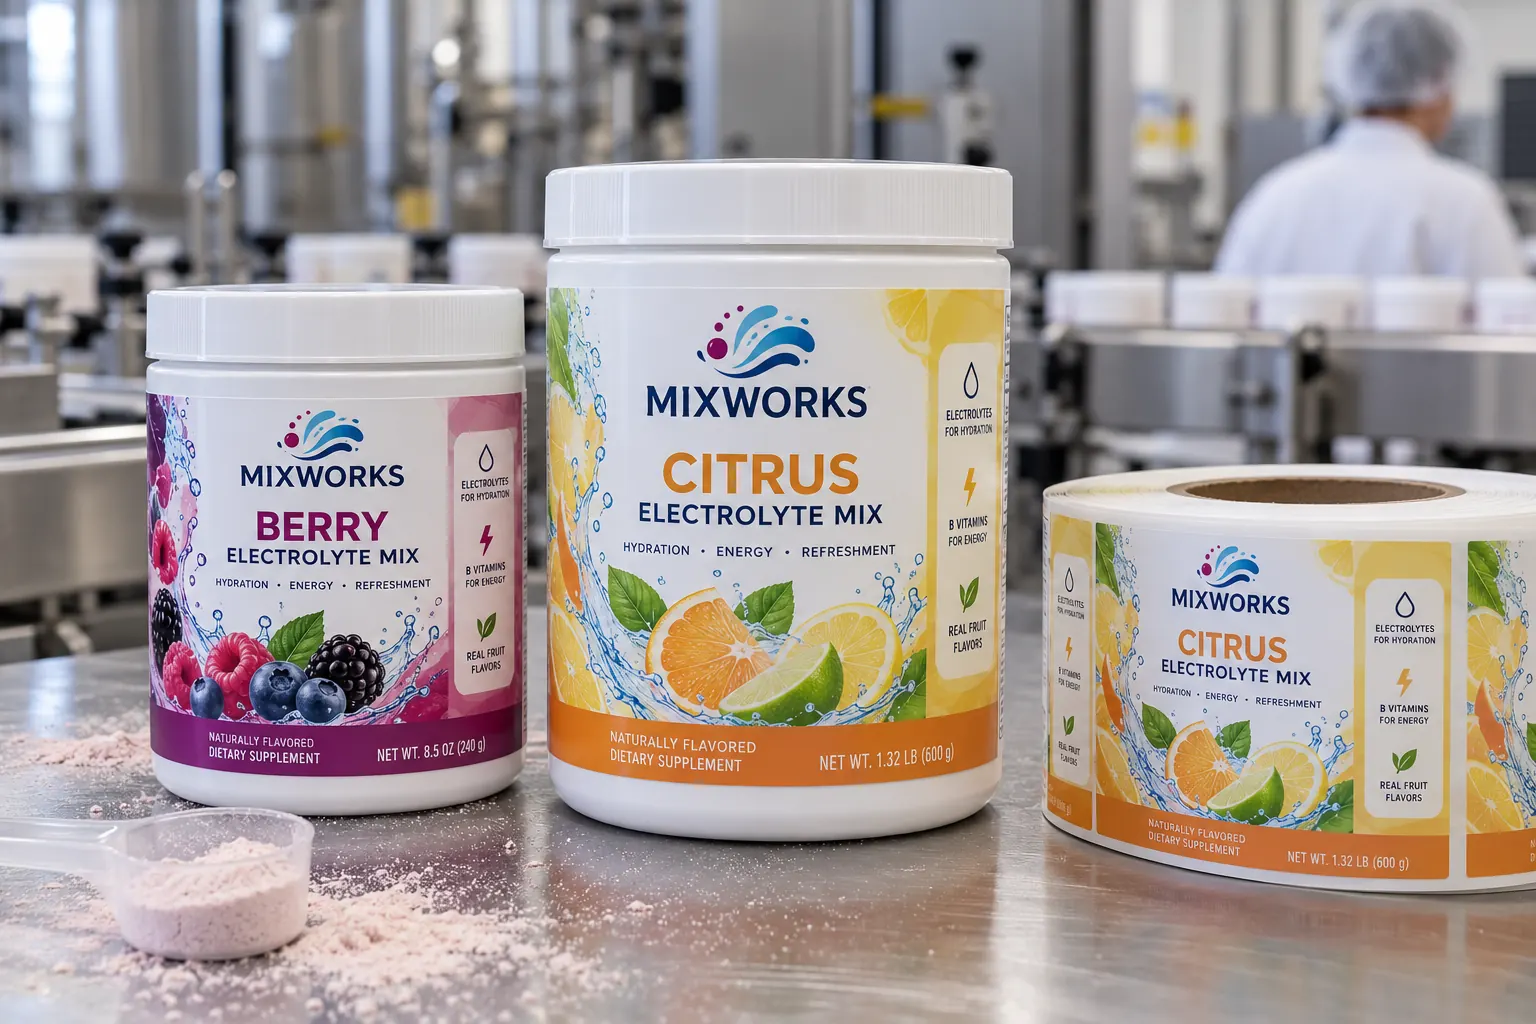
Match the adhesive to the molded tub and keep powder off the labeling zone.
Plan Tub Labels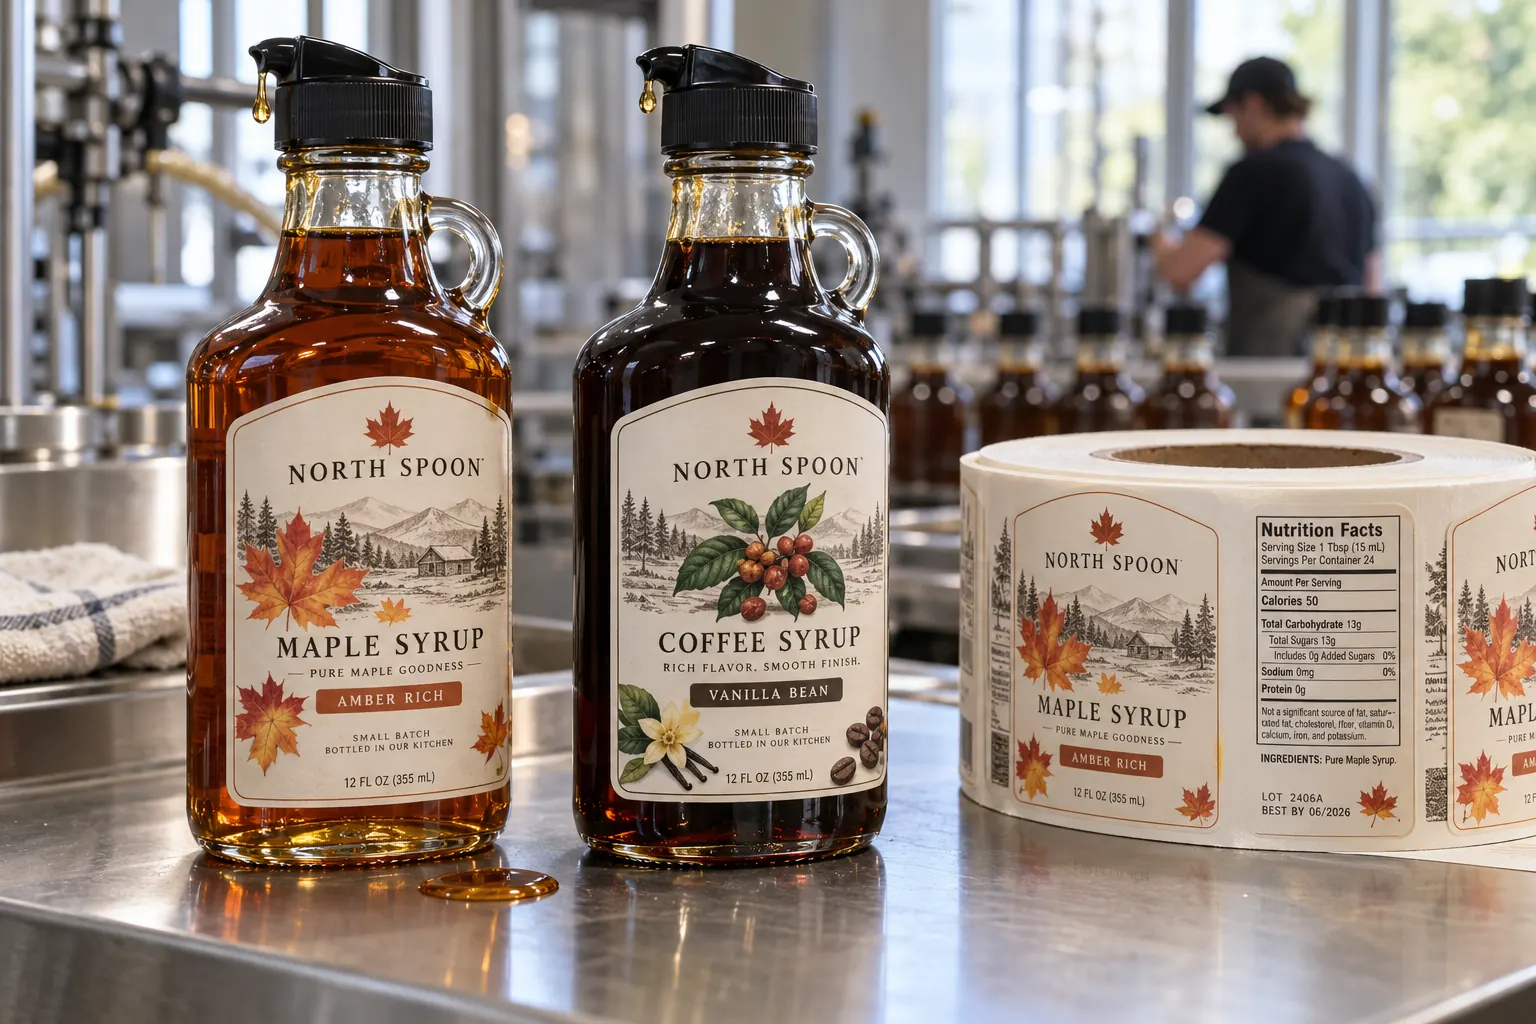
Put the label where a drip and a wipe will not erase the product name.
Plan Syrup Labels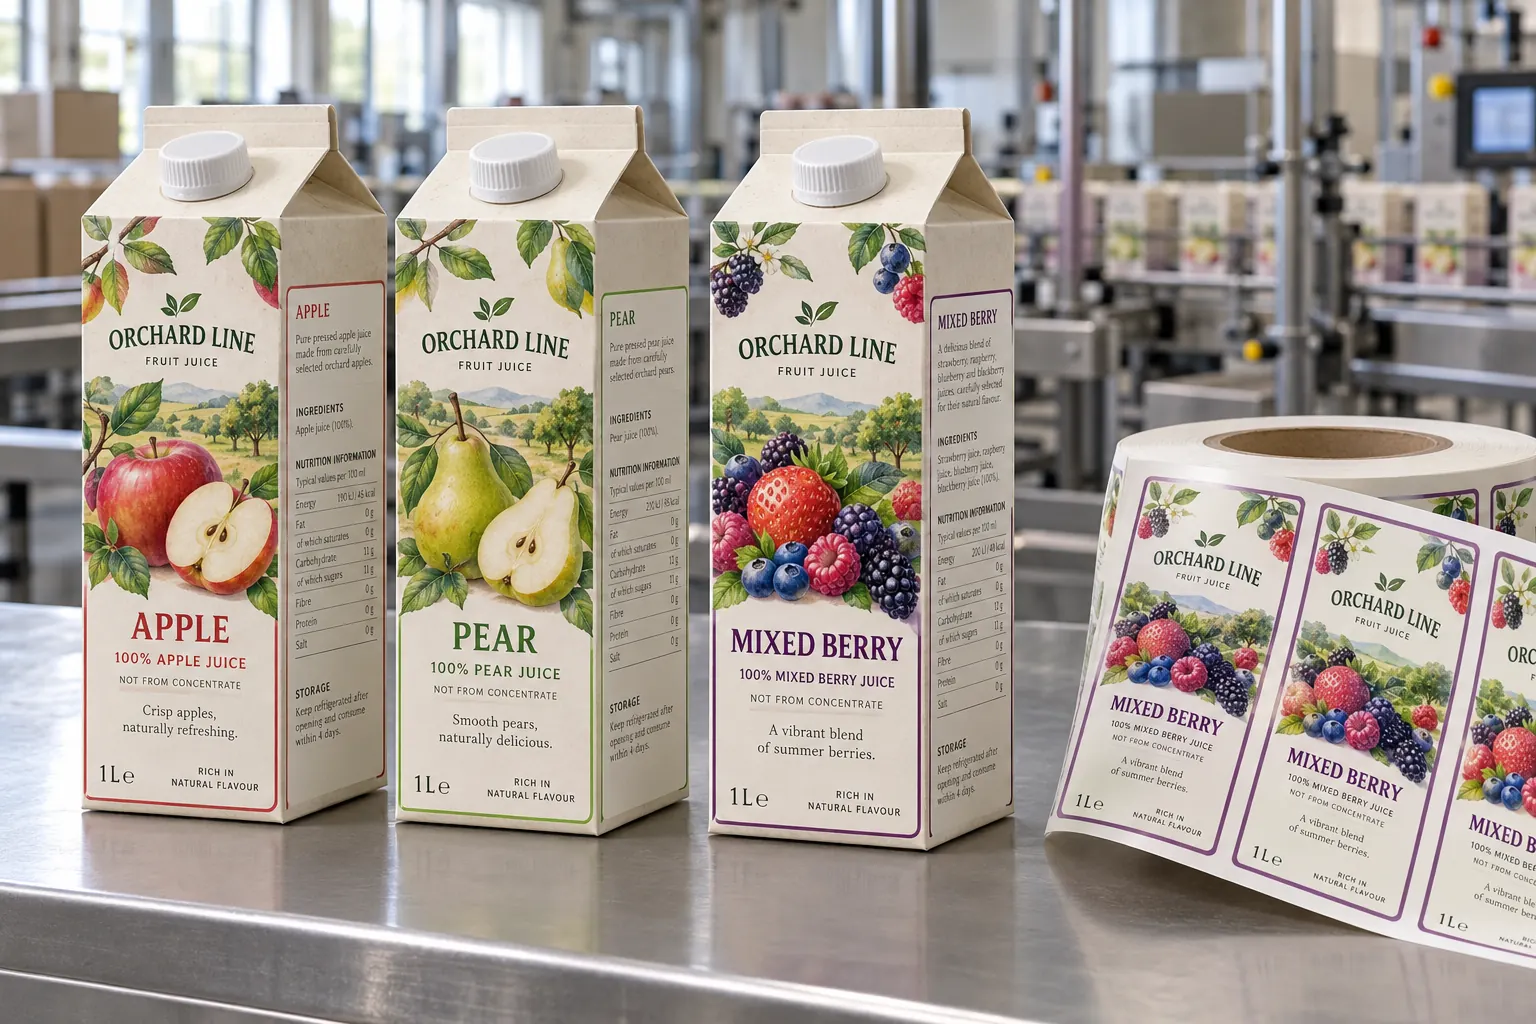
Use the stable display panel and respect the carton opening geometry.
Plan Carton Labels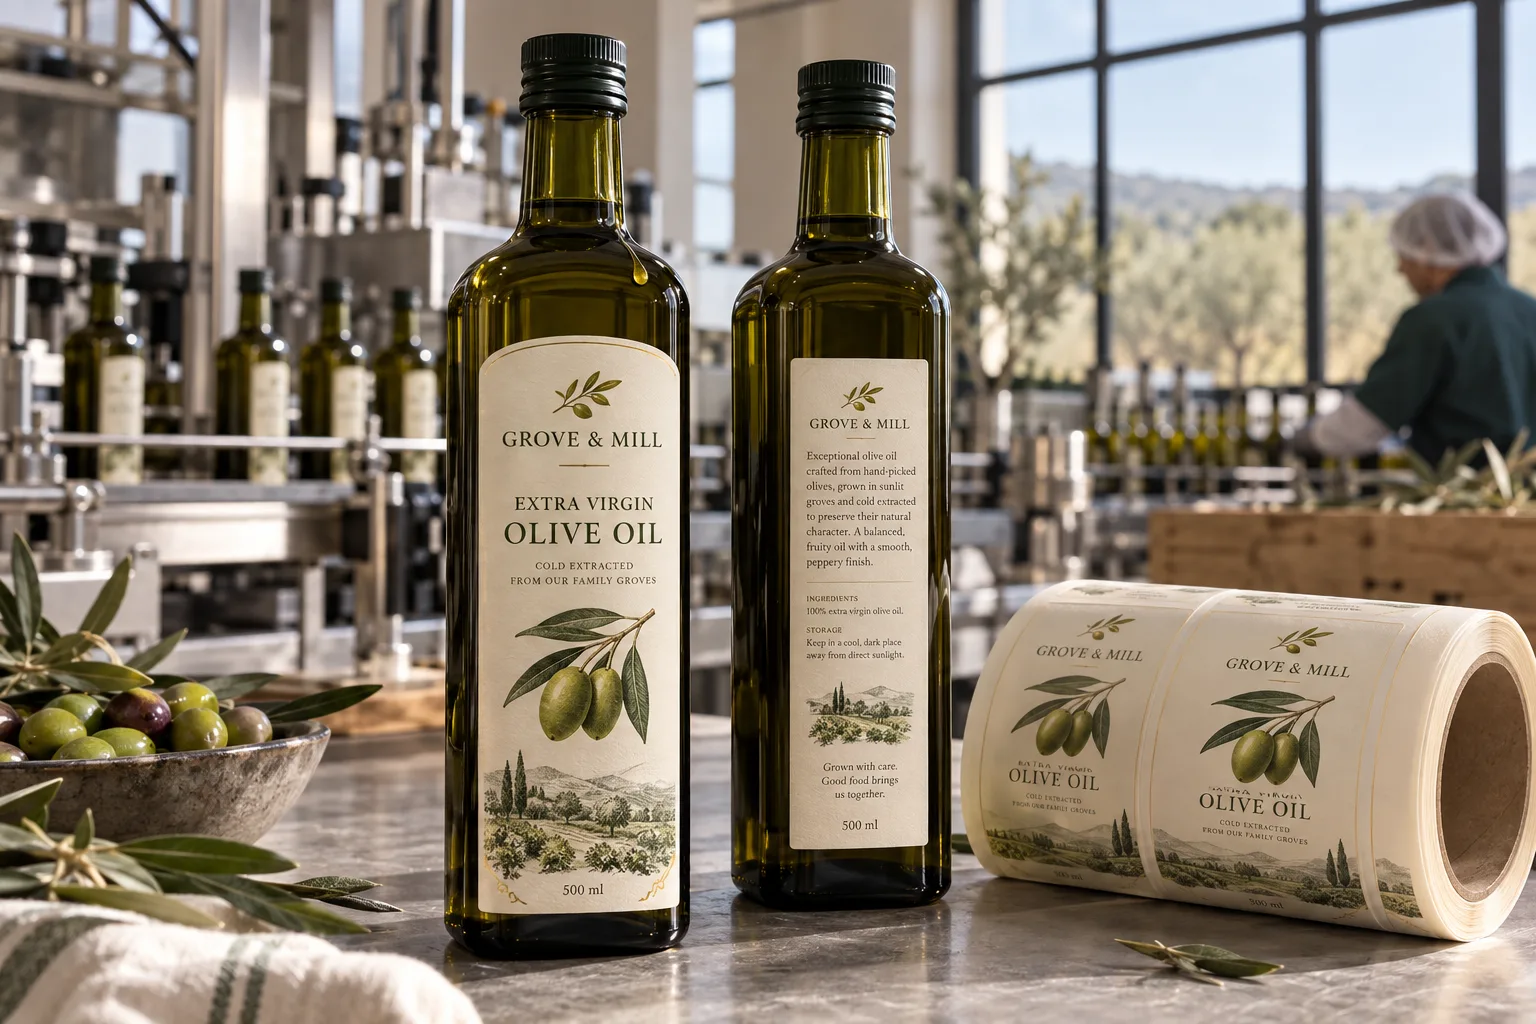
Balance oil resistance and a readable design on dark glass.
Plan Oil Labels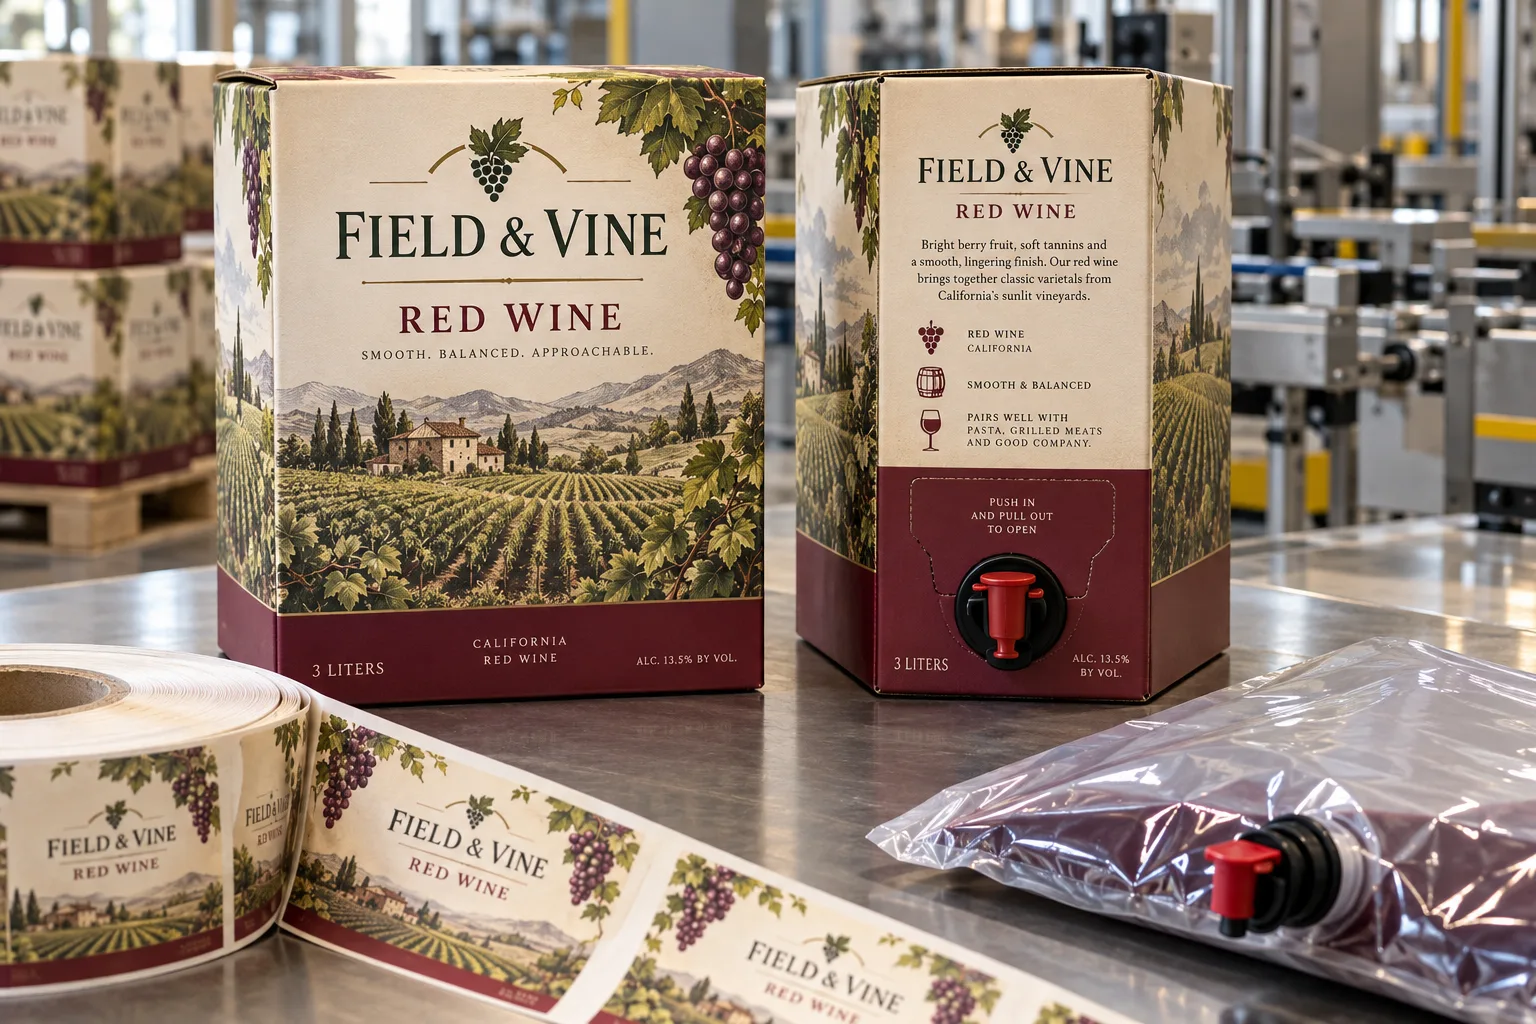
Keep the label off tap access, creases and carton openings.
Plan Boxed Wine Labels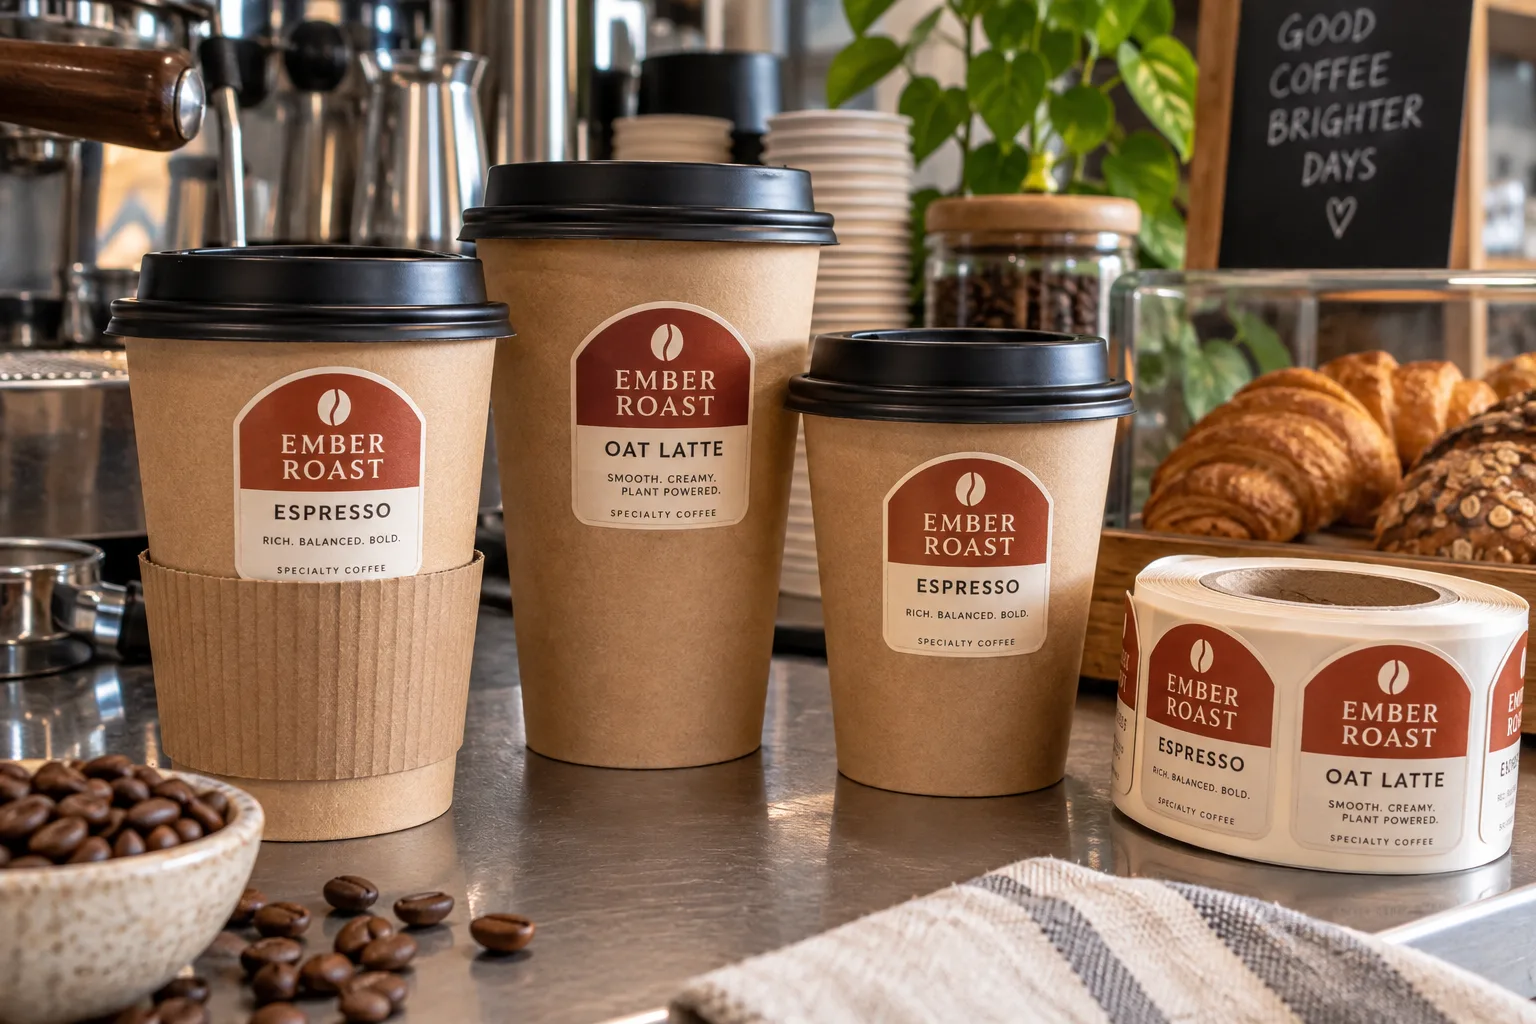
Protect the lid, sleeve and customer grip while keeping the brand visible.
Plan Cup Labels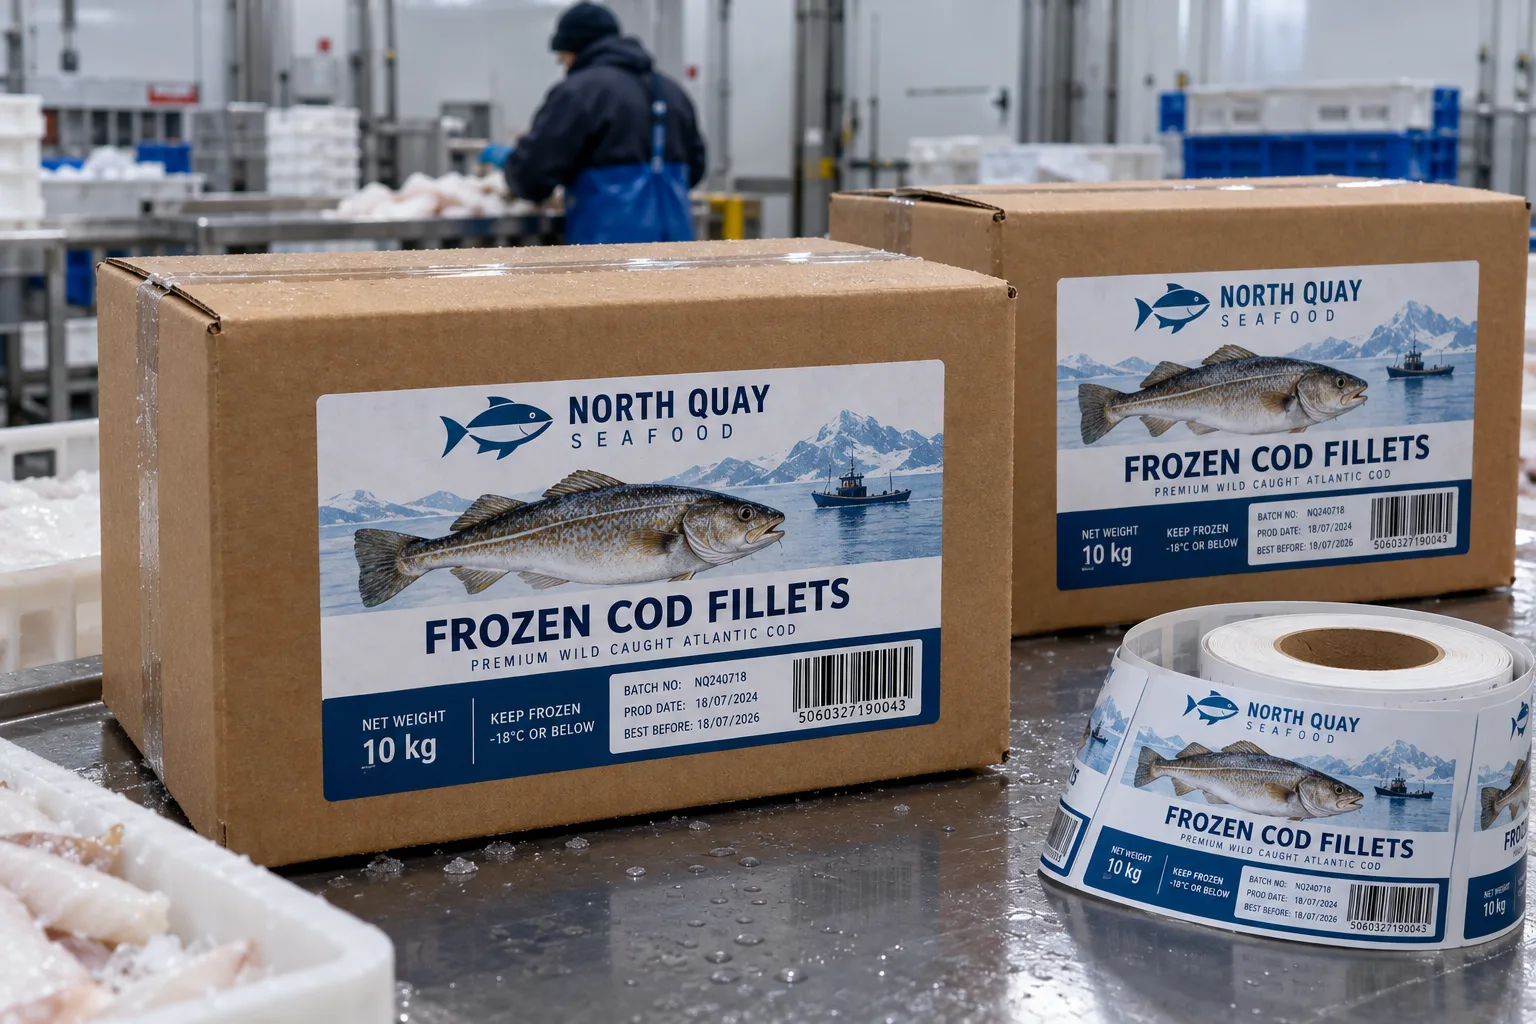
Test the real carton temperature and scan angle before buying the roll.
Plan Freezer Labels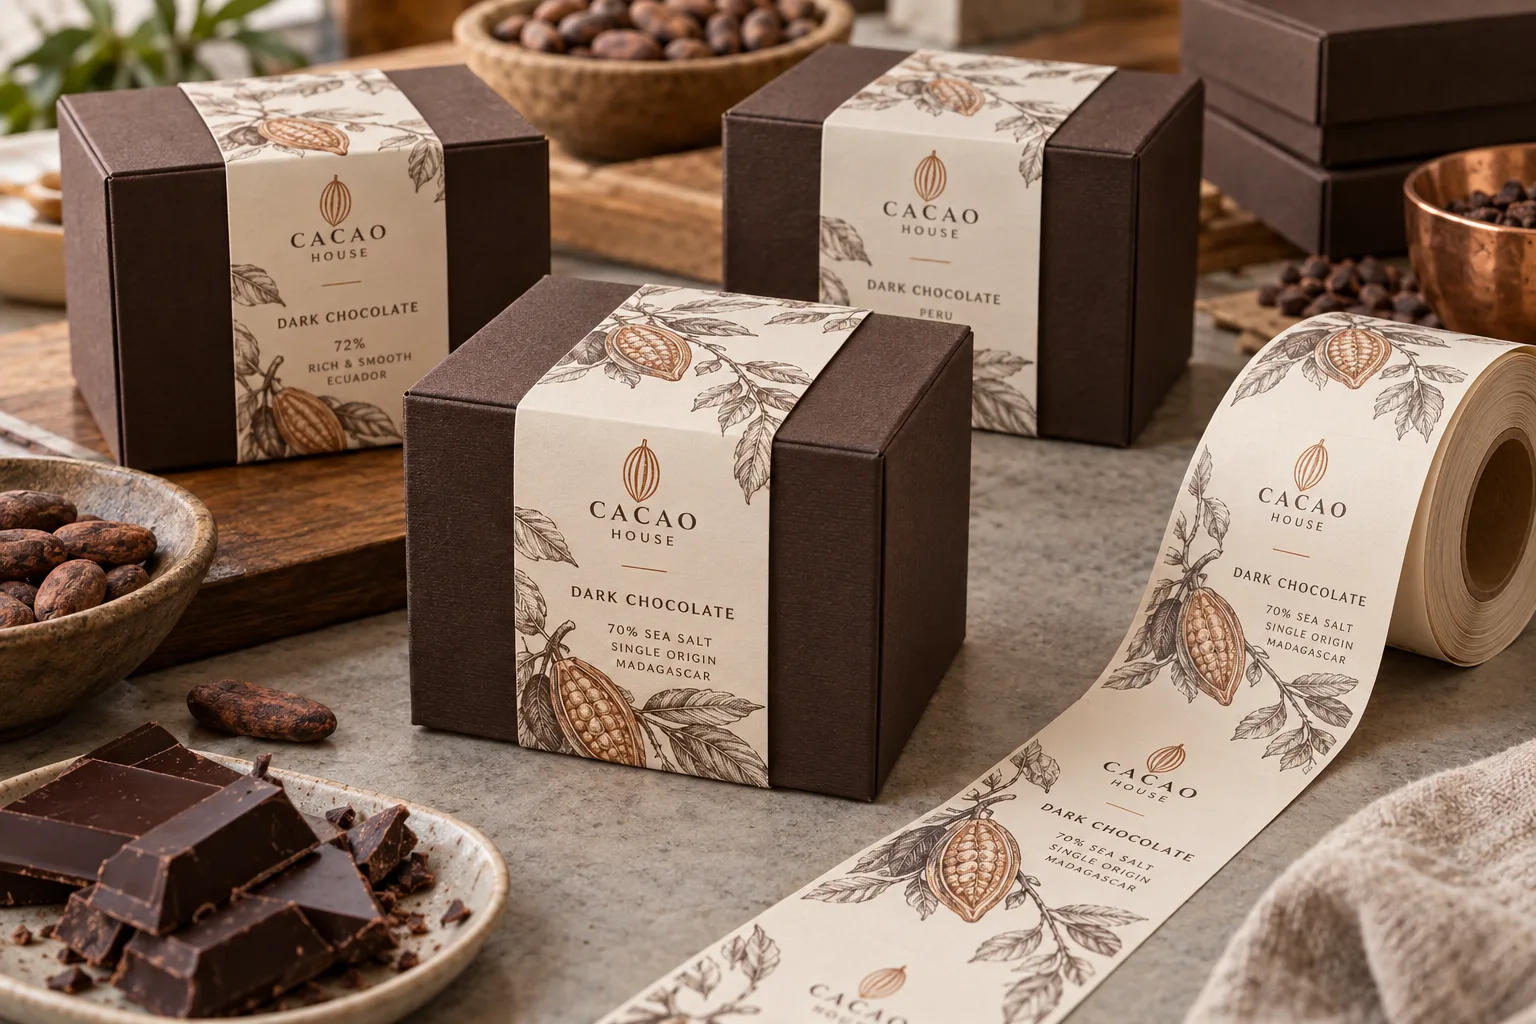
Make the band look premium without bridging the opening seam.
Plan Gift Bands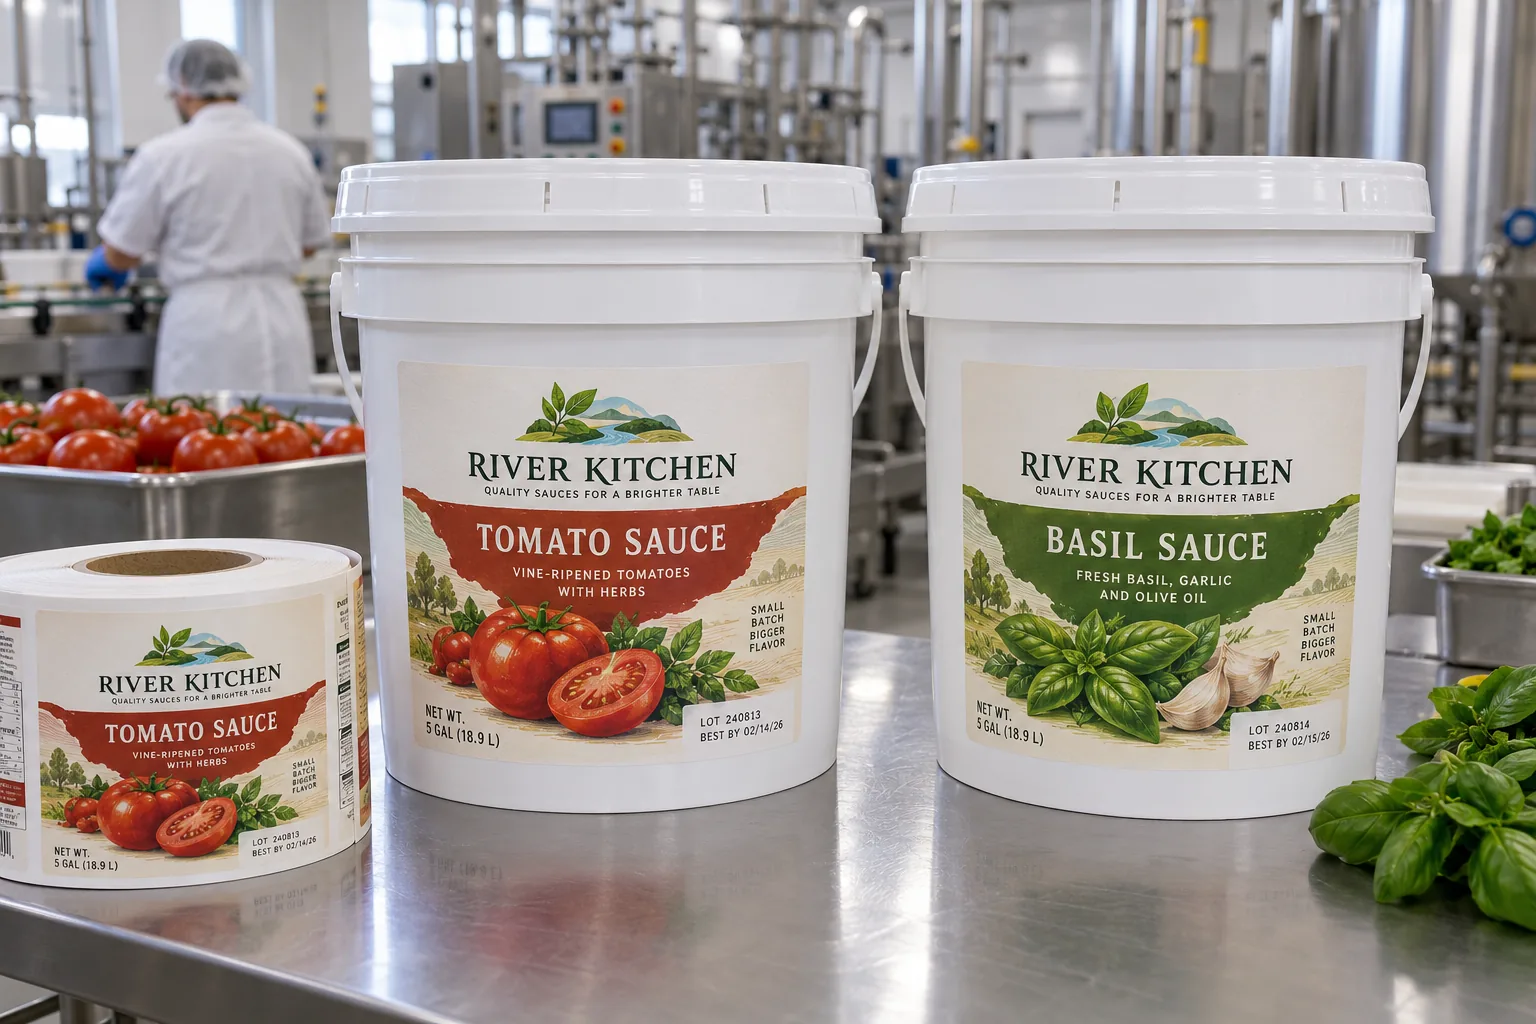
Choose a usable wall panel and test the filled pail through handling.
Plan Pail Labels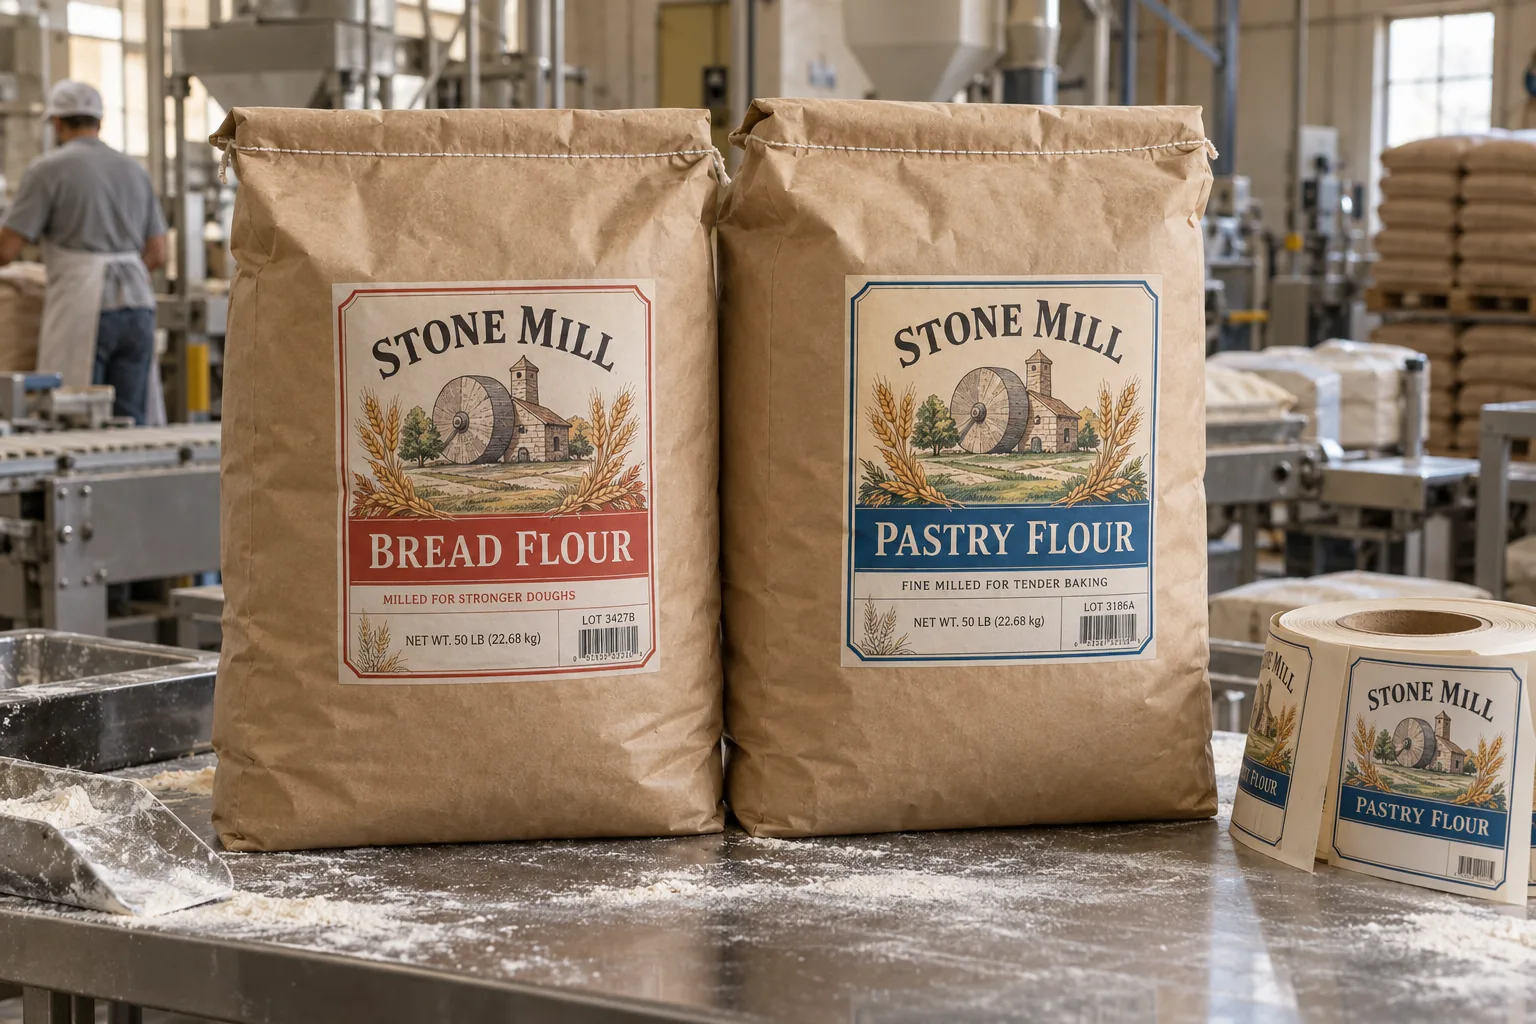
Separate clean label application from dusty filling and variable coding.
Plan Flour Sack Labels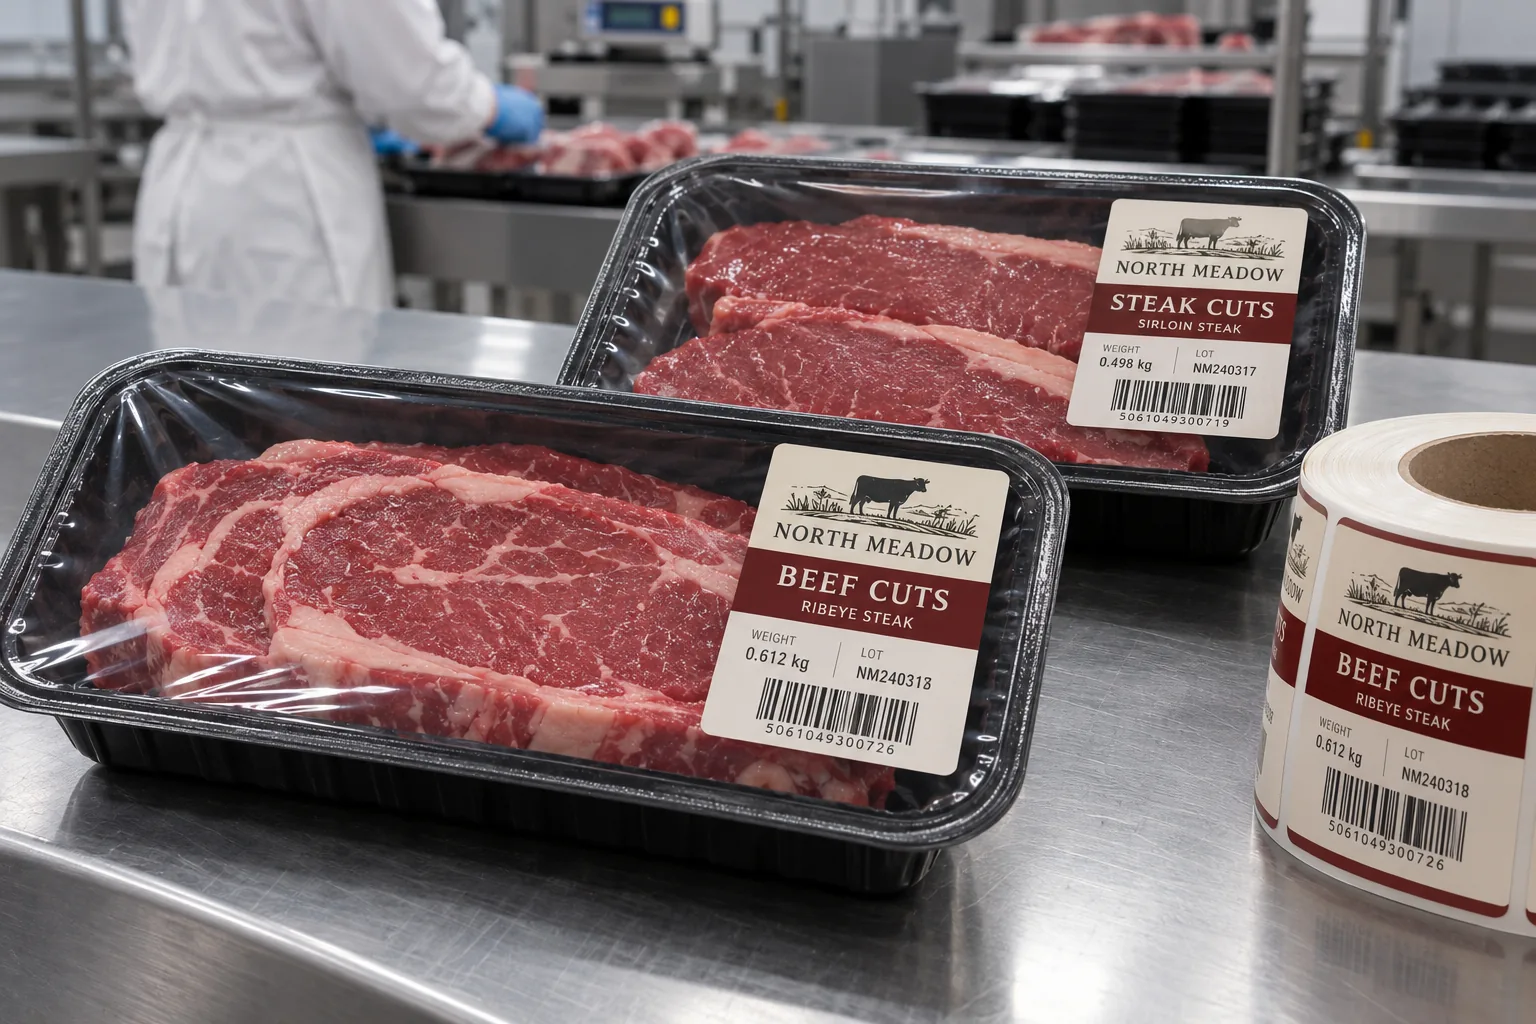
Keep labels clear of the seal while preserving codes and product visibility.
Plan Meat Tray Labels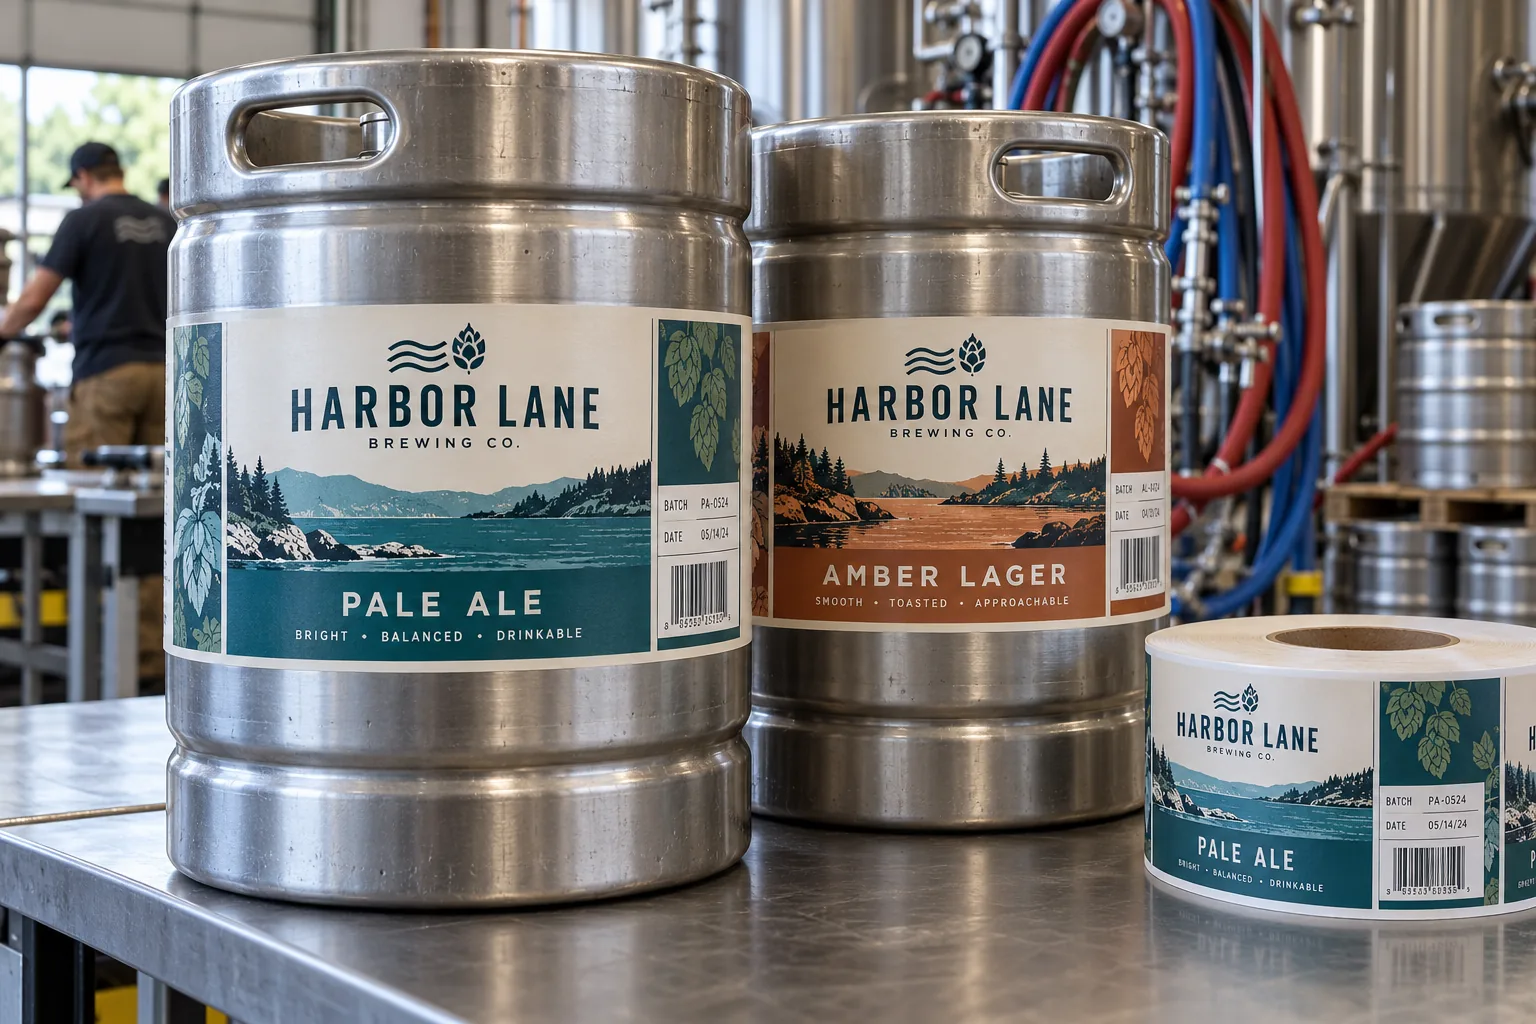
Balance wet distribution adhesion with clean removal before the next fill.
Plan Keg Labels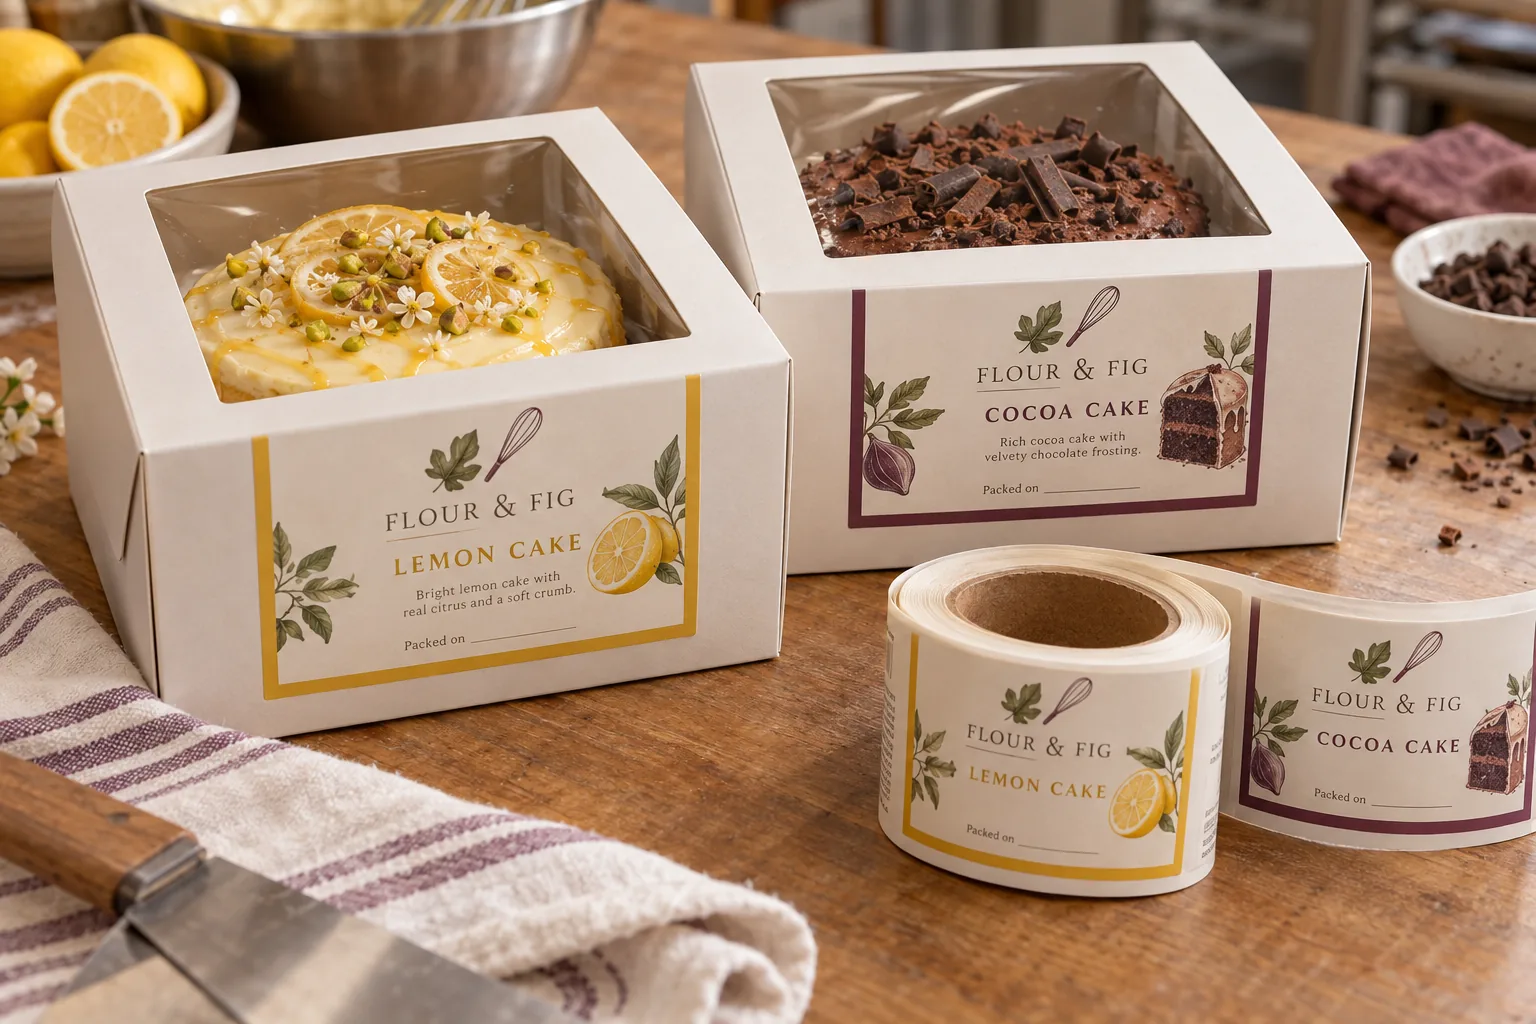
Put the brand on usable board while leaving the cake and opening visible.
Plan Cake Box Labels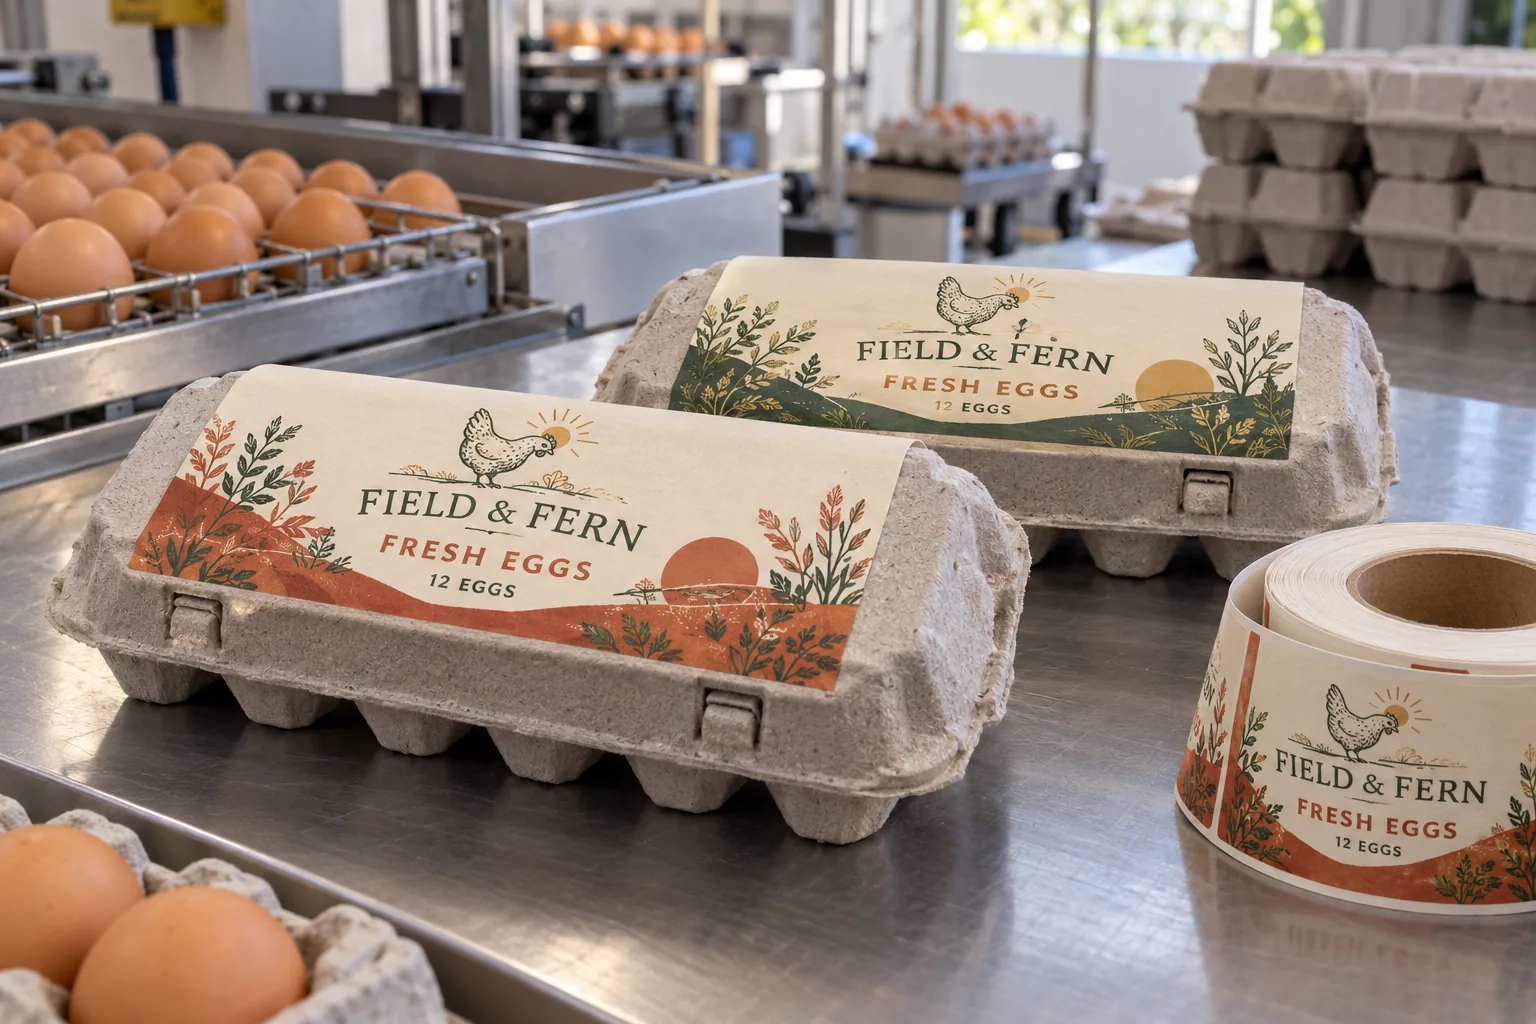
Approve adhesion, print and barcode position on the finished rough carton.
Plan Egg Carton Labels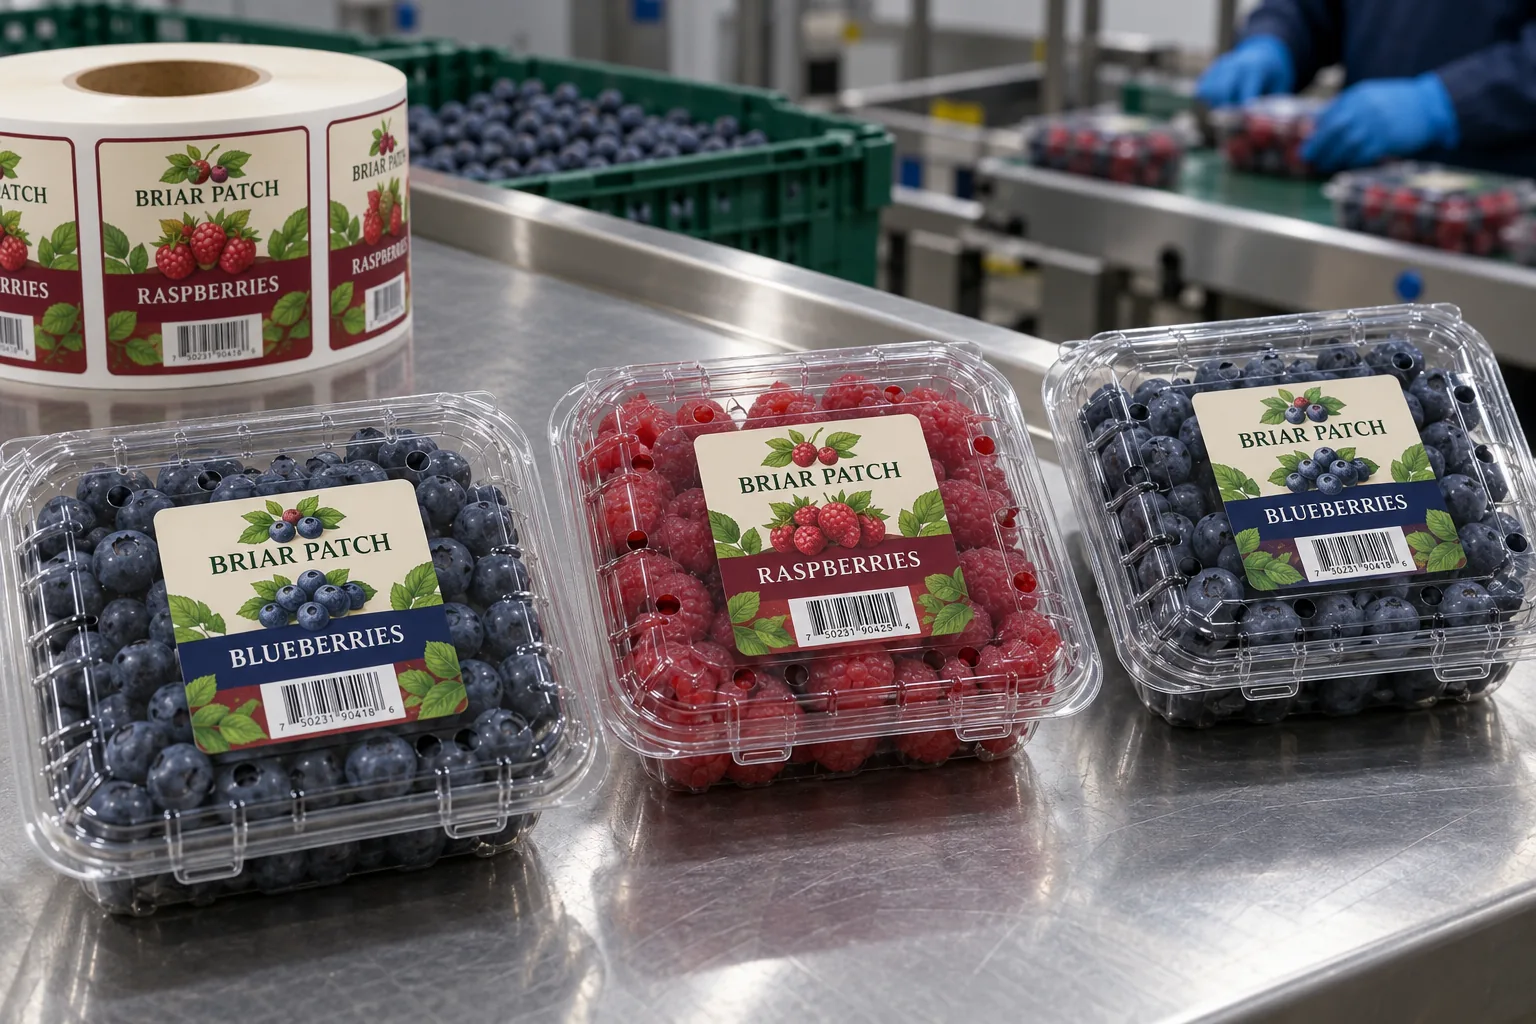
Balance readable branding with lid vents, fruit visibility and scanning.
Plan Berry Labels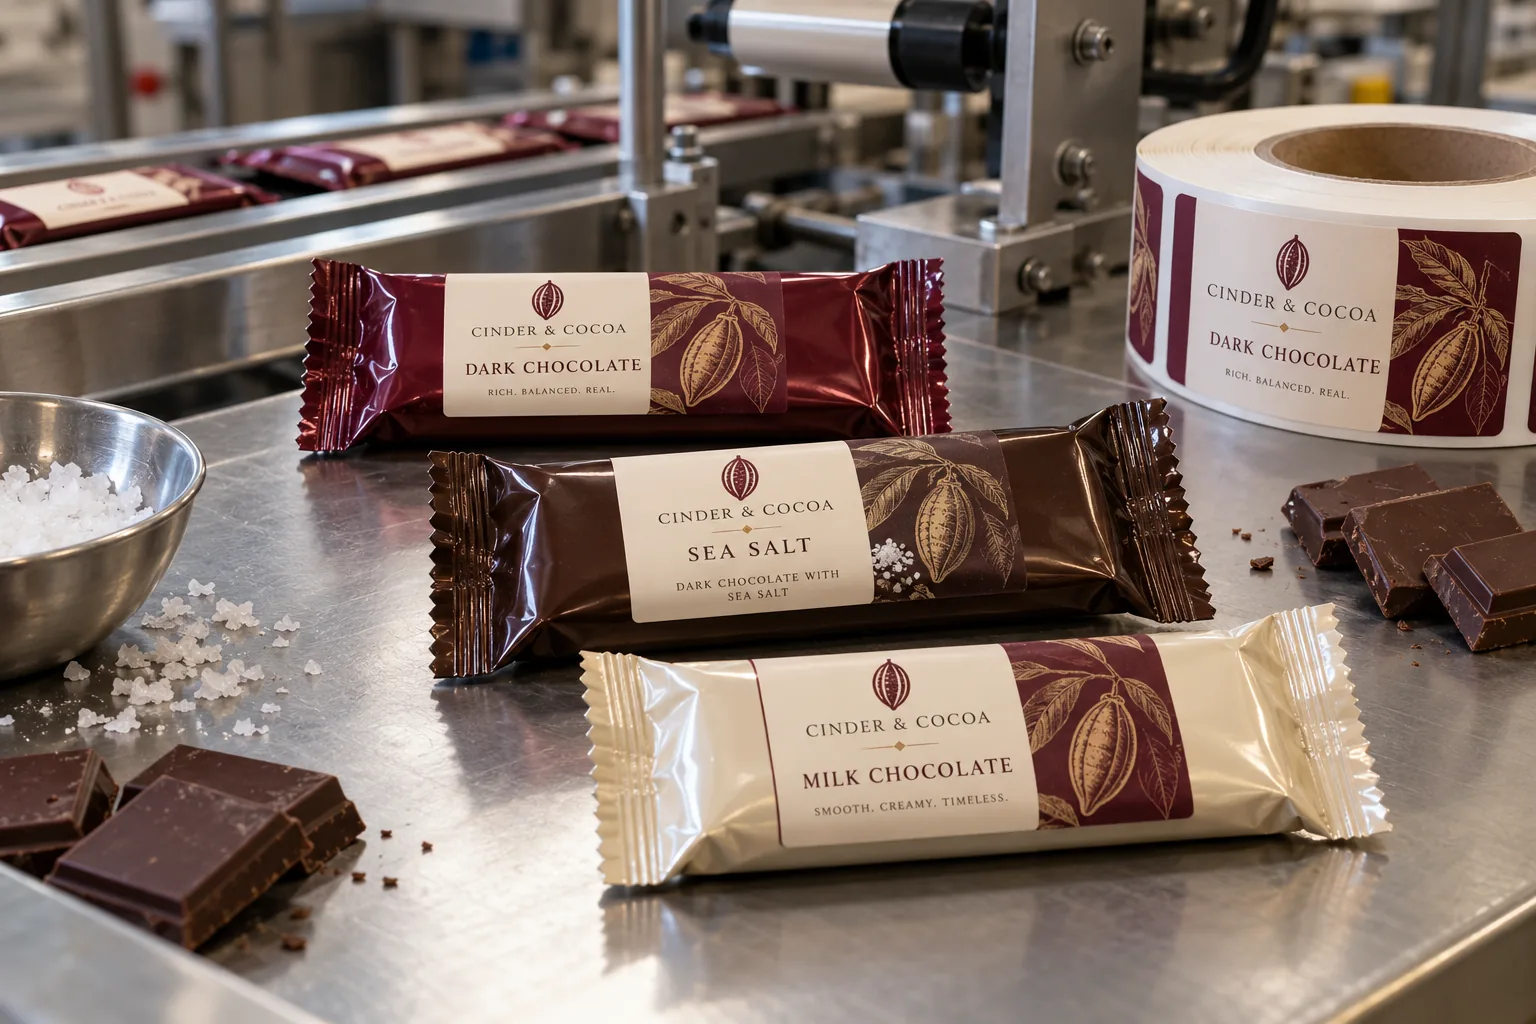
Keep product artwork on the stable wrapper panel, away from end seals.
Plan Chocolate Labels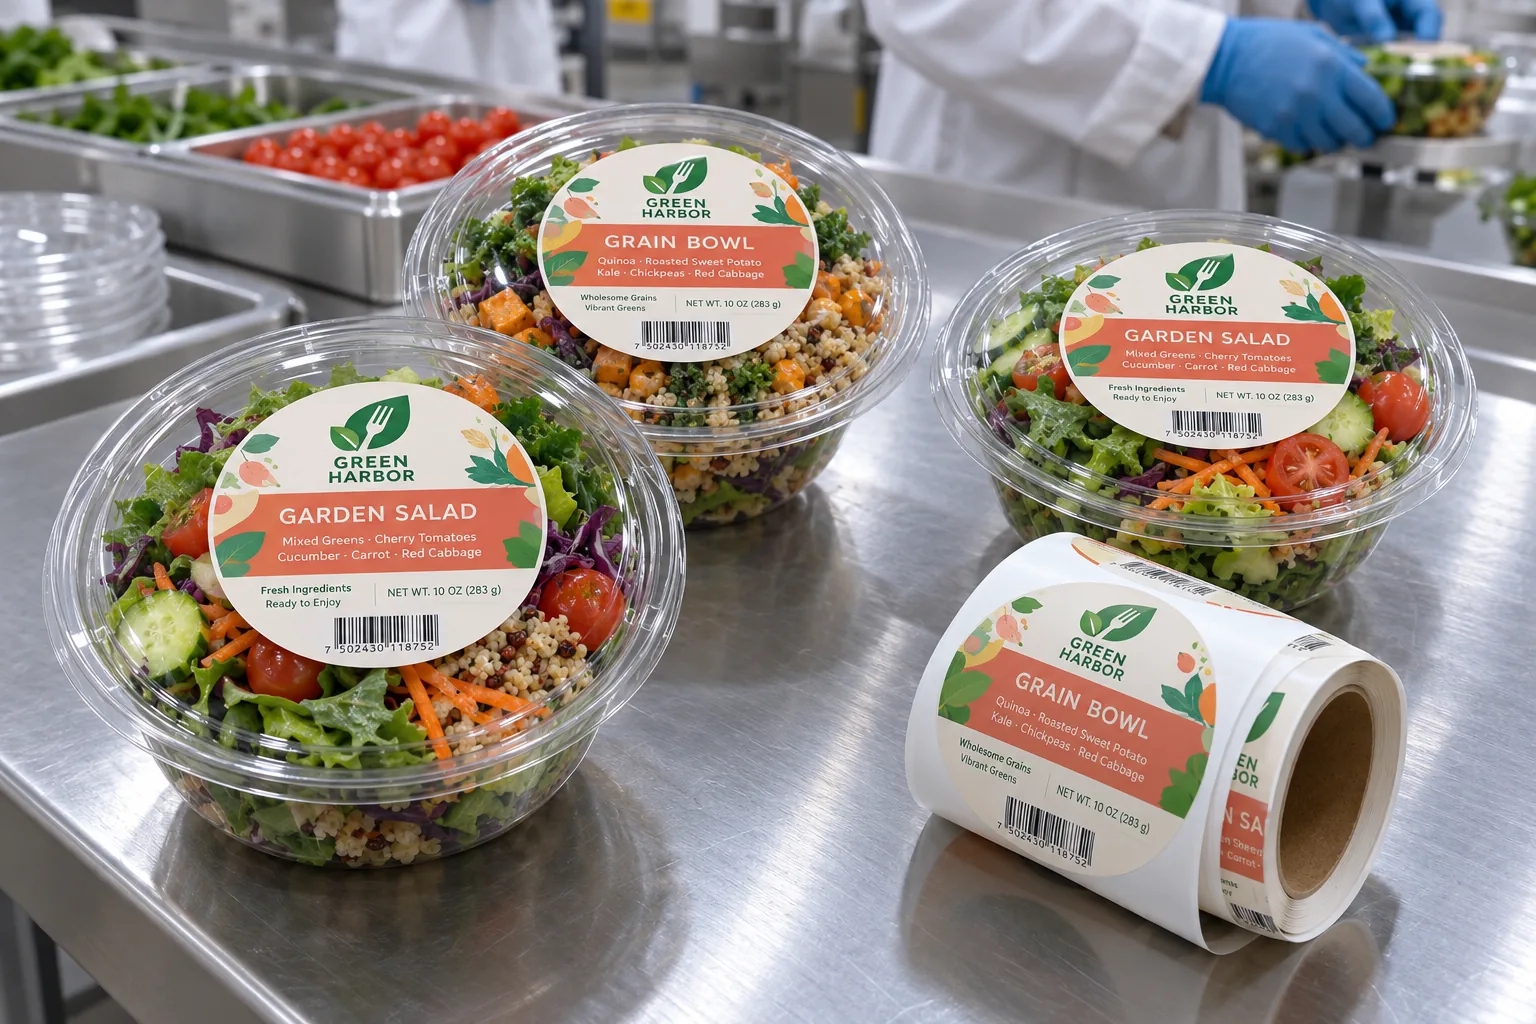
Keep the lid rim clear and menu, code and barcode easy to read.
Plan Bowl Lid Labels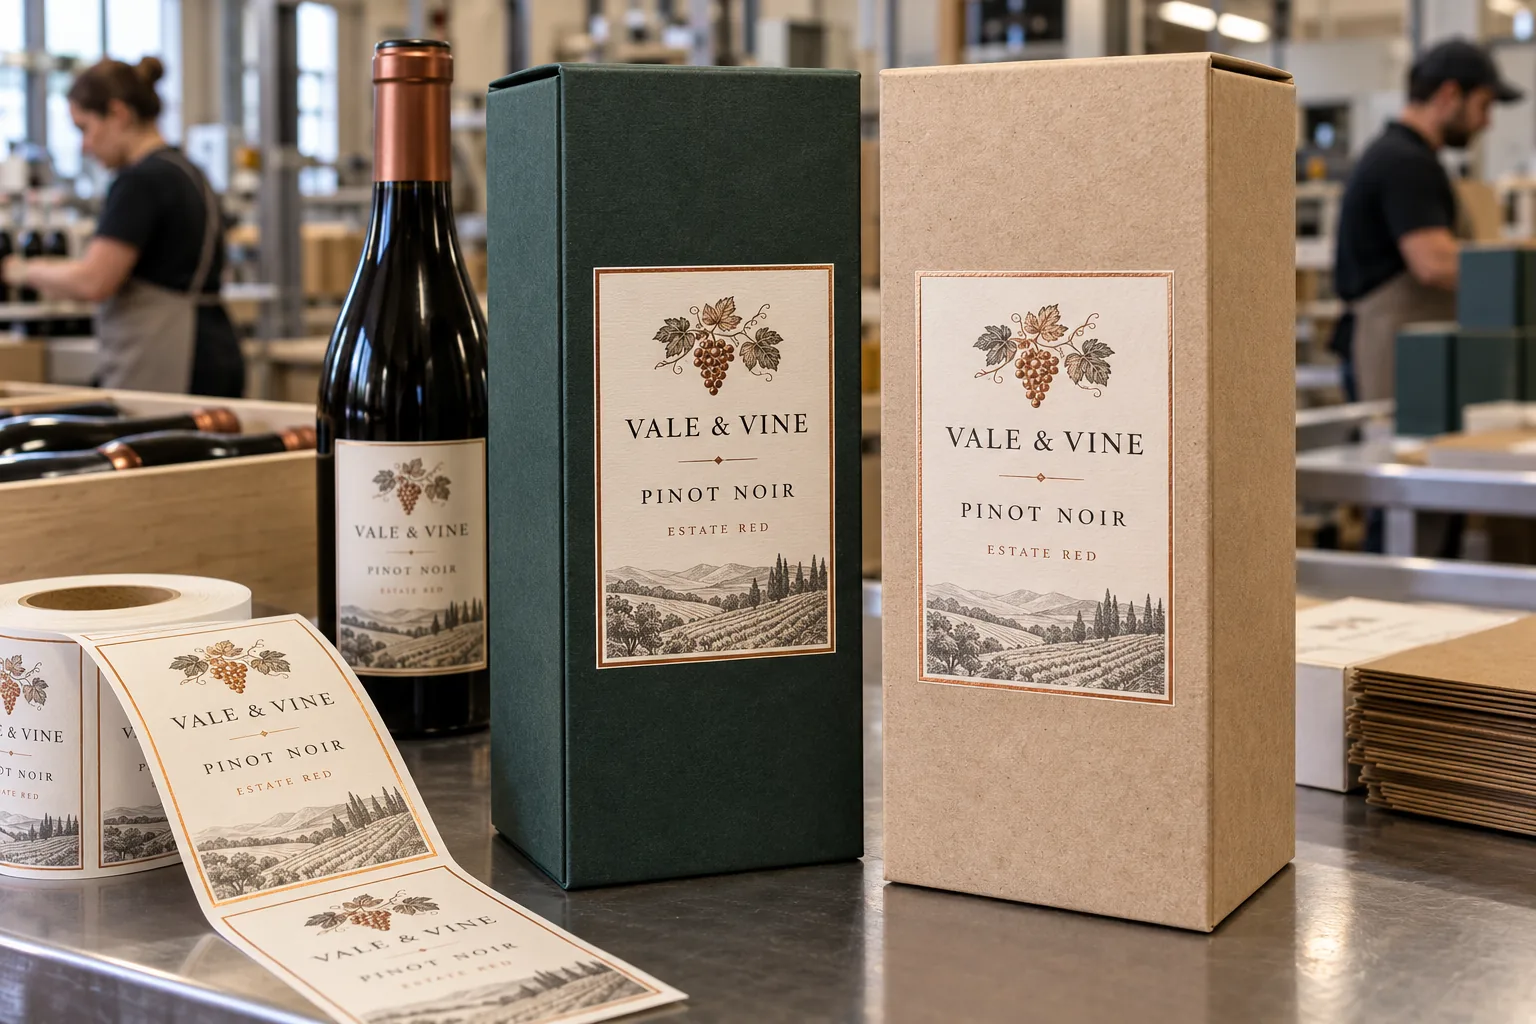
Check label adhesion and finish on the actual coated gift carton.
Plan Gift Box Labels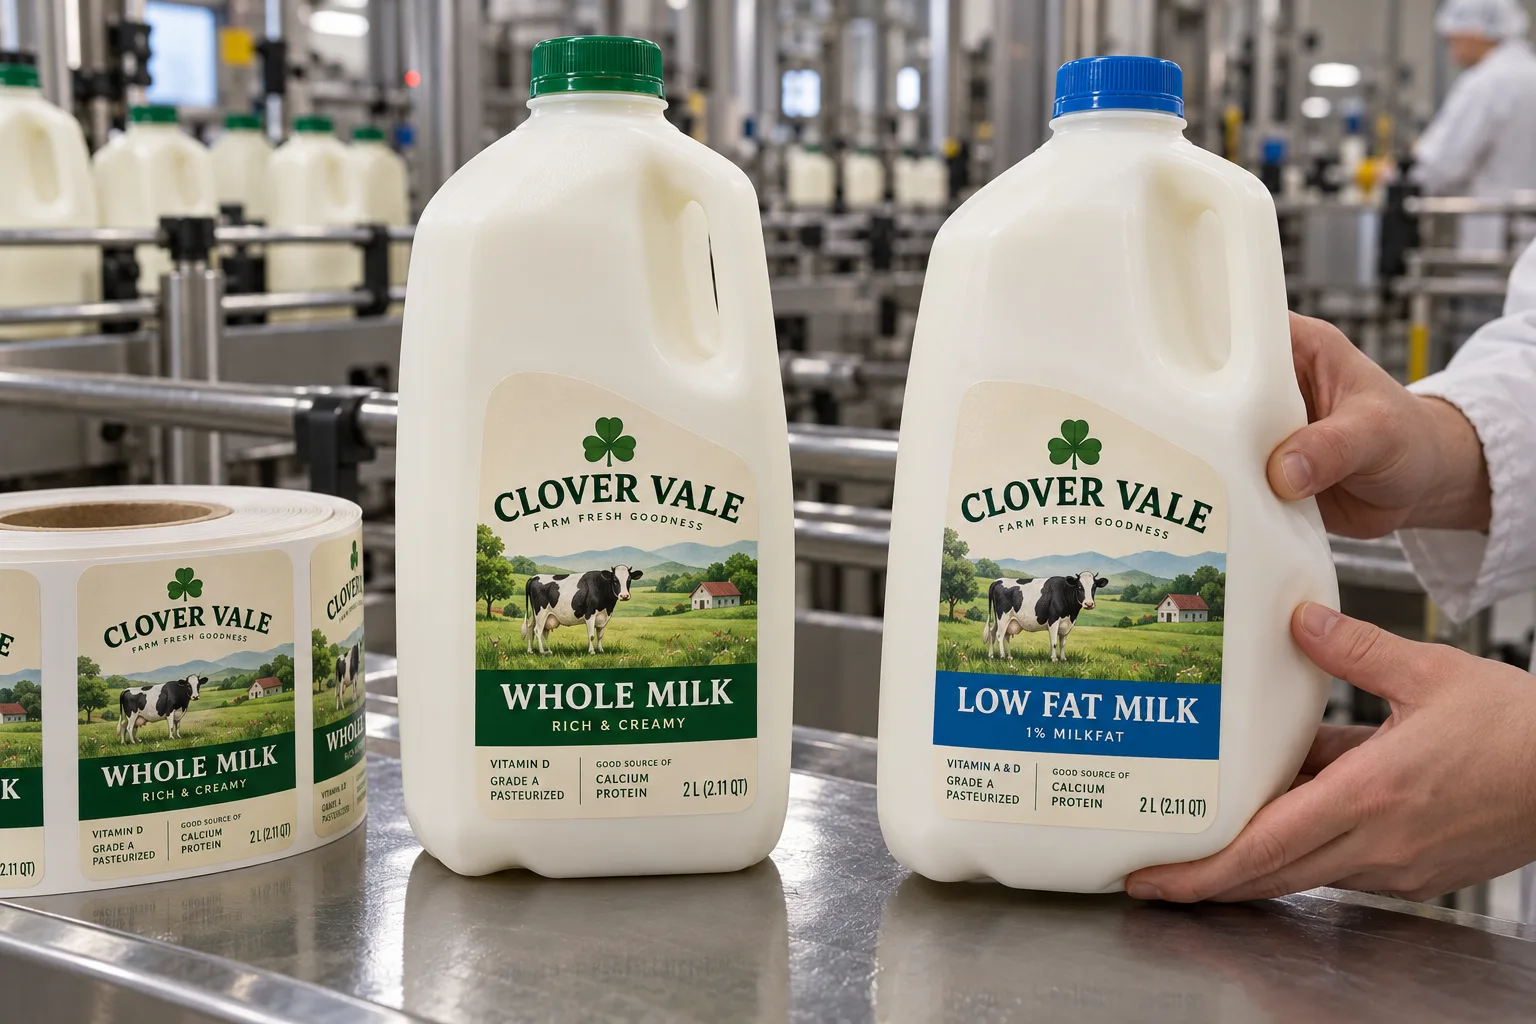
Check label conformability, cold handling and the HDPE recycling route.
Plan Milk Jug Labels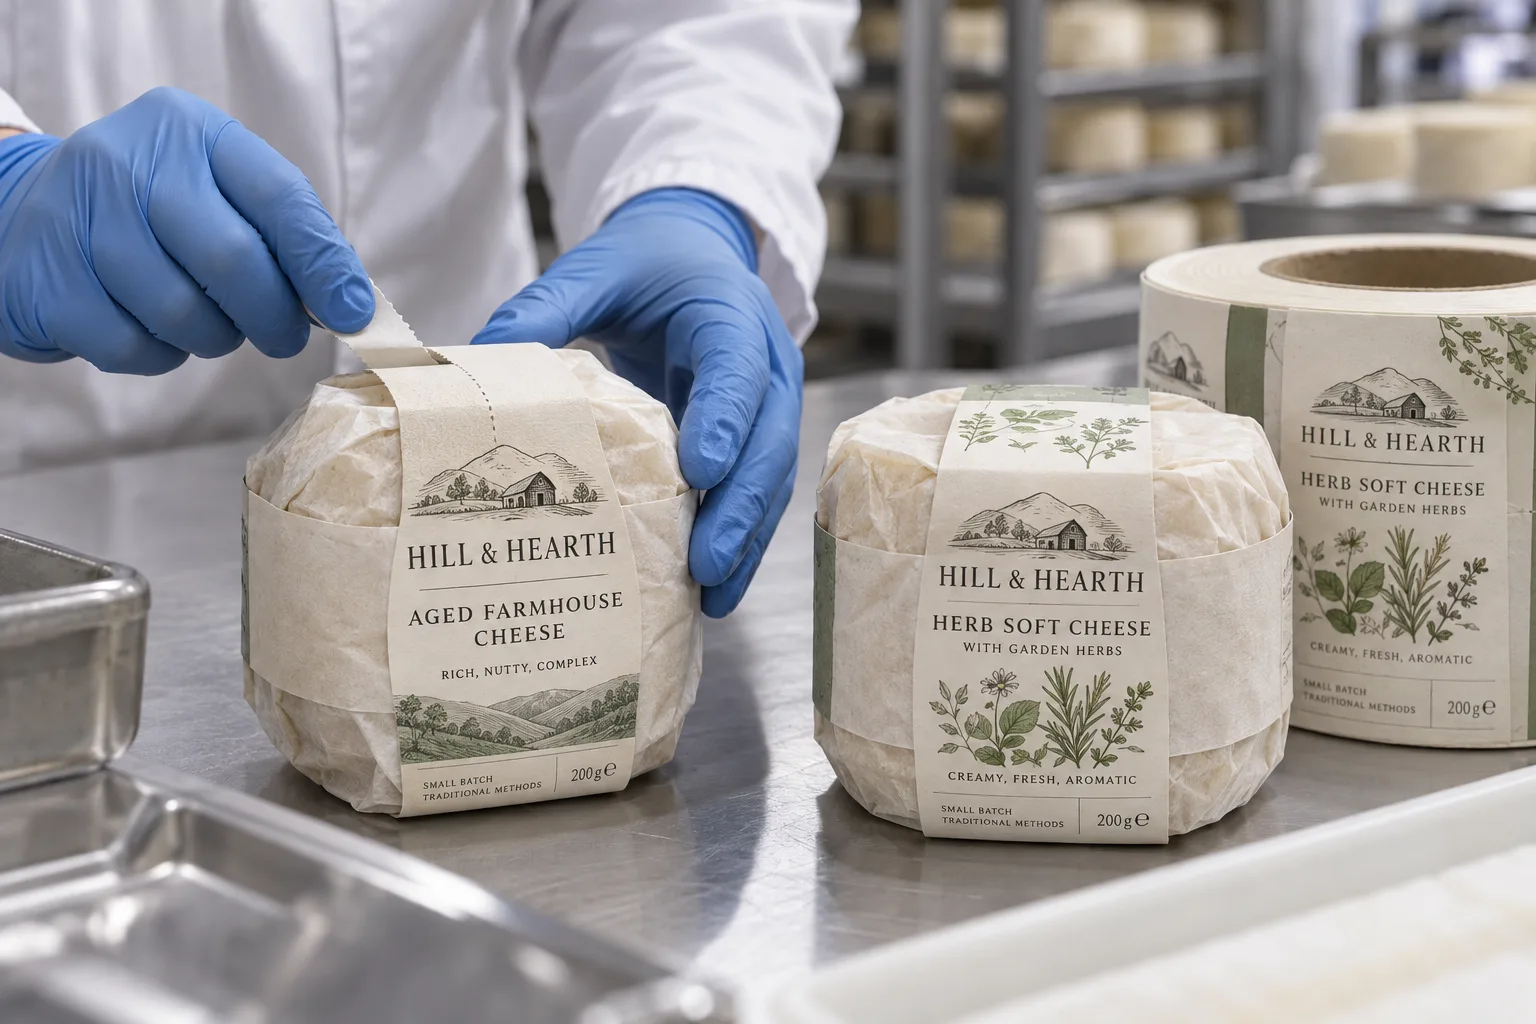
Fit a printed band to the wrapped wheel and its opening motion.
Plan Cheese Bands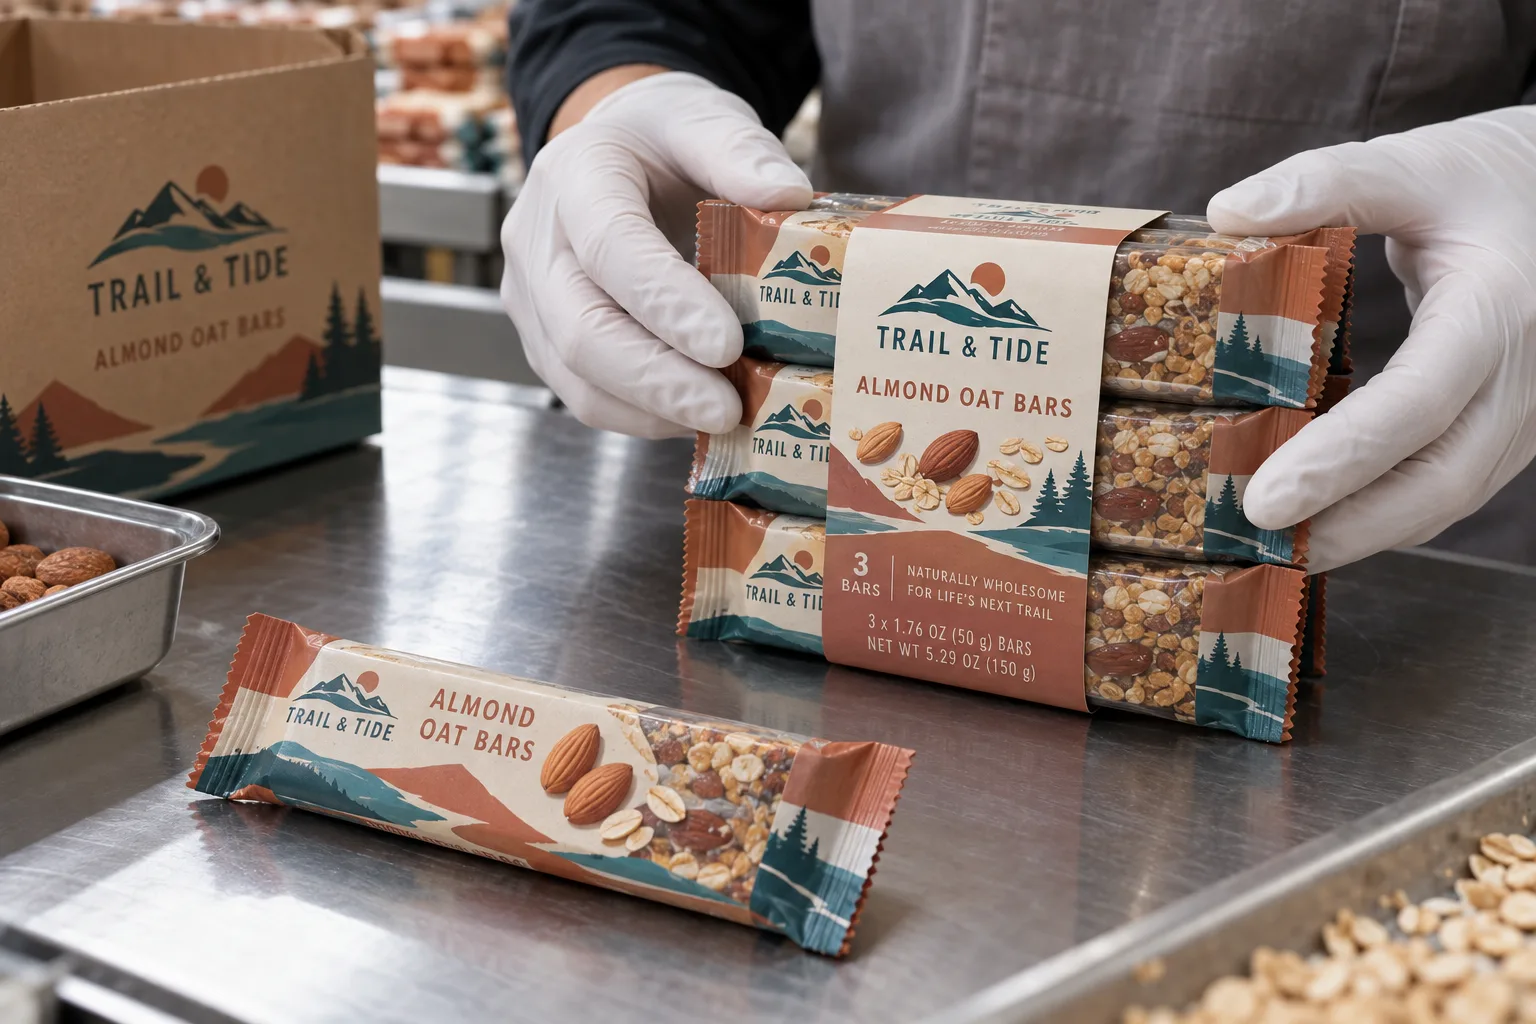
Control bundle count, barcode and unit identity with one printed band.
Plan Multipack Bands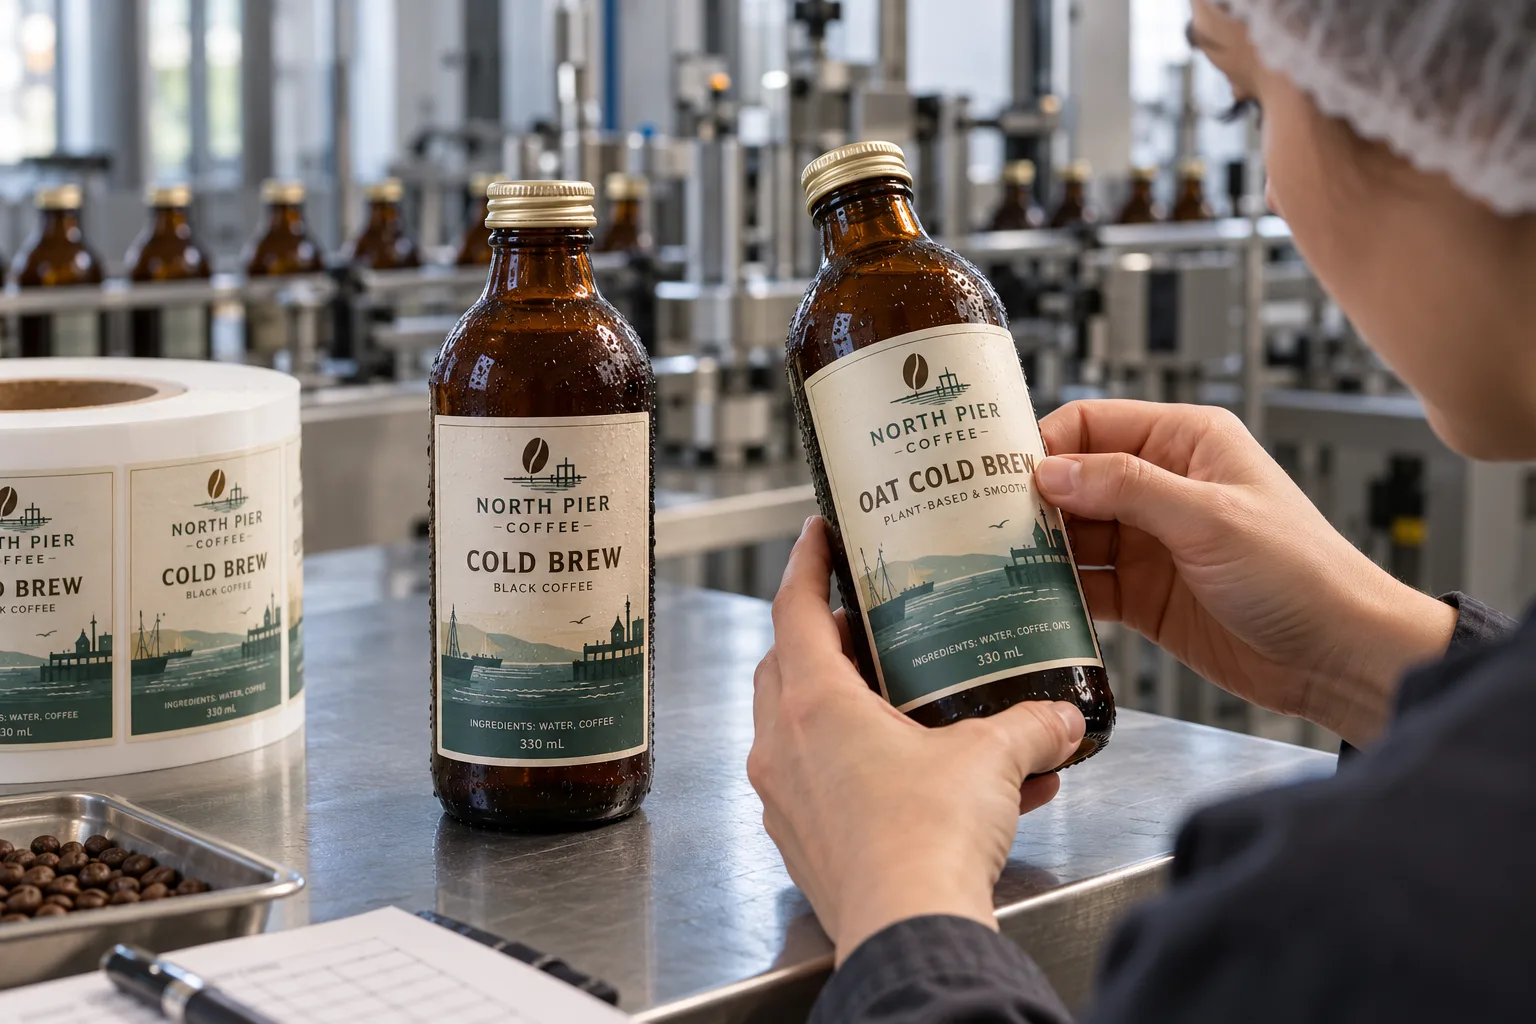
Test contrast on the filled bottle and adhesion after chilling.
Plan Cold Brew Labels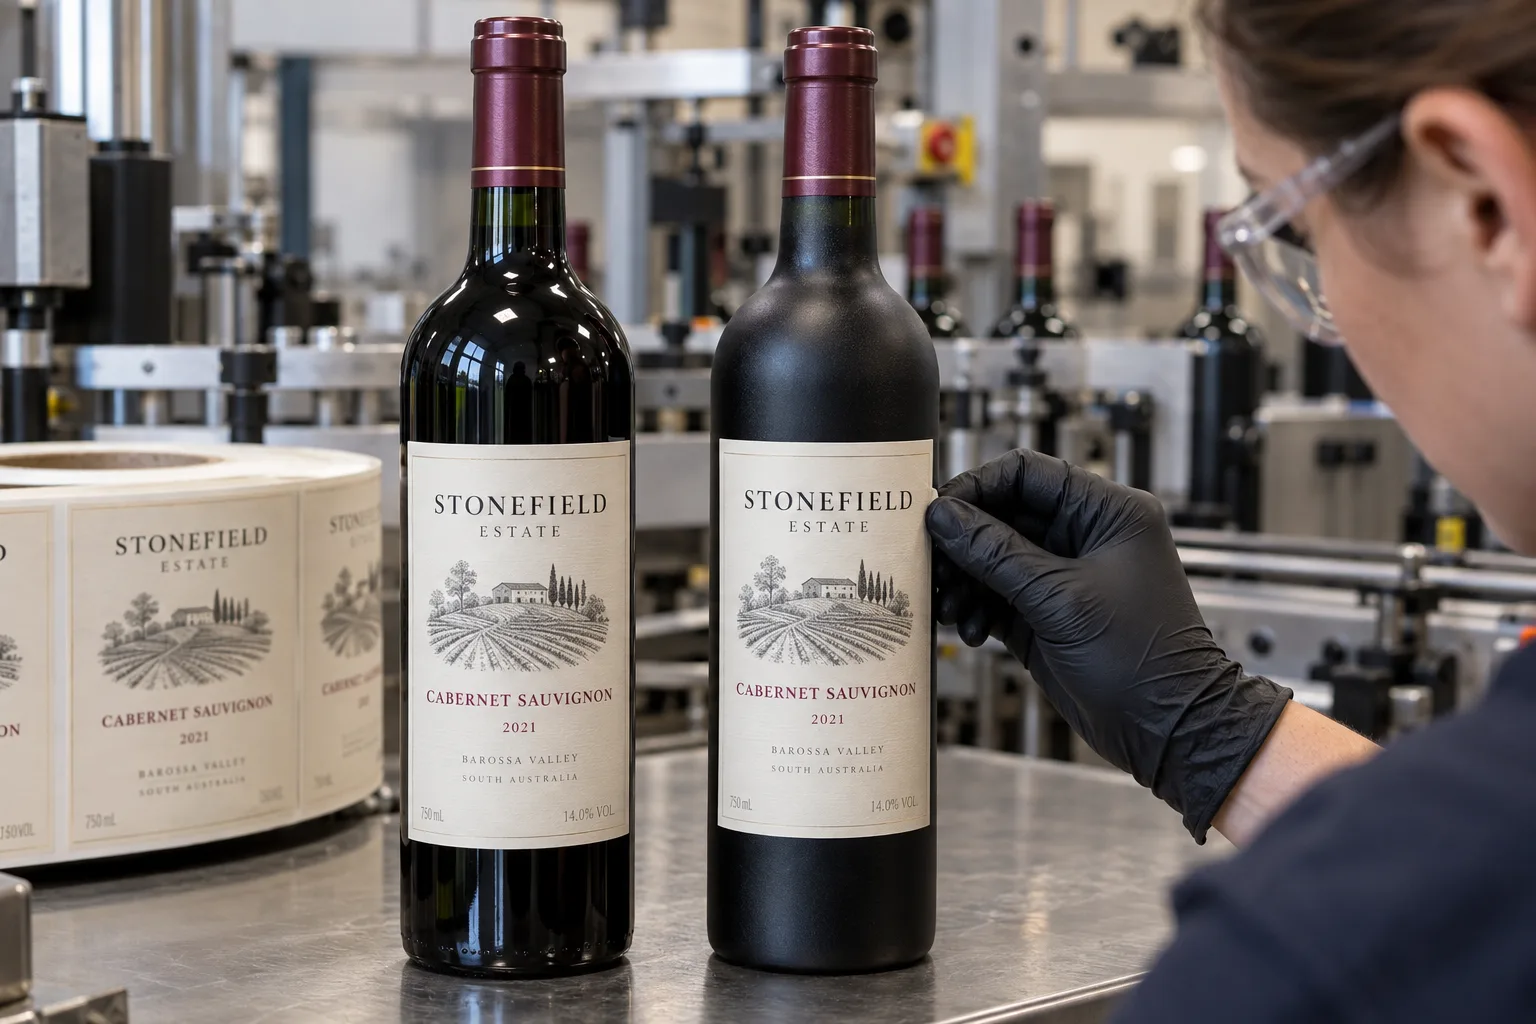
Investigate the actual bottle coating when a wine label lifts.
Test Bottle Coatings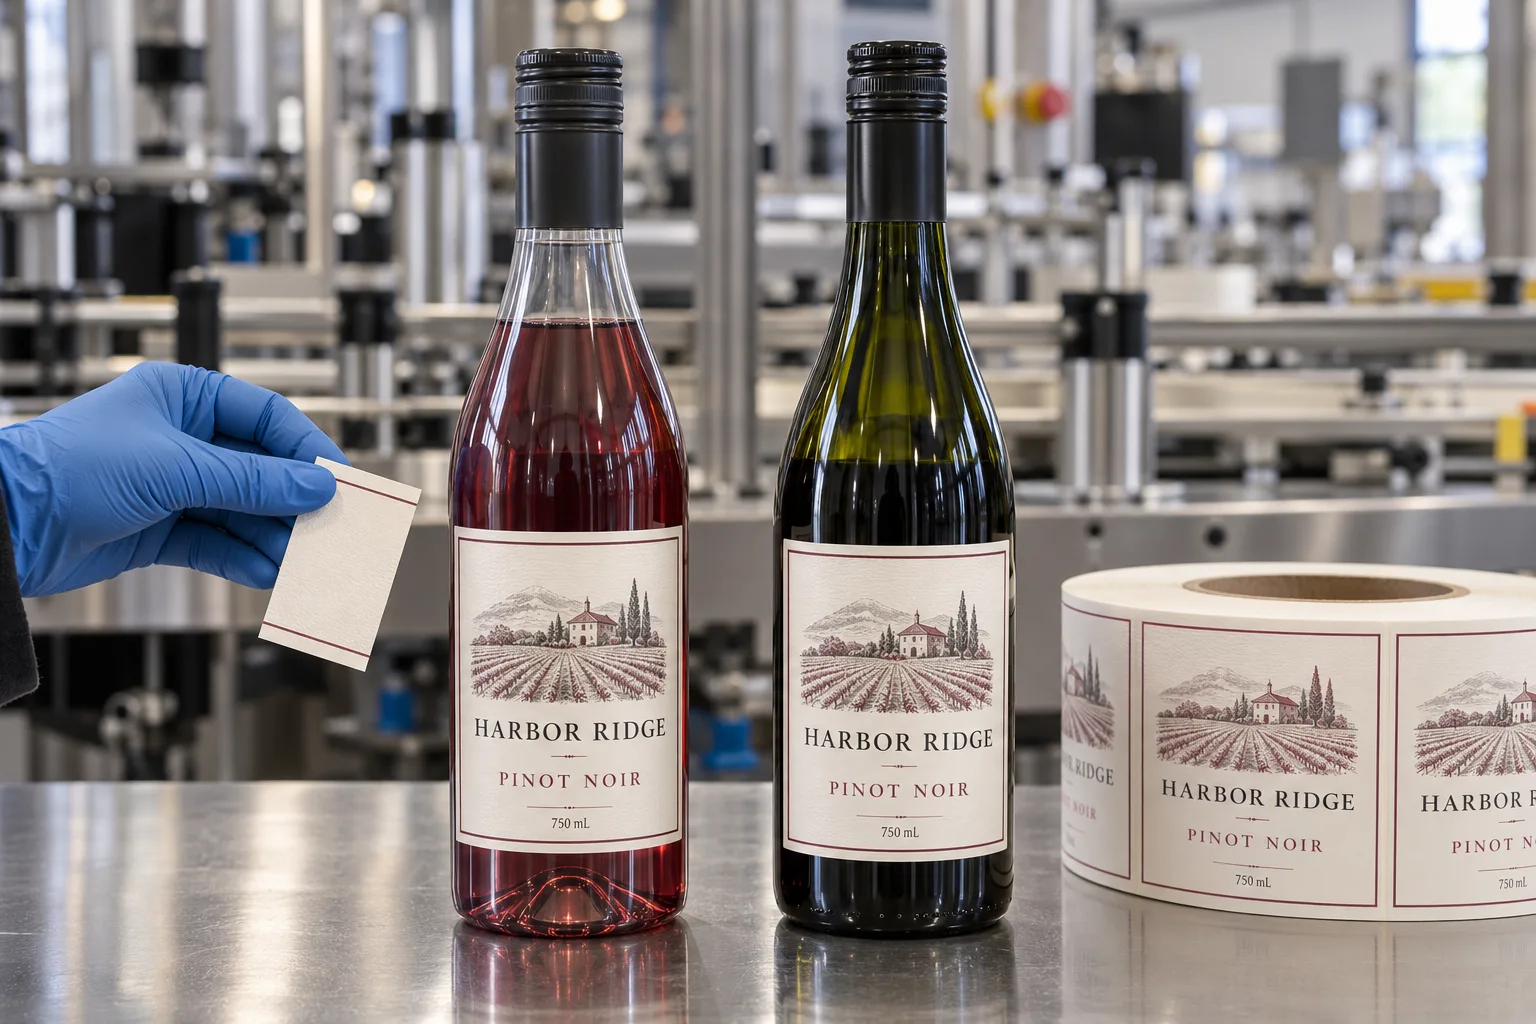
Check whether a glass-bottle label still performs on a PET bottle.
Compare Wine Bottles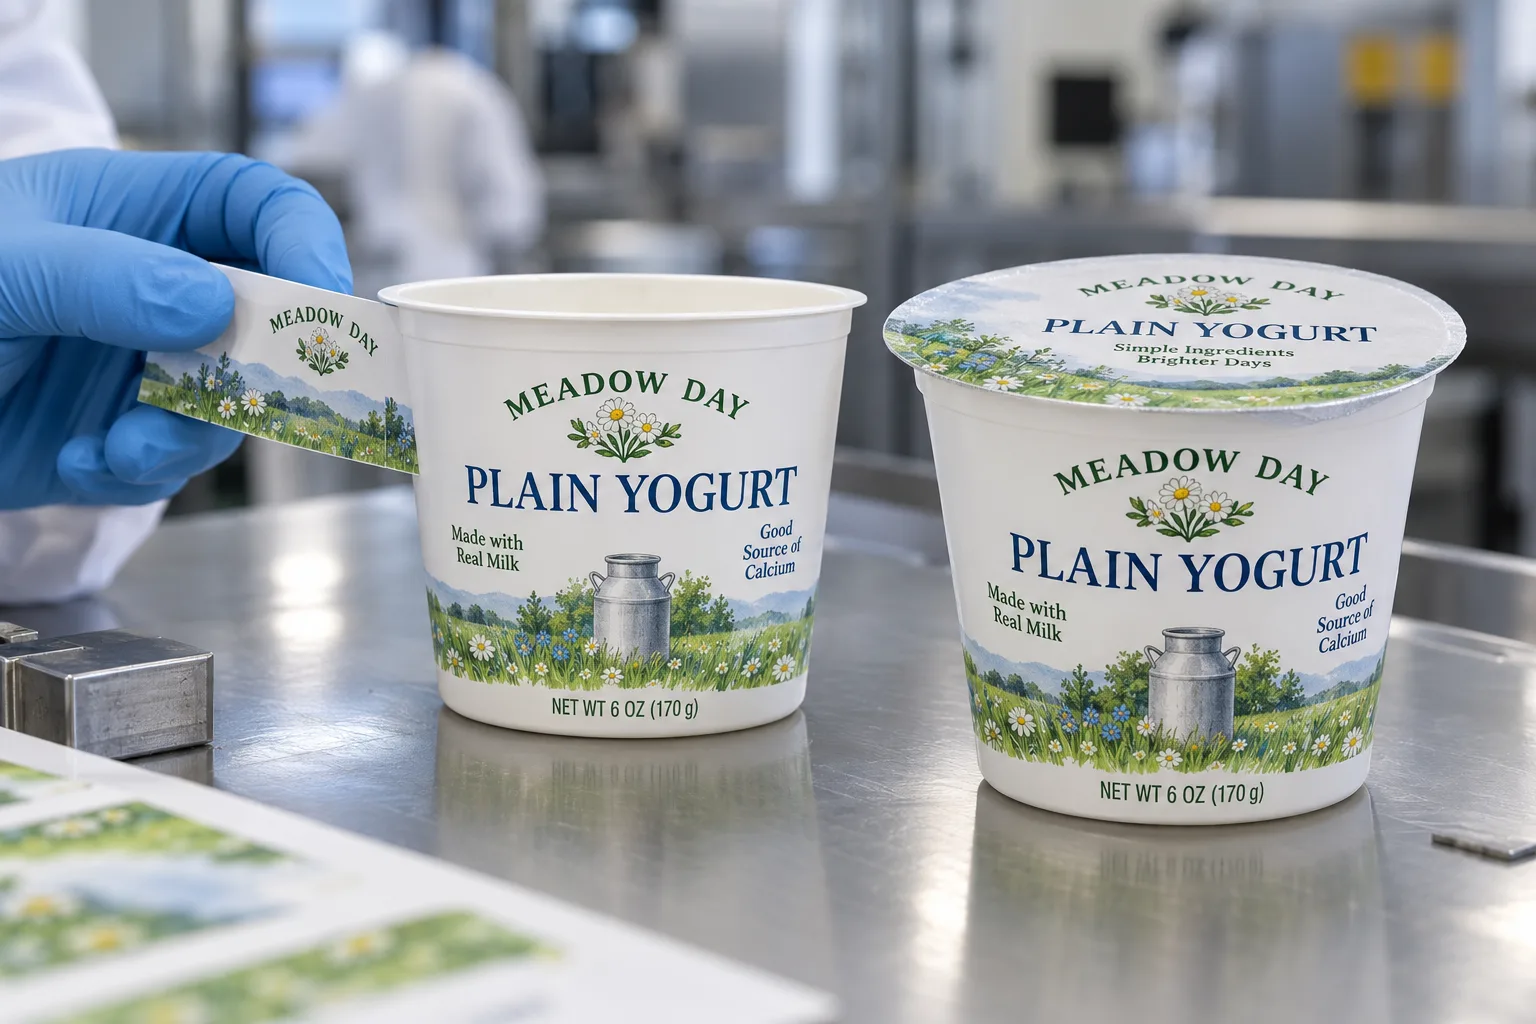
Measure the taper and lid flange before choosing a sidewall label.
Fit Yogurt Cup Labels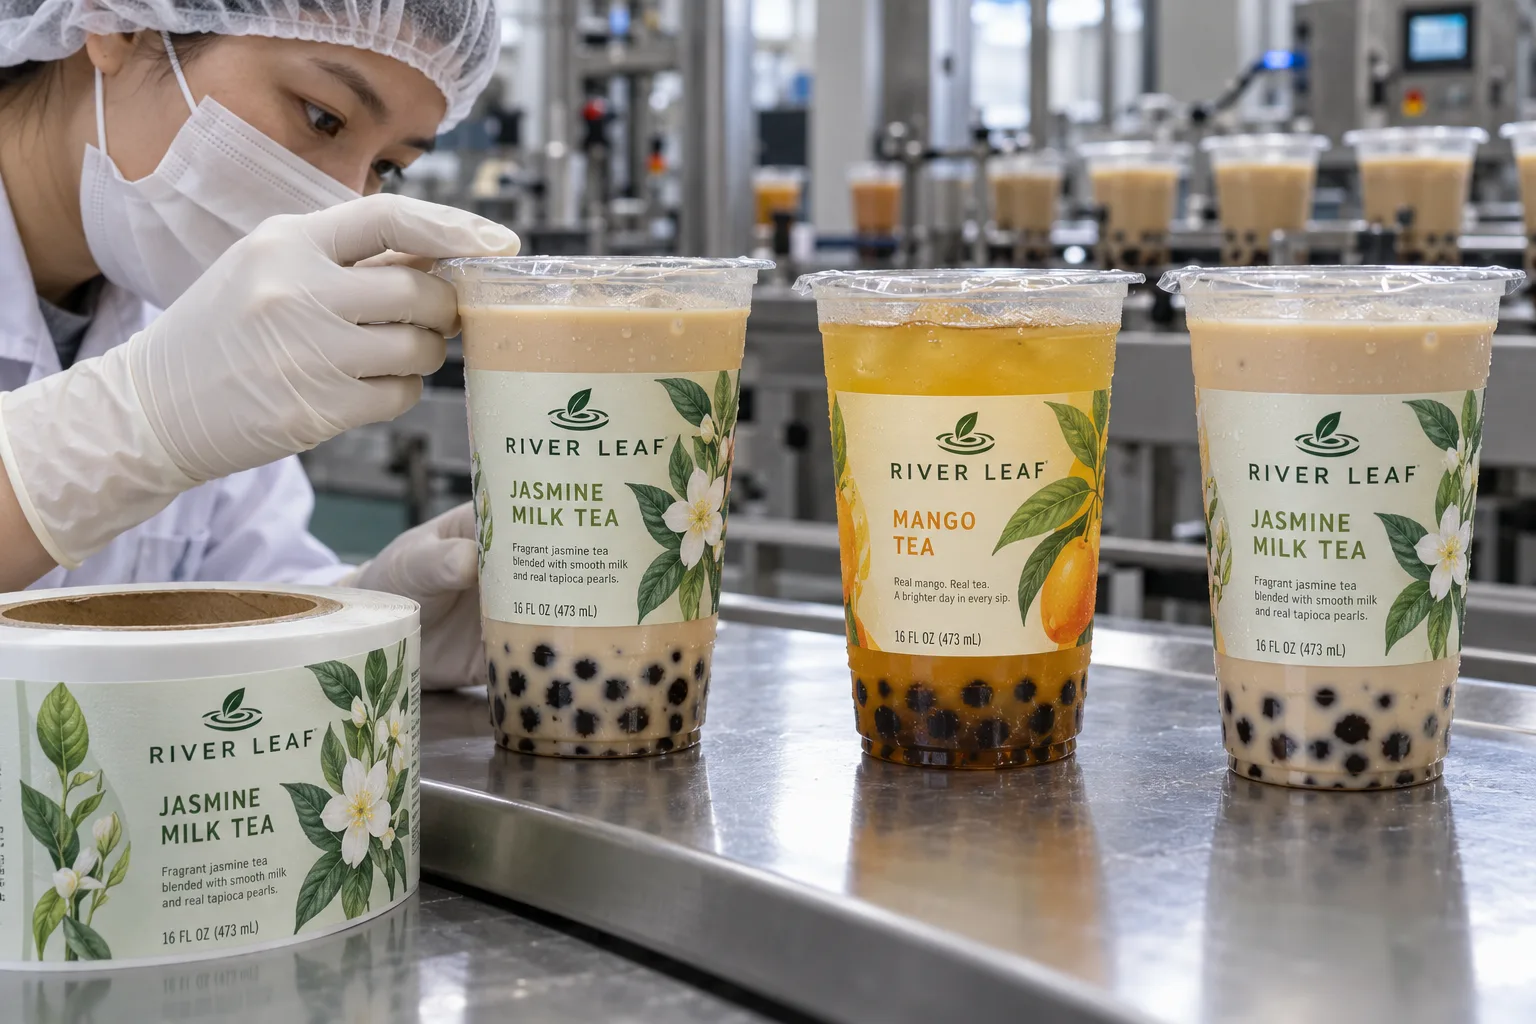
Keep cup artwork clear of the seal and test it after chilling.
Plan Cup Labels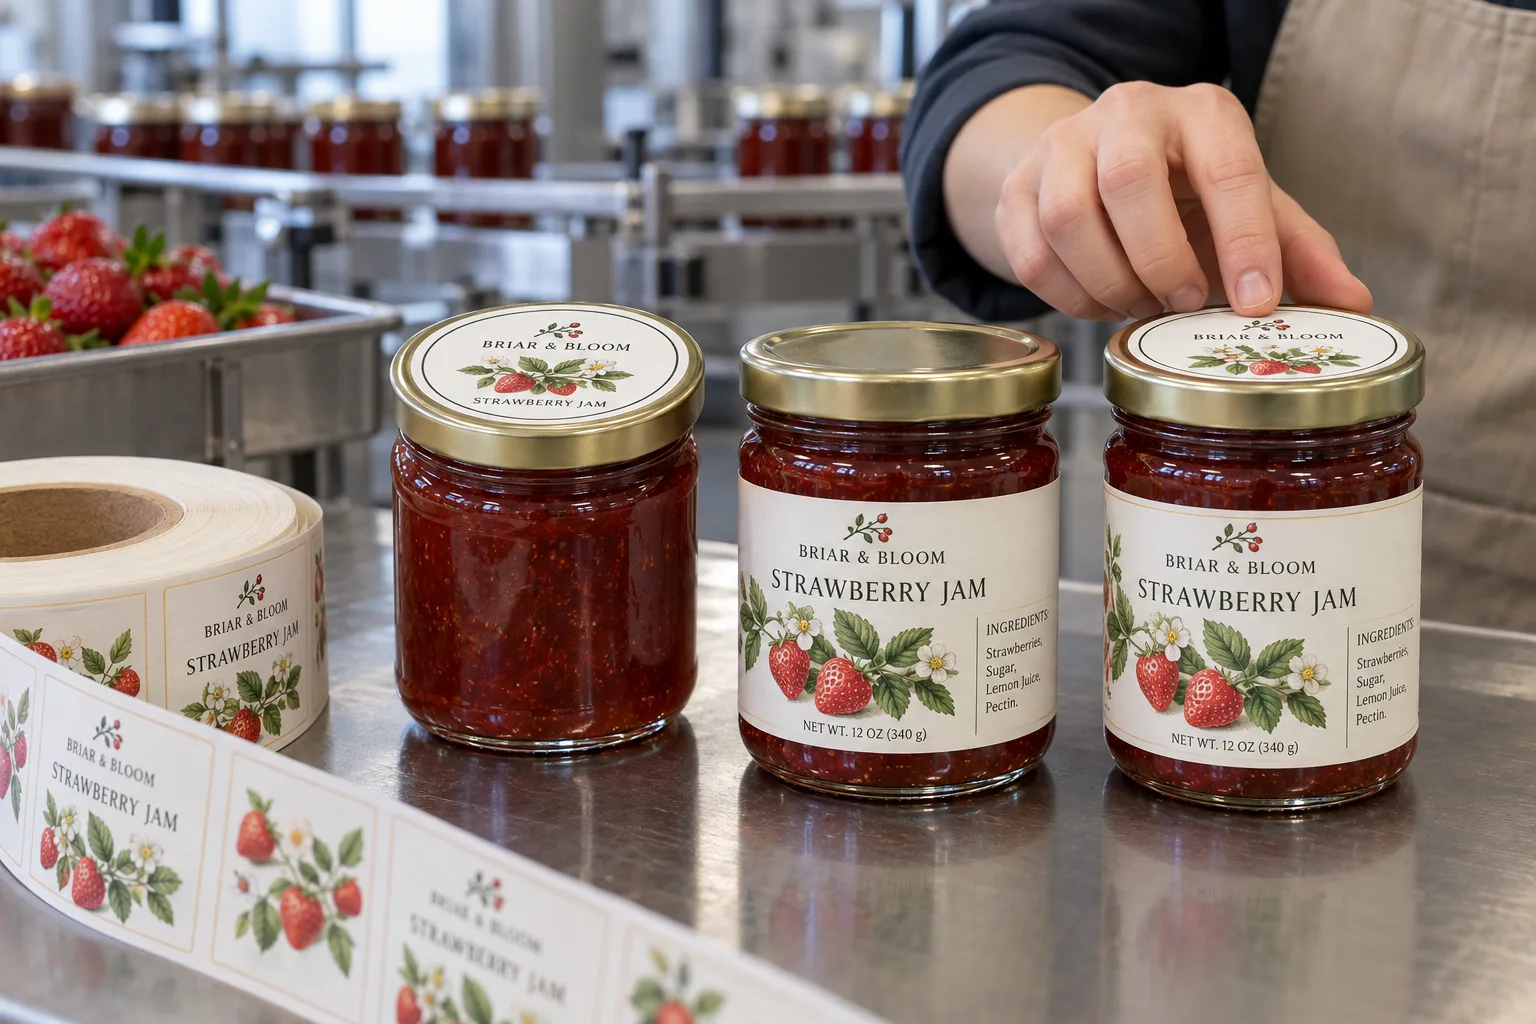
Decide what shoppers and packers need to read from the lid and side.
Compare Jar Labels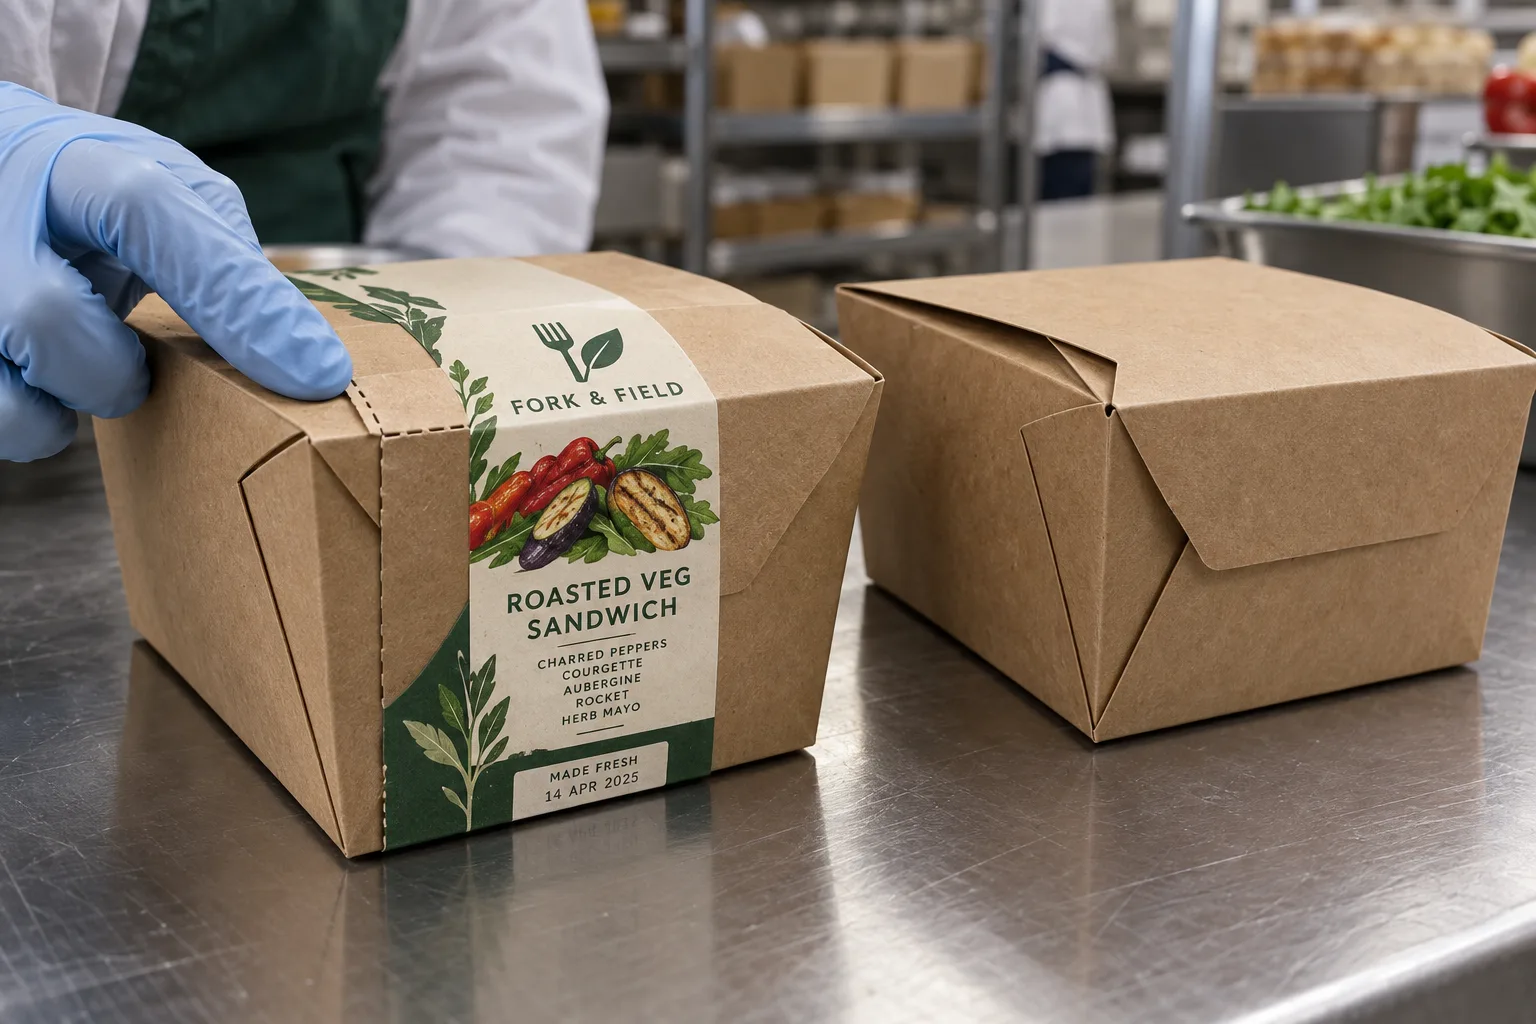
Test label adhesion and the tear path on the packed carton.
Plan Carton Seals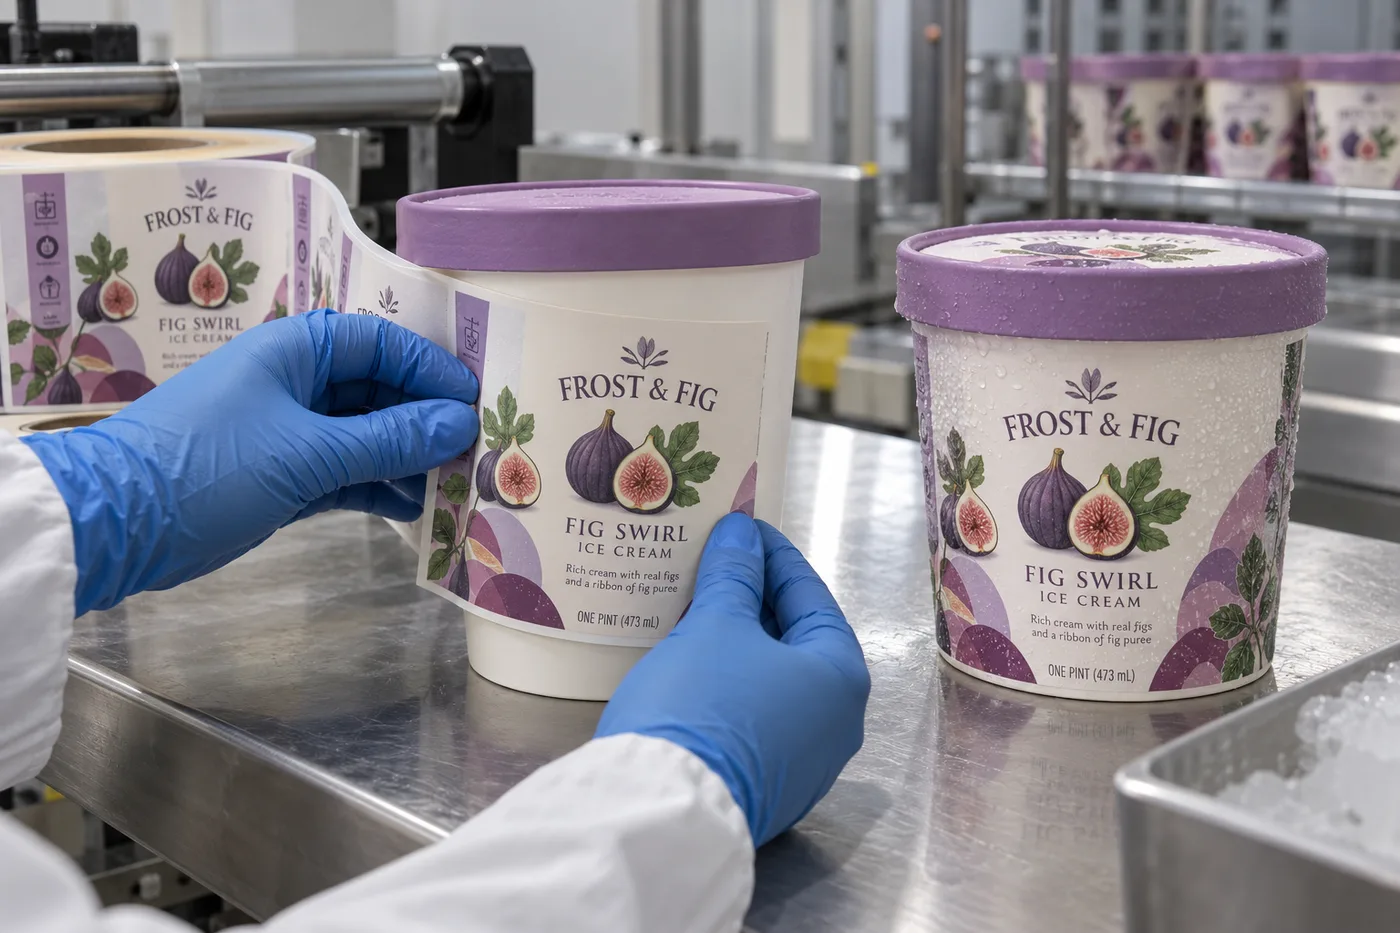
Choose the label after deciding whether tubs are labeled before or after freezing.
Plan Ice Cream Labels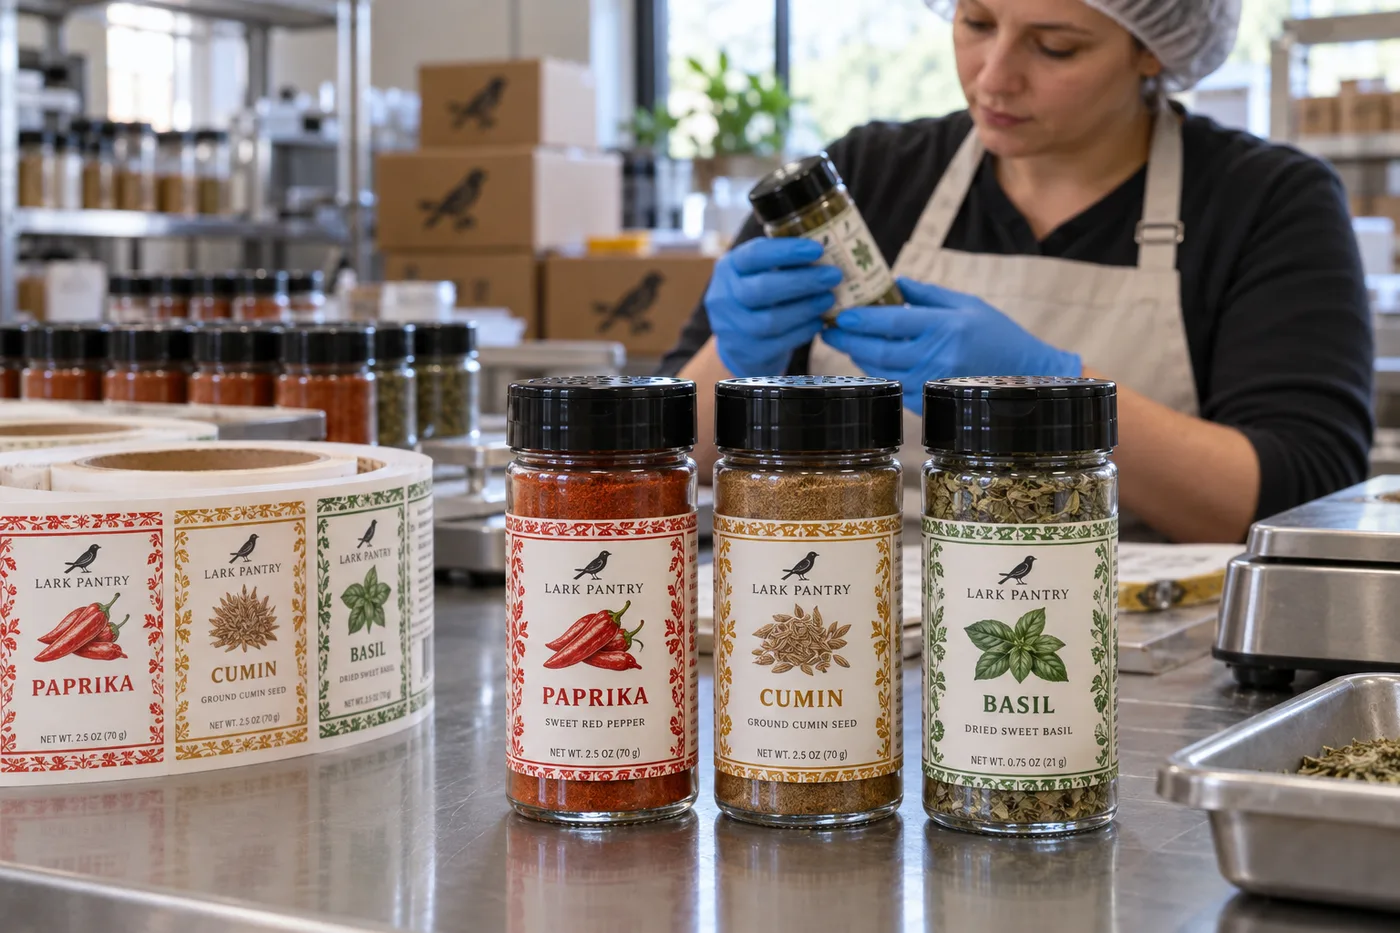
Keep flavor names obvious and packing codes controlled across every shaker.
Plan Spice SKUs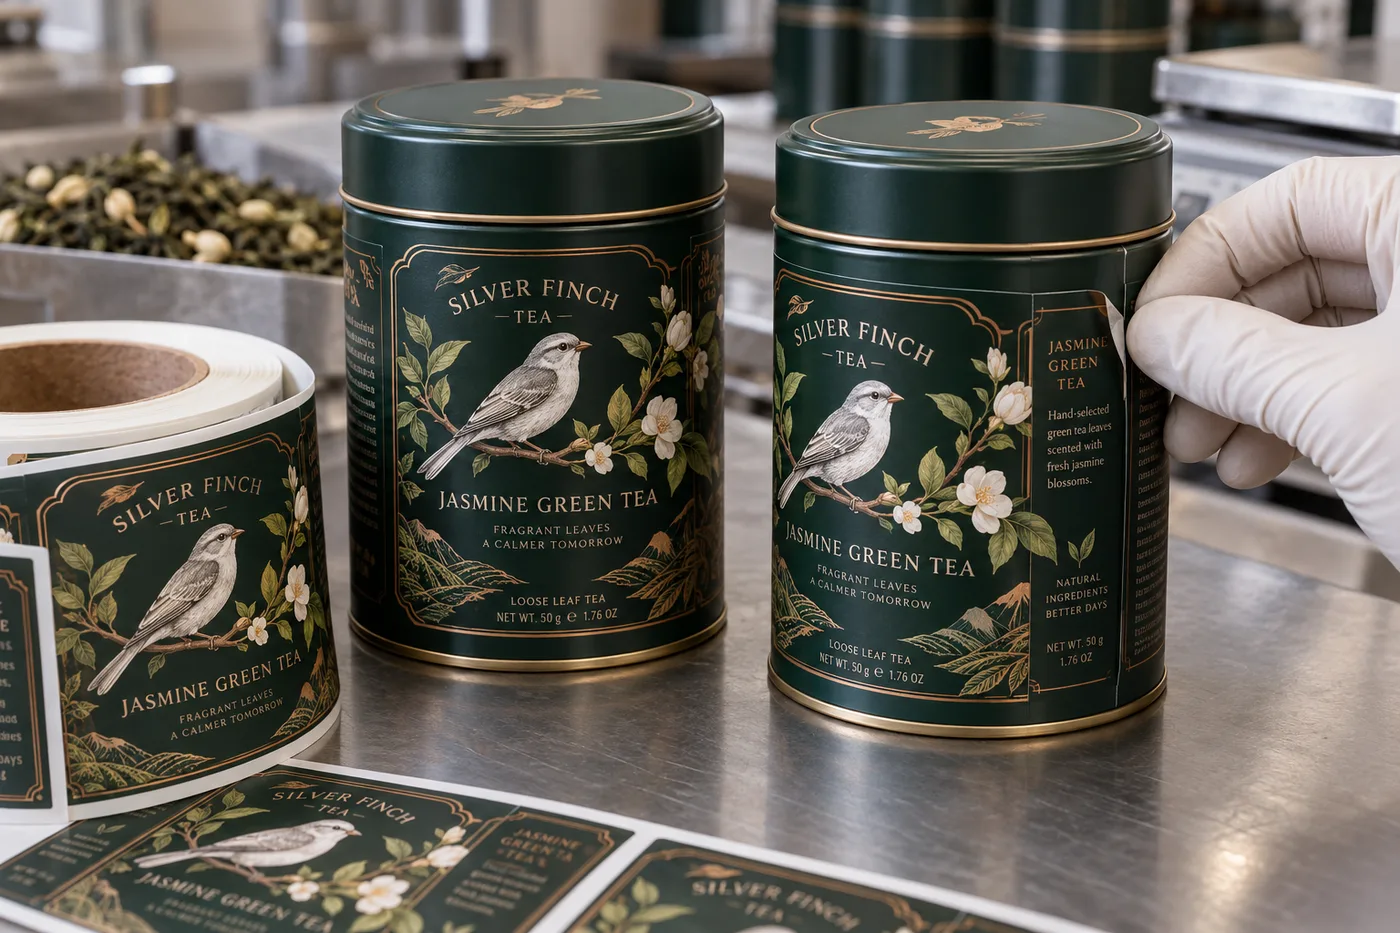
Test the exact coated tin and its lid before approving a premium label finish.
Fit Tea Tin Labels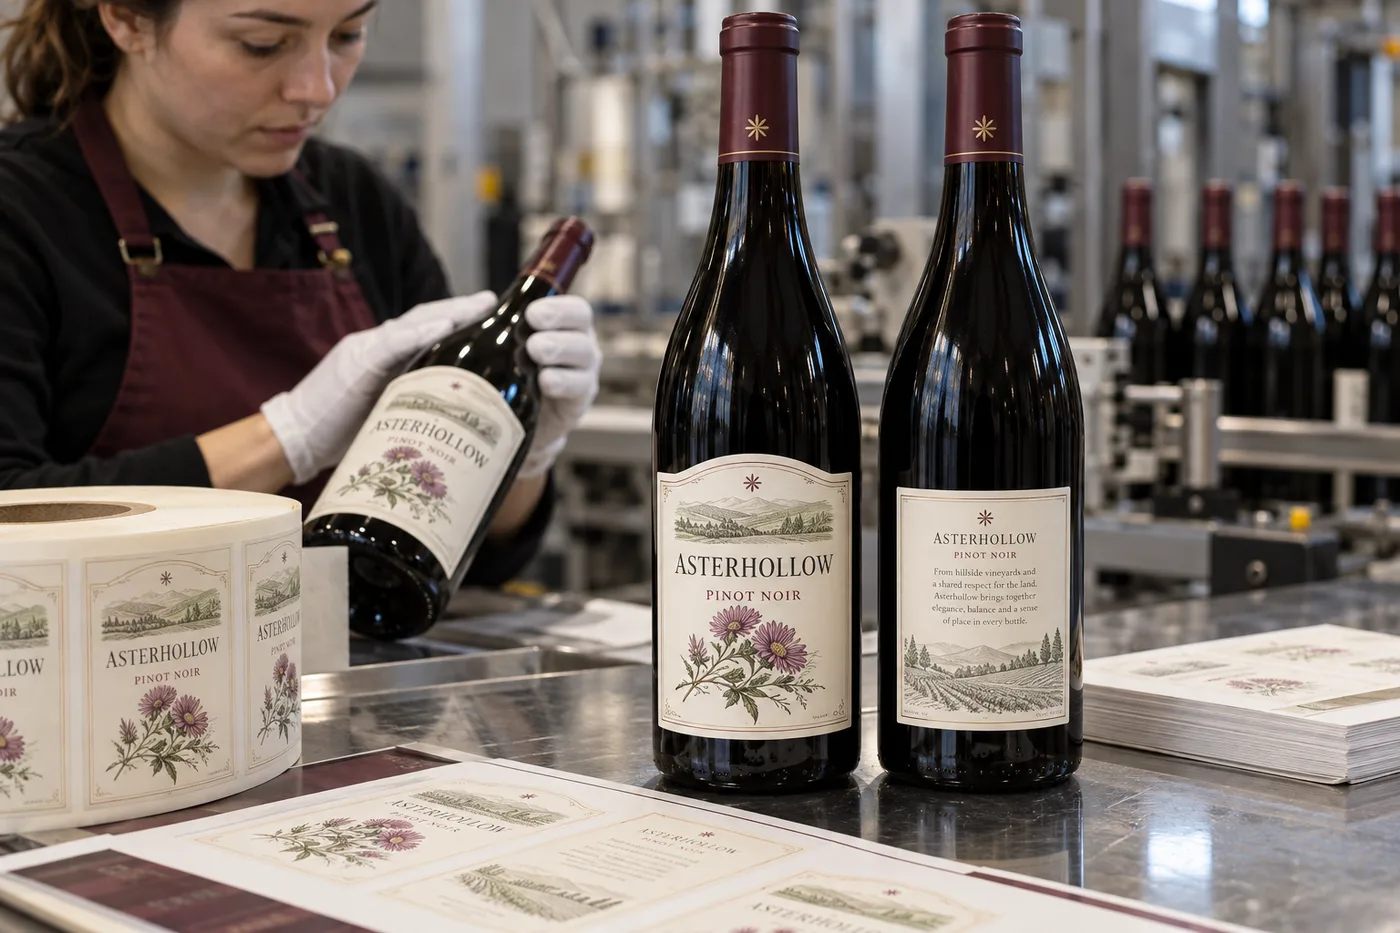
Reserve readable space for approved U.S. wine-label content before finishing artwork.
Plan Wine Back Labels
Define what stays on the tray during heating before choosing a label stock.
Plan Meal Labels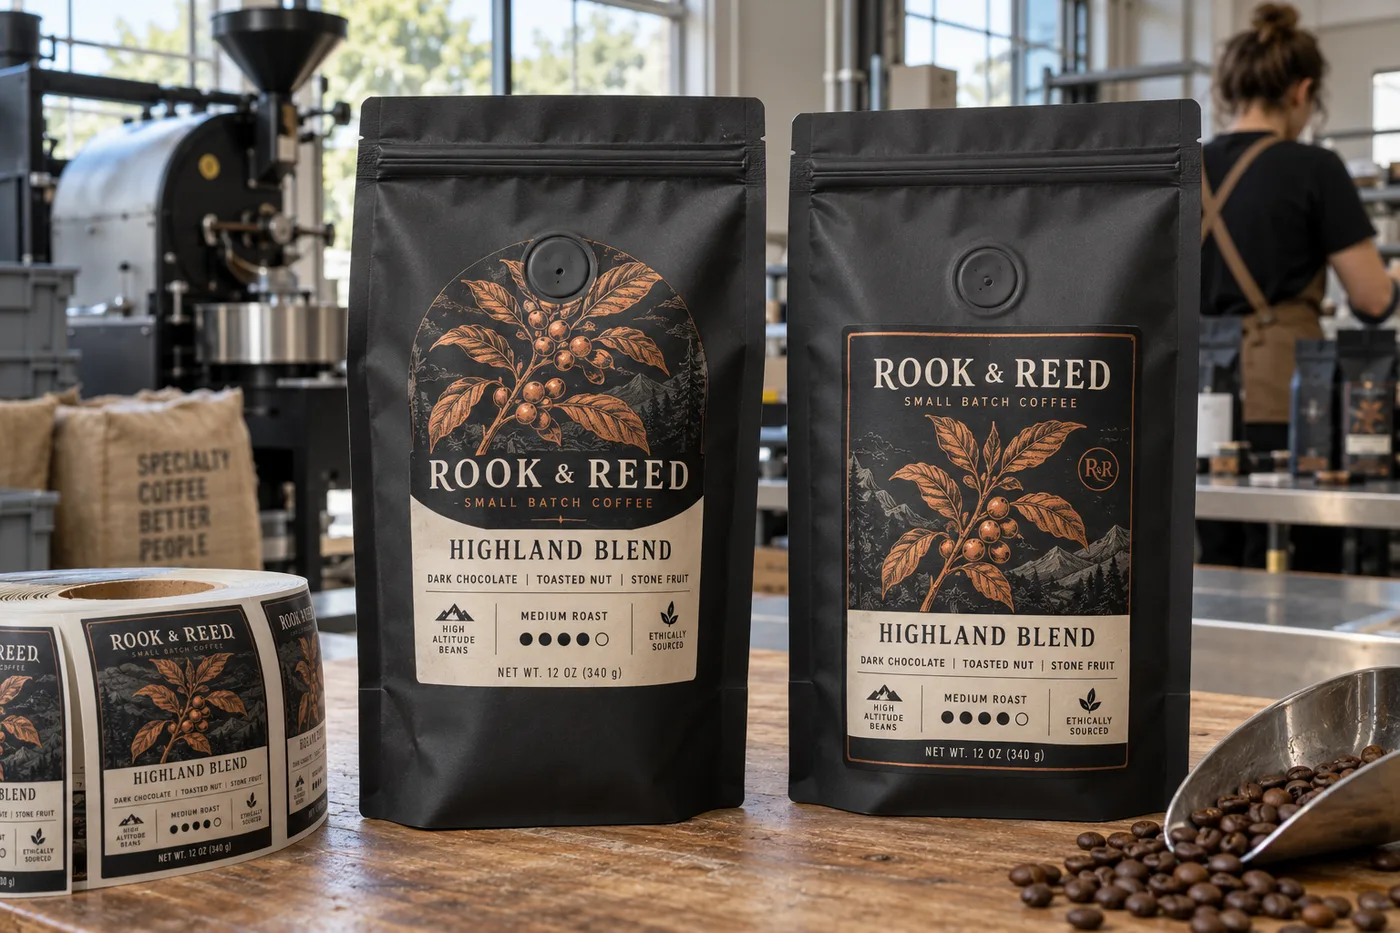
Plan the label around the valve, zipper and filled-bag shape.
Plan Coffee Bag Fit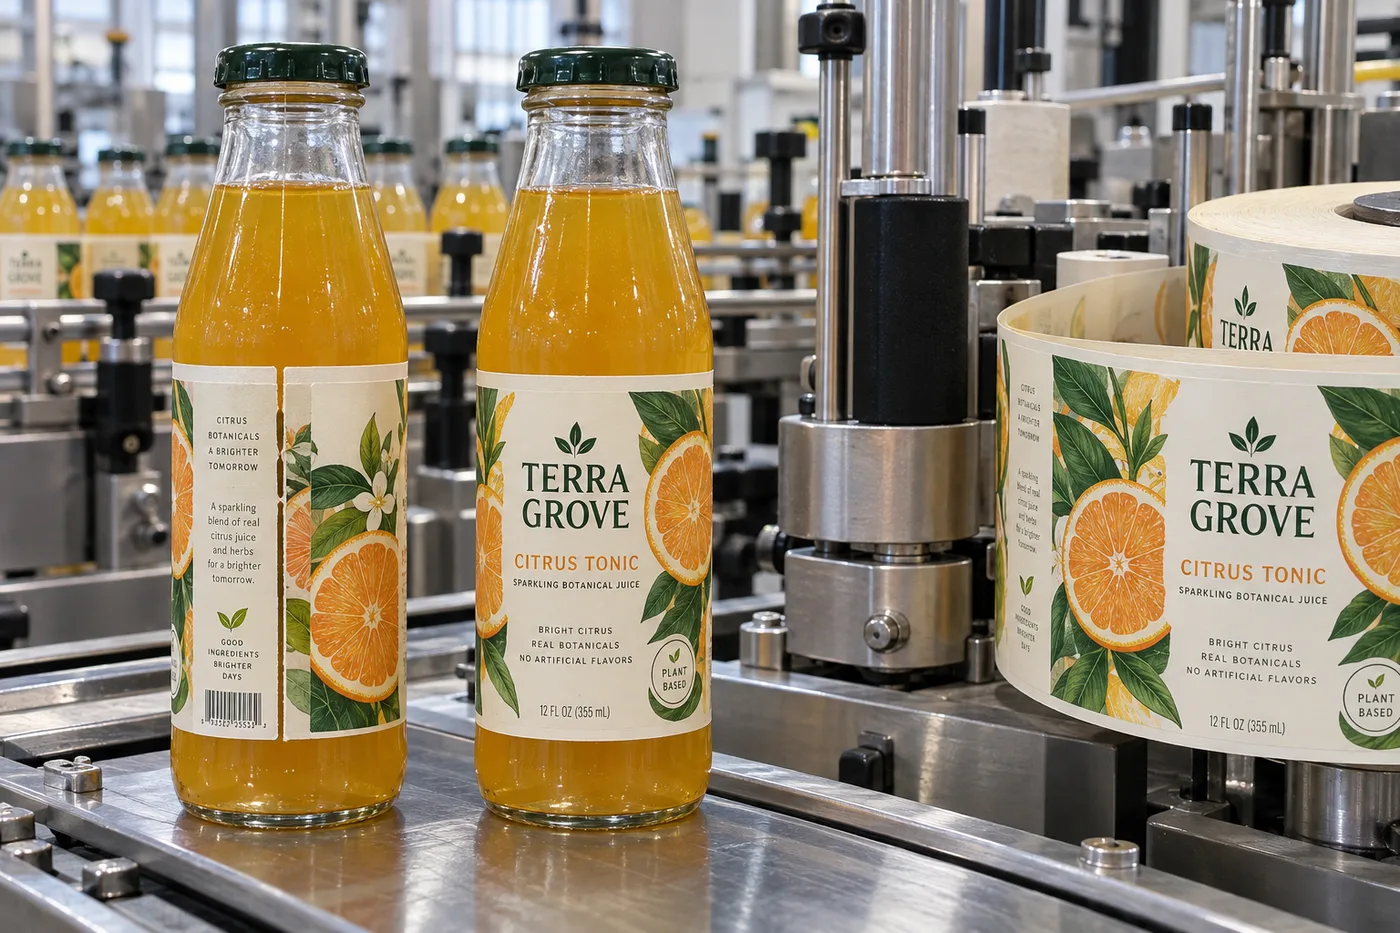
Make the end joint a measured design decision, not a press surprise.
Plan the Bottle Seam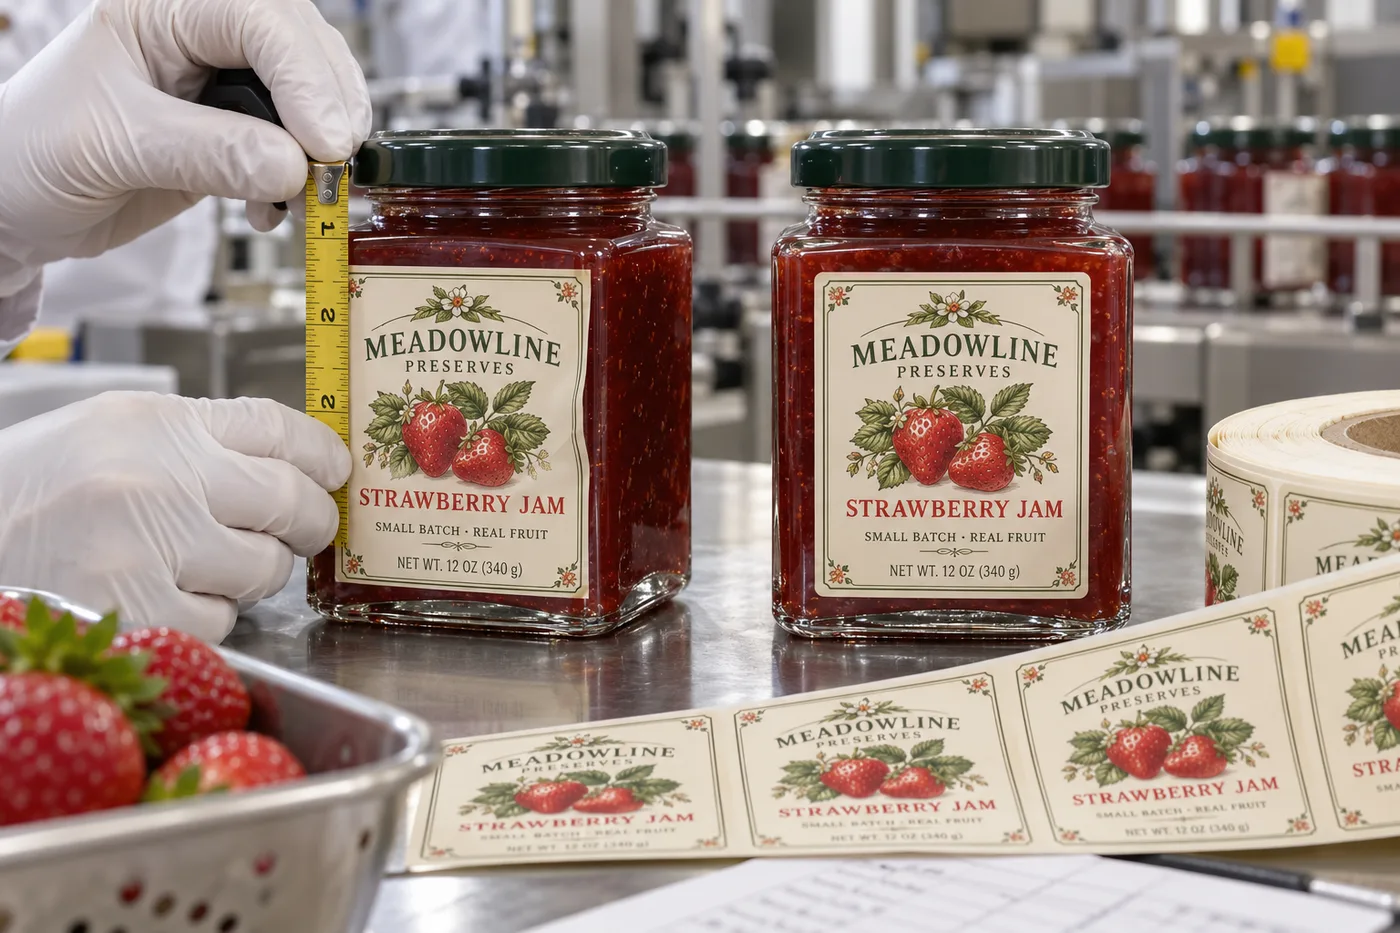
Use the actual flat glass panel to set label width and edge clearance.
Size Square Jar Labels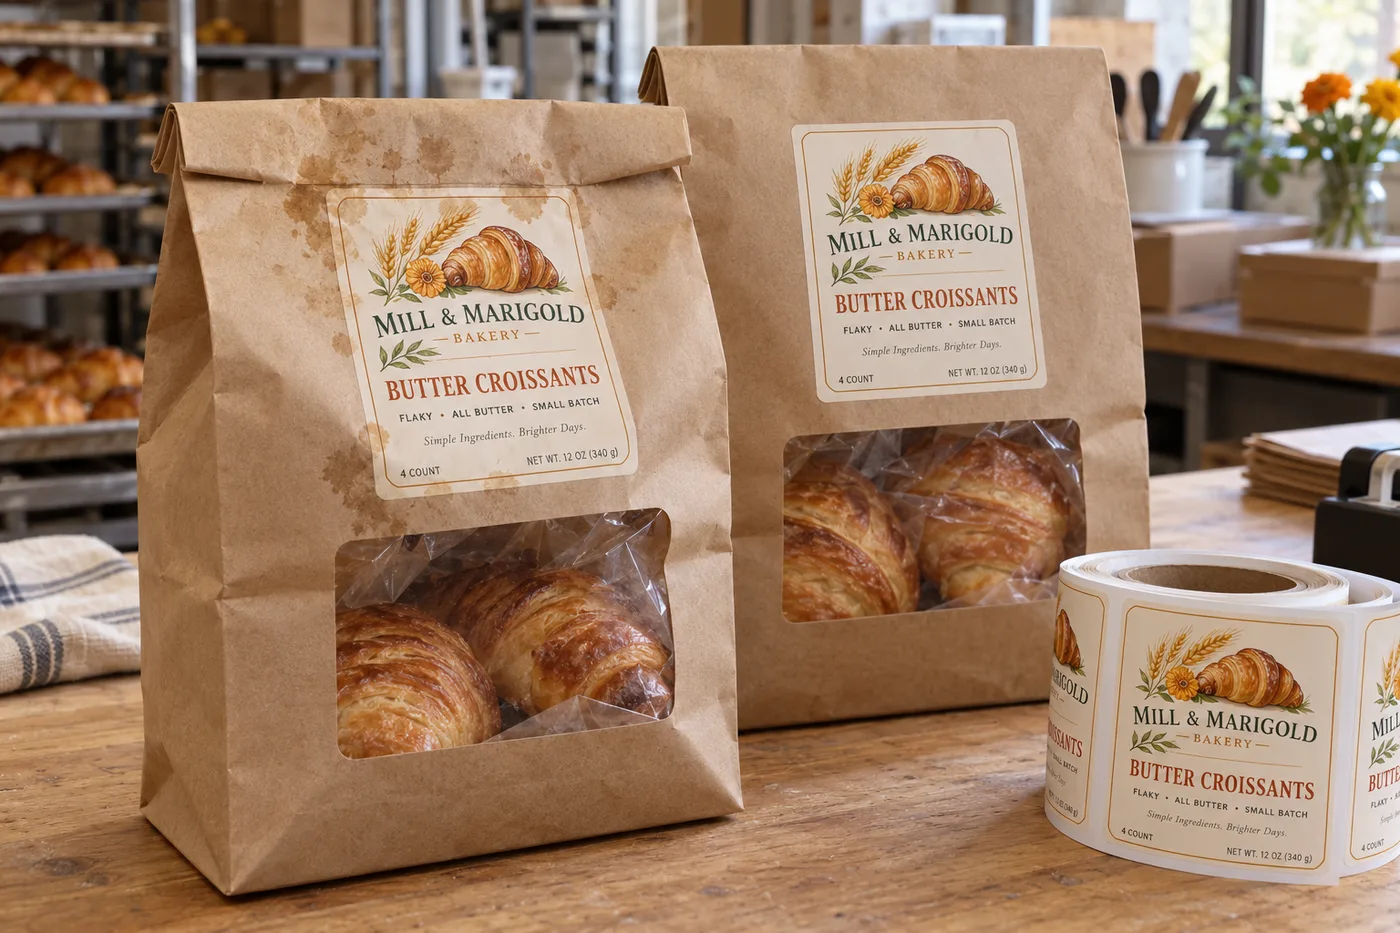
Choose the label panel and material from a packed-bag trial.
Plan Bakery Bag Labels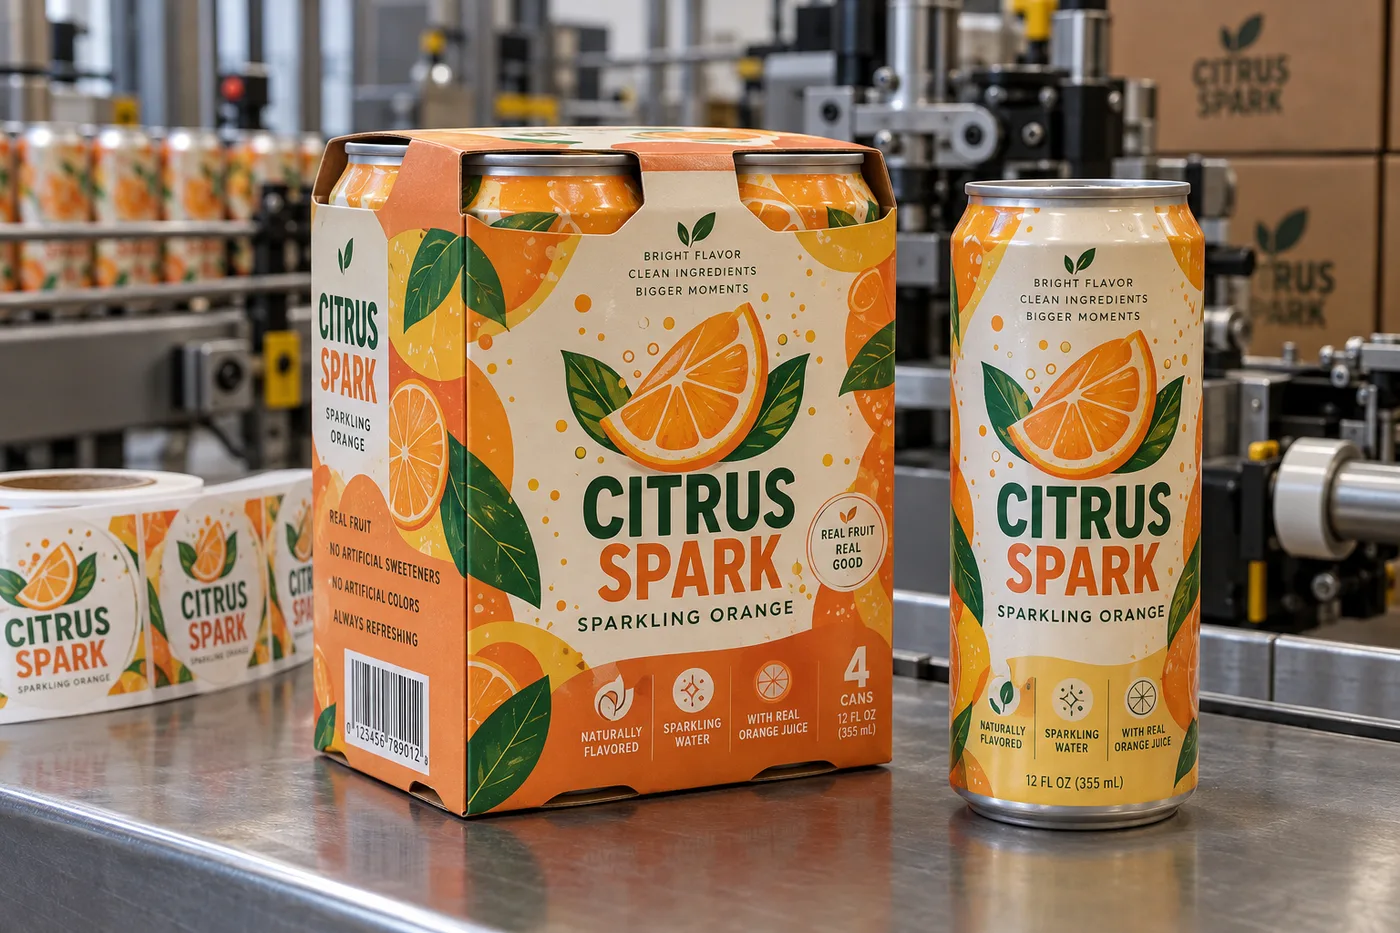
Design the carrier, unit identifiers and checkout view together.
Plan Multipack Labels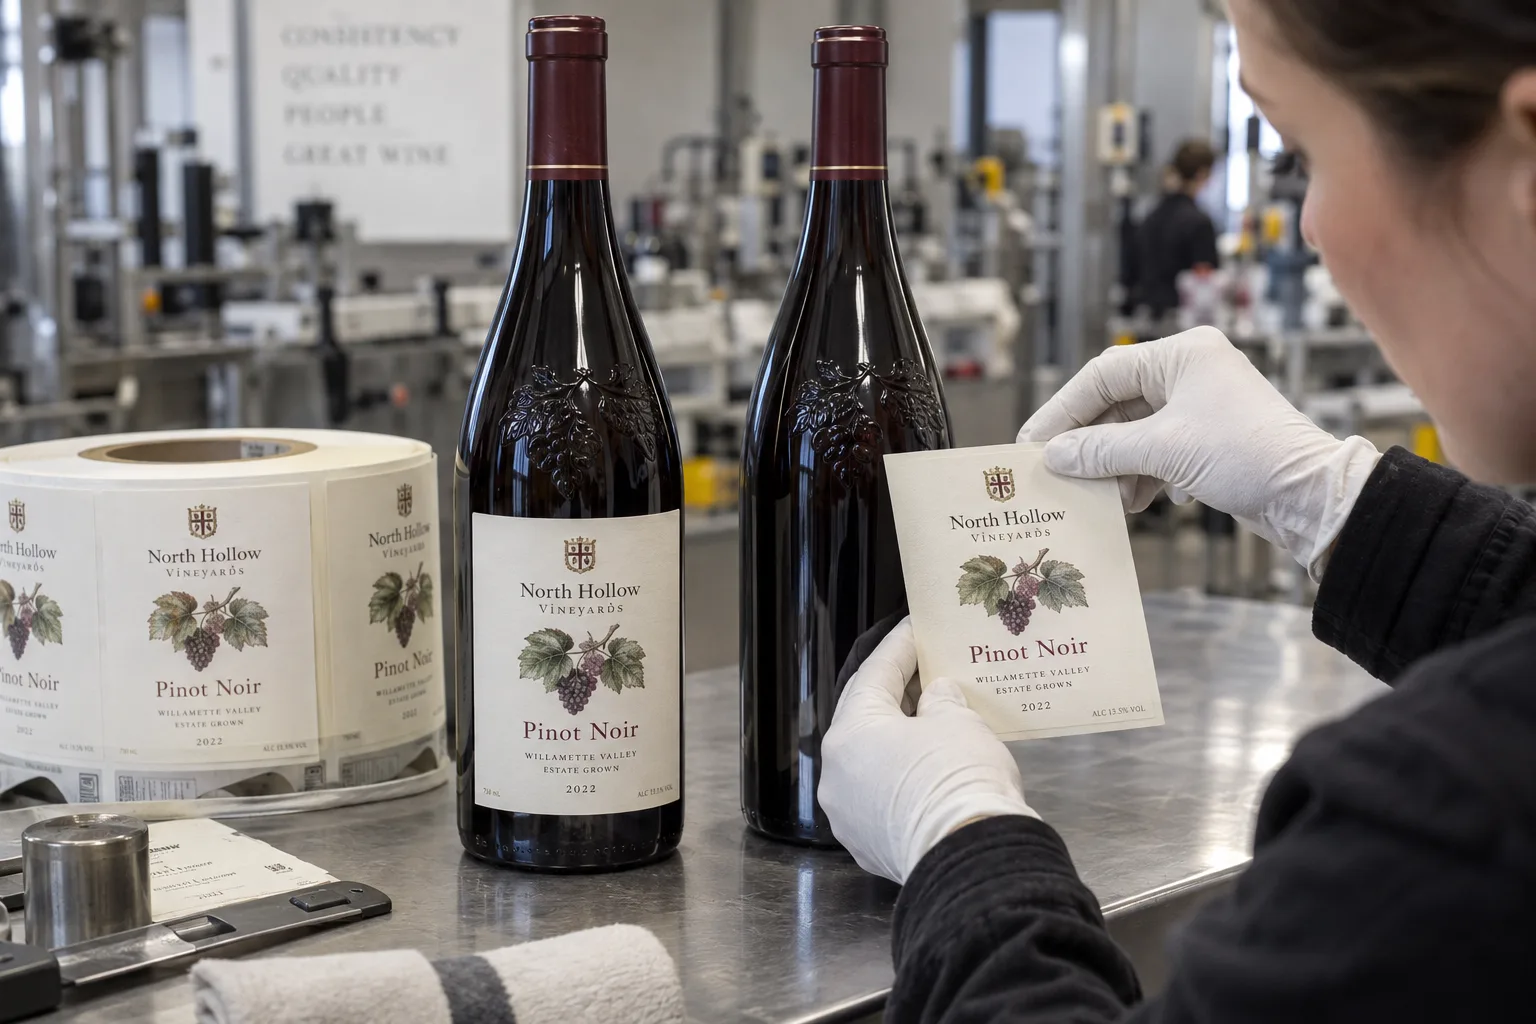
Measure the clear glass panel and test printed labels before committing to embossed bottles.
Fit Embossed Bottles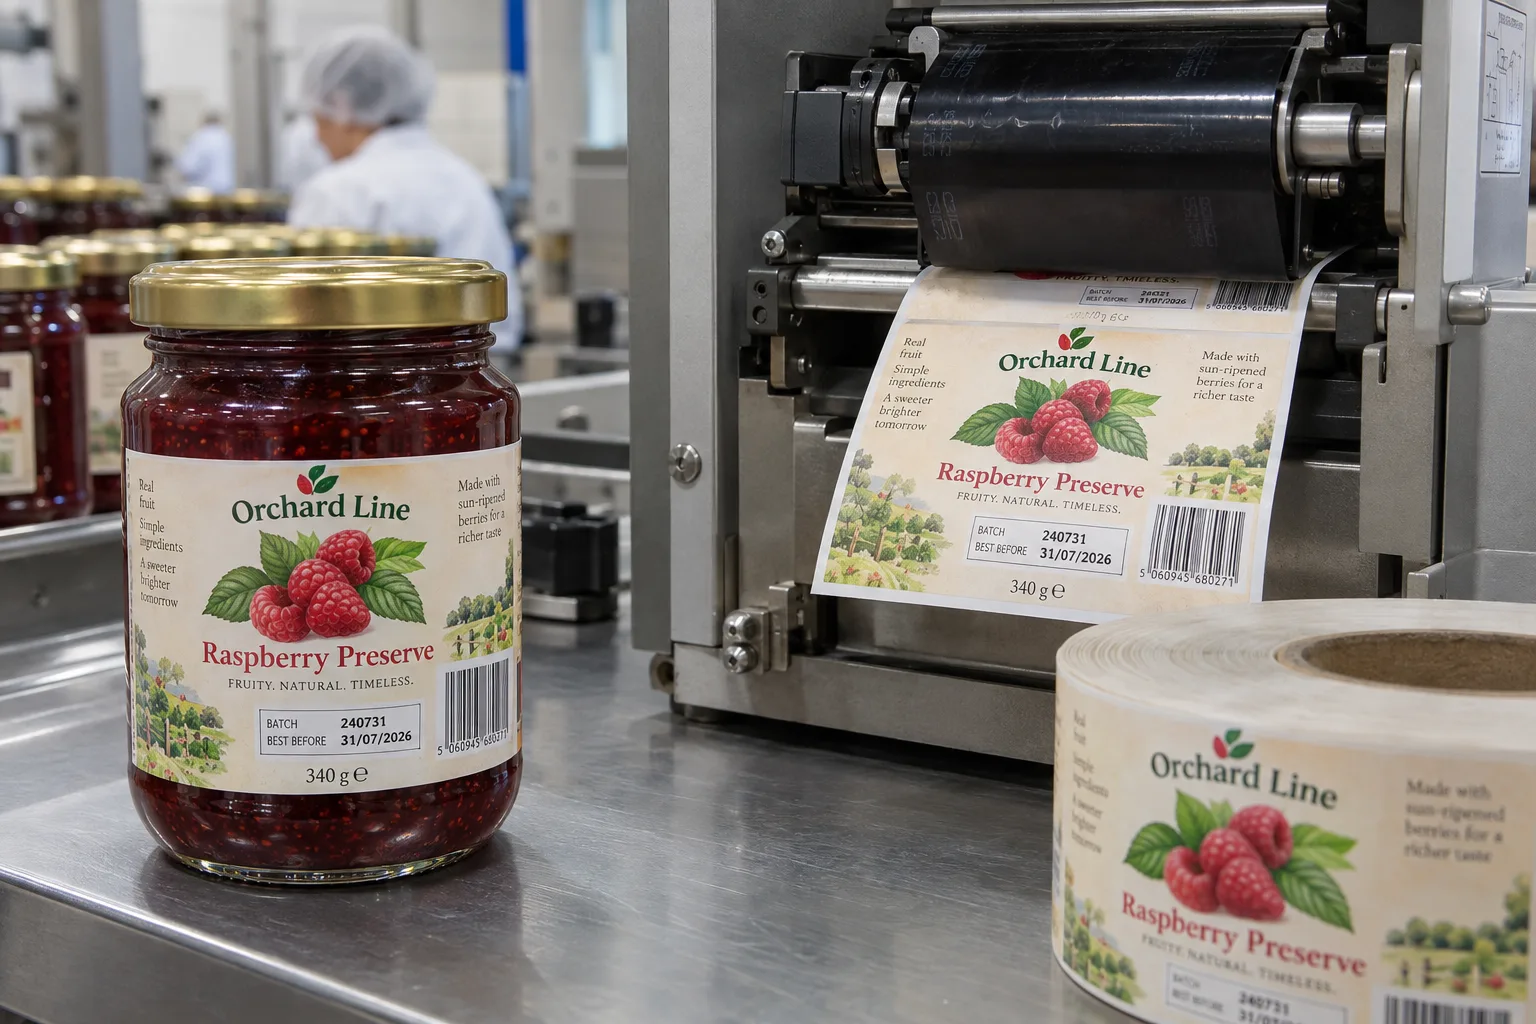
Reserve a real print zone and prove the label, ribbon and printer as one system.
Plan Overprint Zones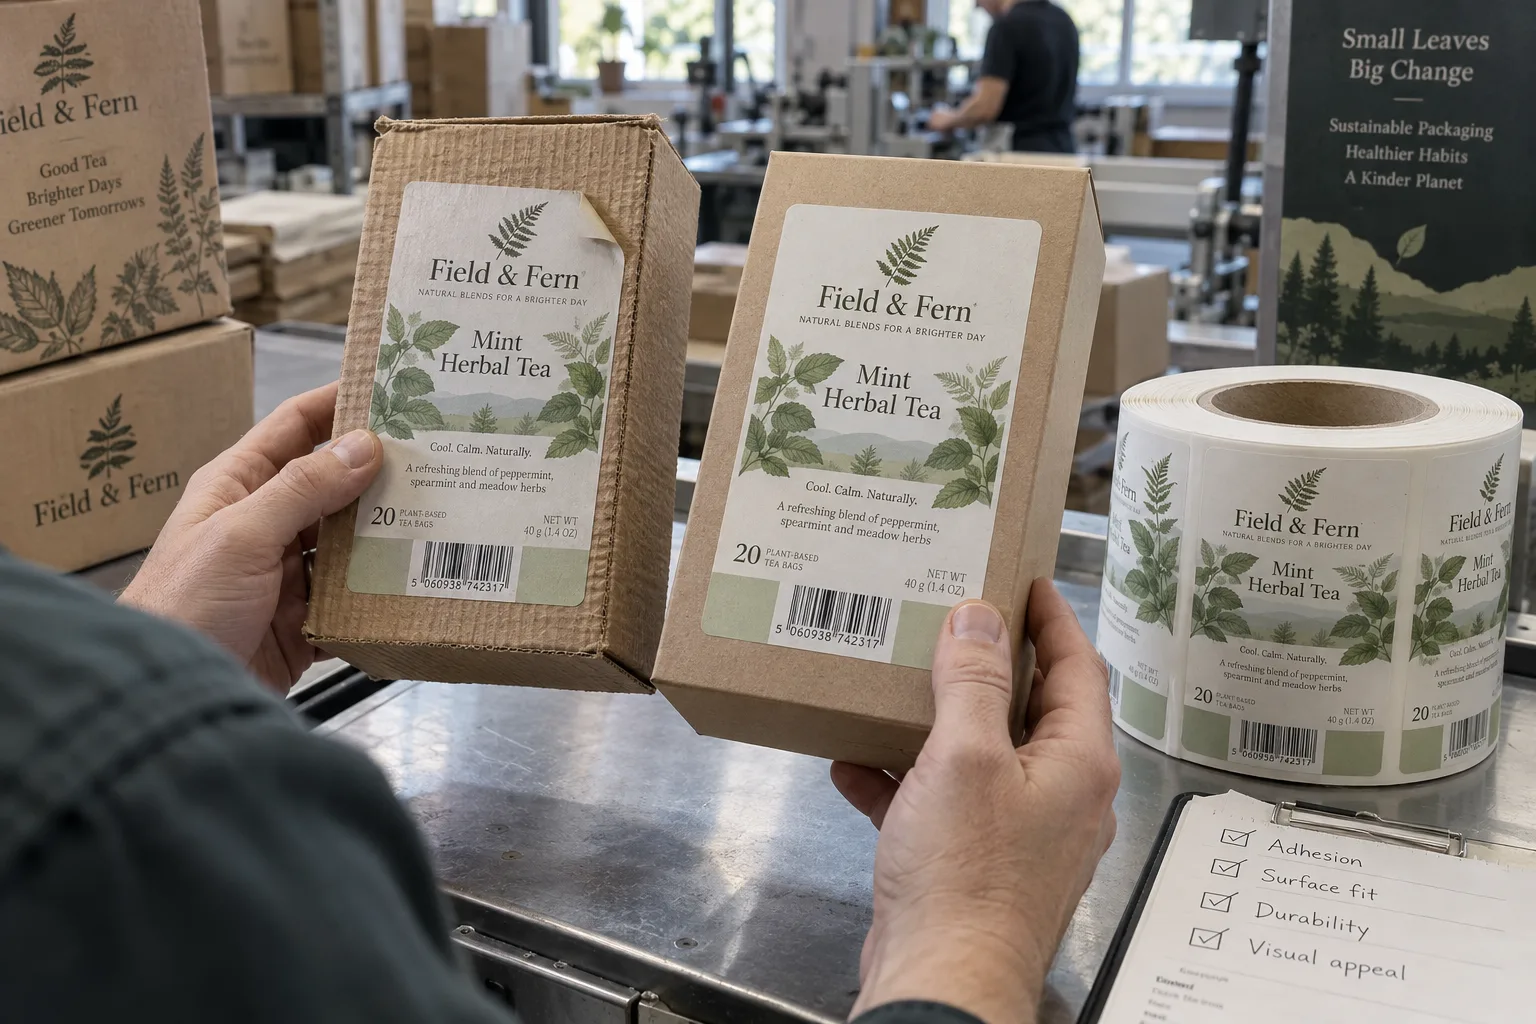
Compare board texture and label placement before buying a higher-tack construction.
Check Carton Adhesion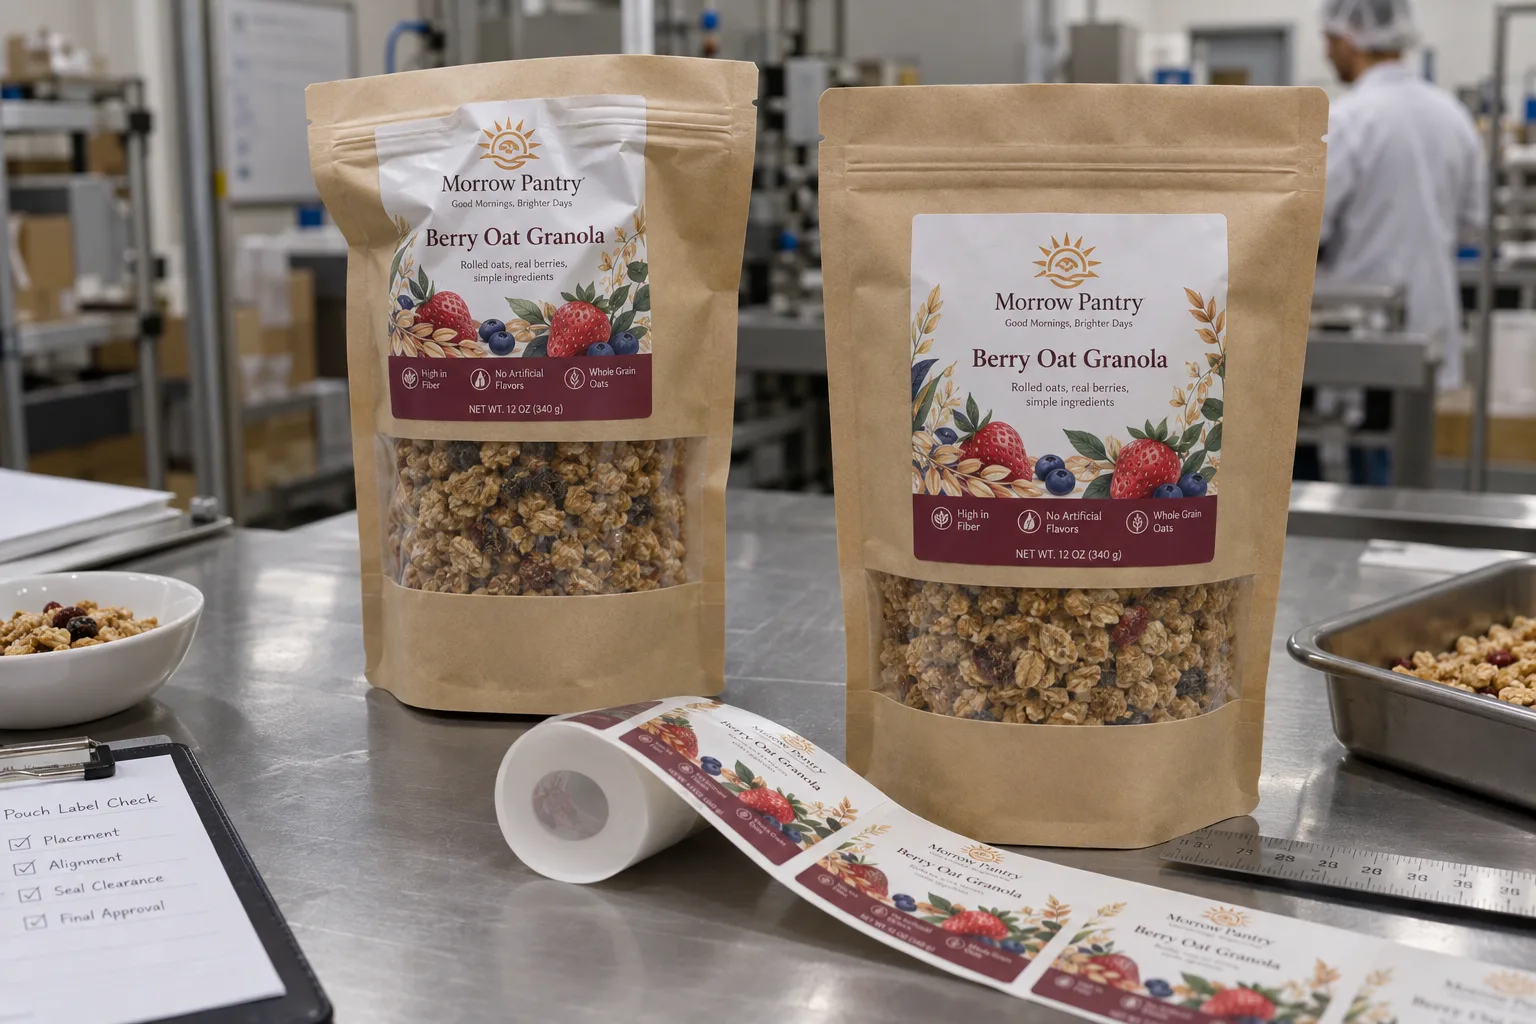
Use a filled pouch to reserve space around the zipper, seal, gusset and barcode.
Place Pouch Labels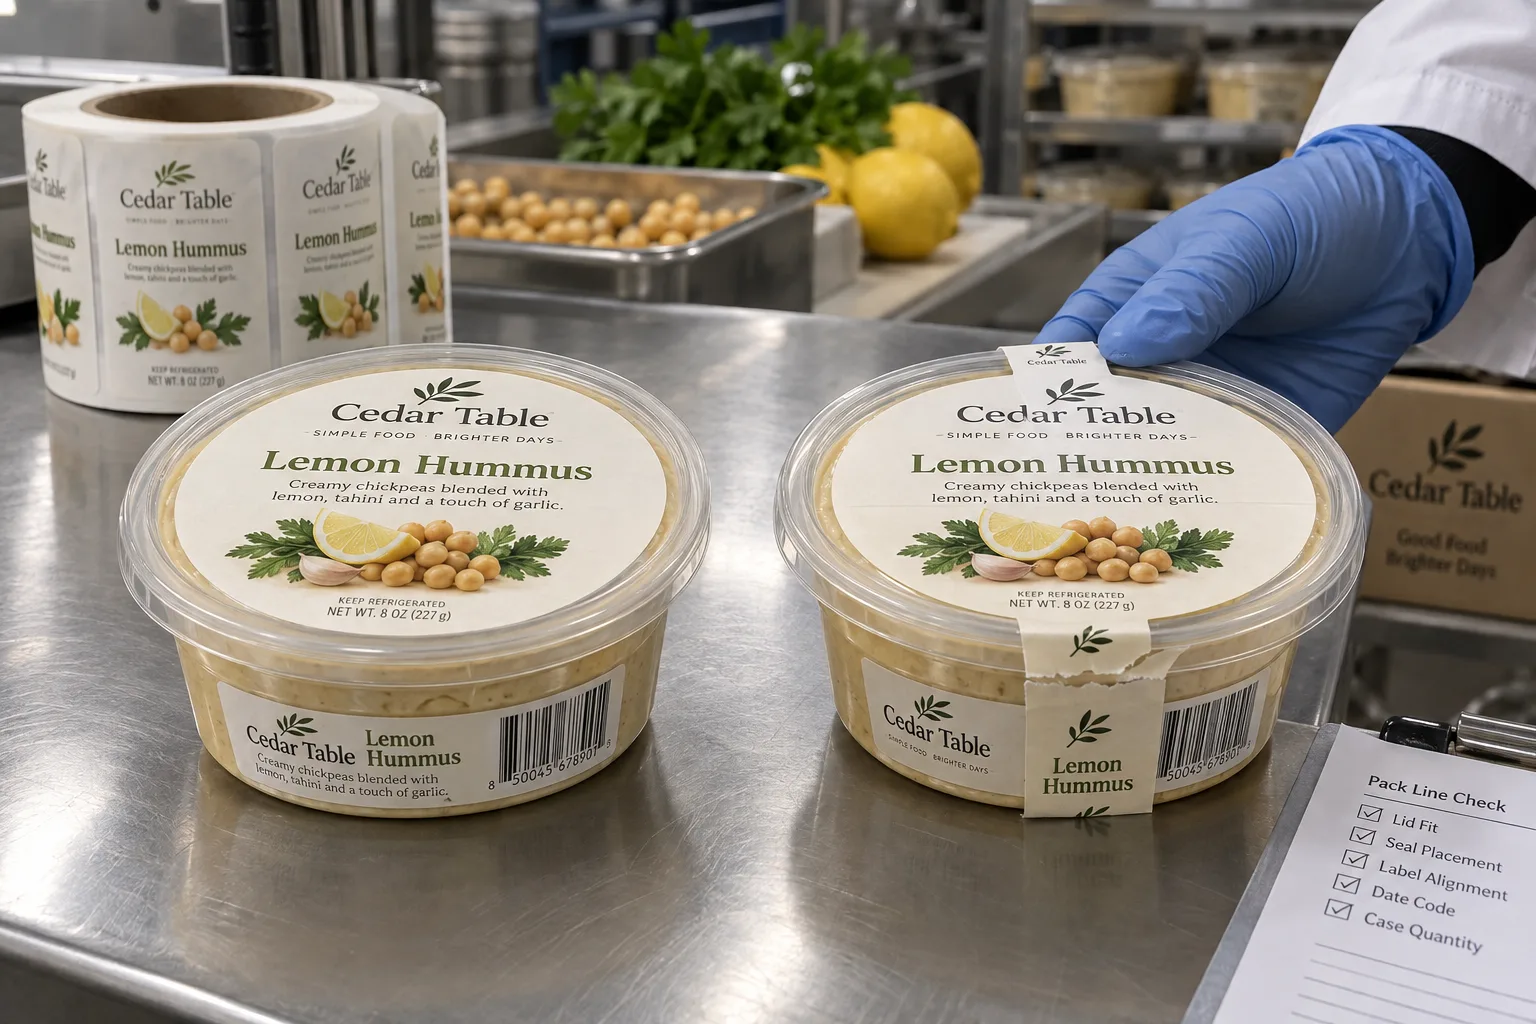
Decide whether the label brands the lid, bridges the opening, or needs both jobs.
Compare Tub Labels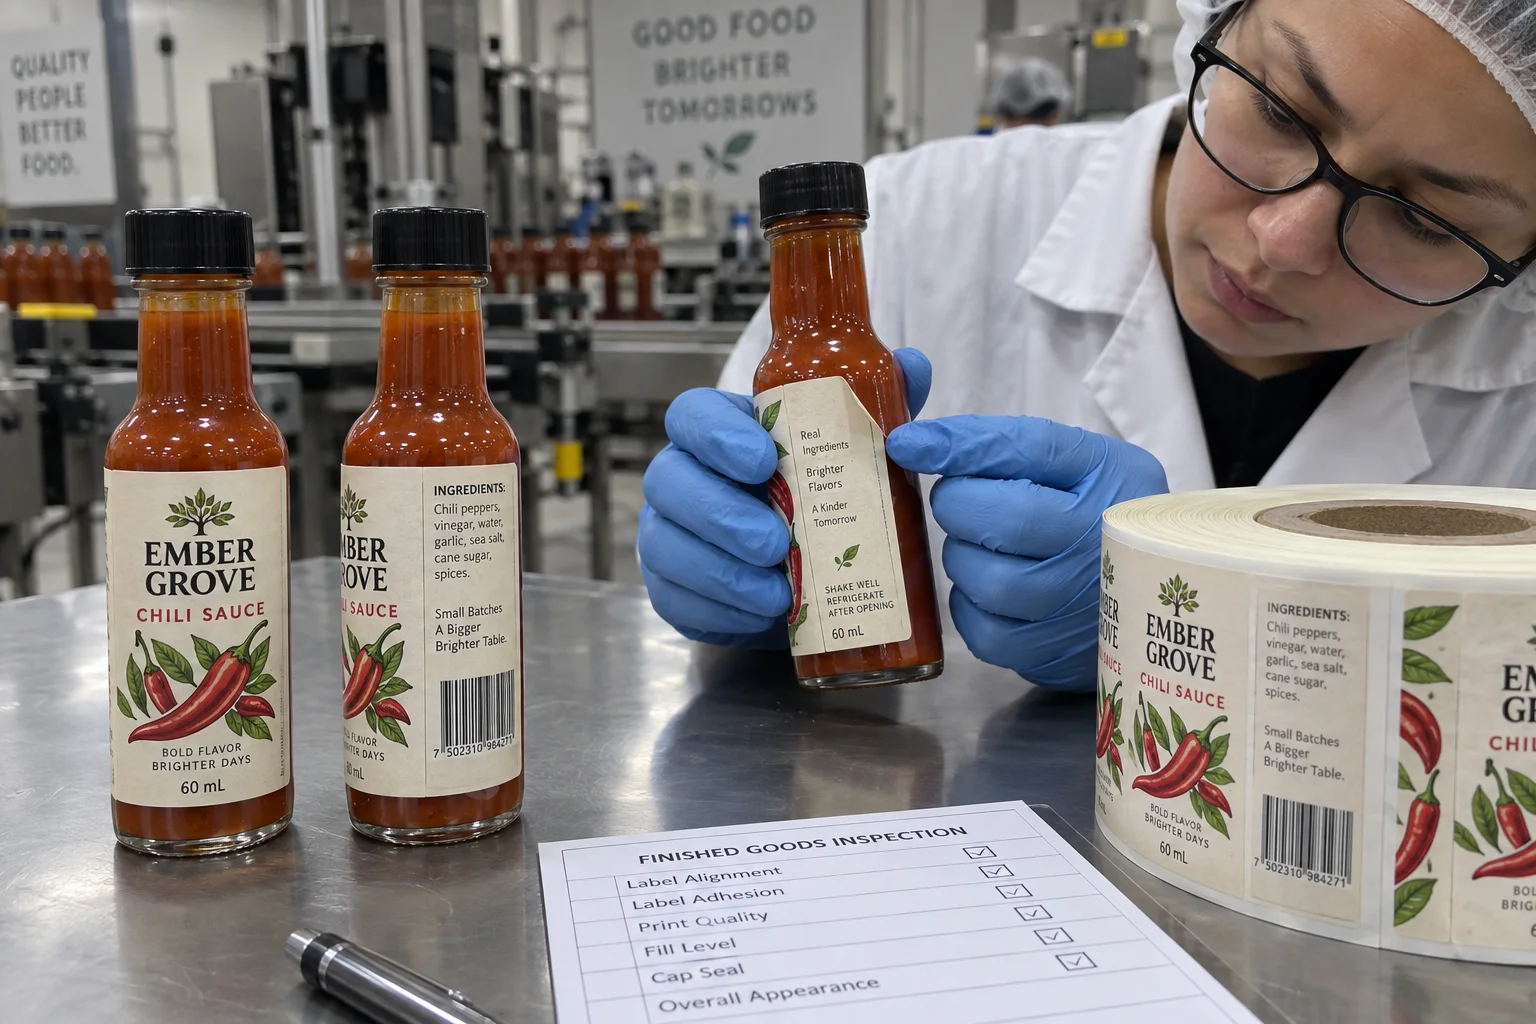
Find out whether radius, label stiffness or the actual application process is lifting the edge.
Check Mini-Bottle Labels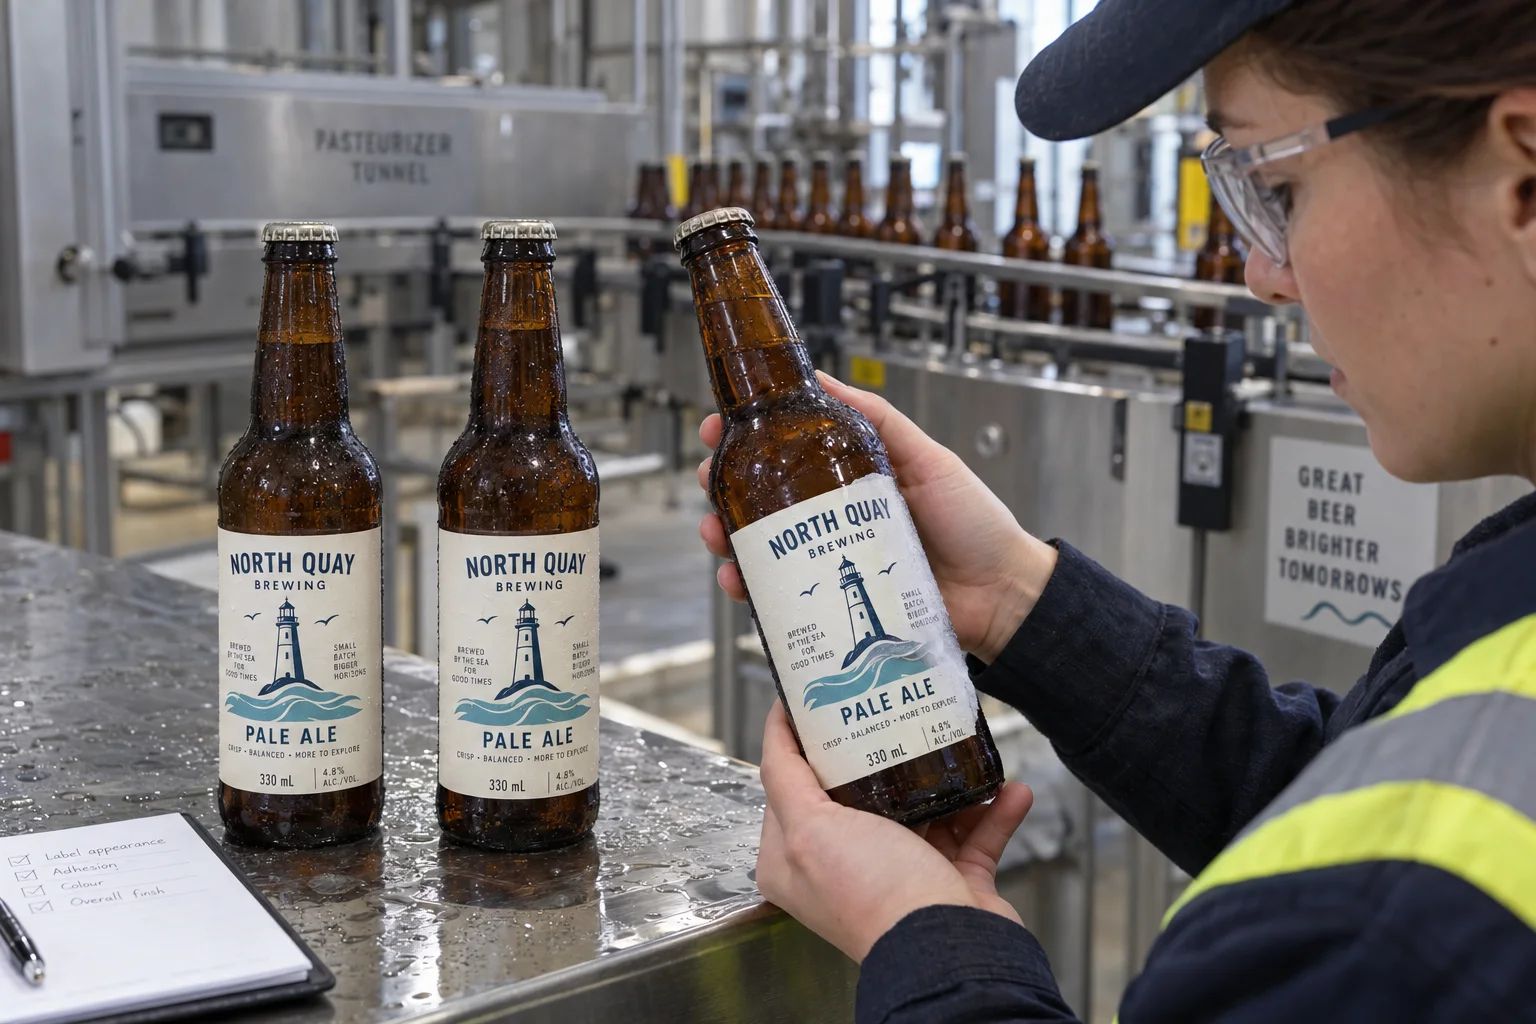
Separate hot-fill assumptions from the wet-heat test a beer bottle actually faces.
Plan Beer Label Trials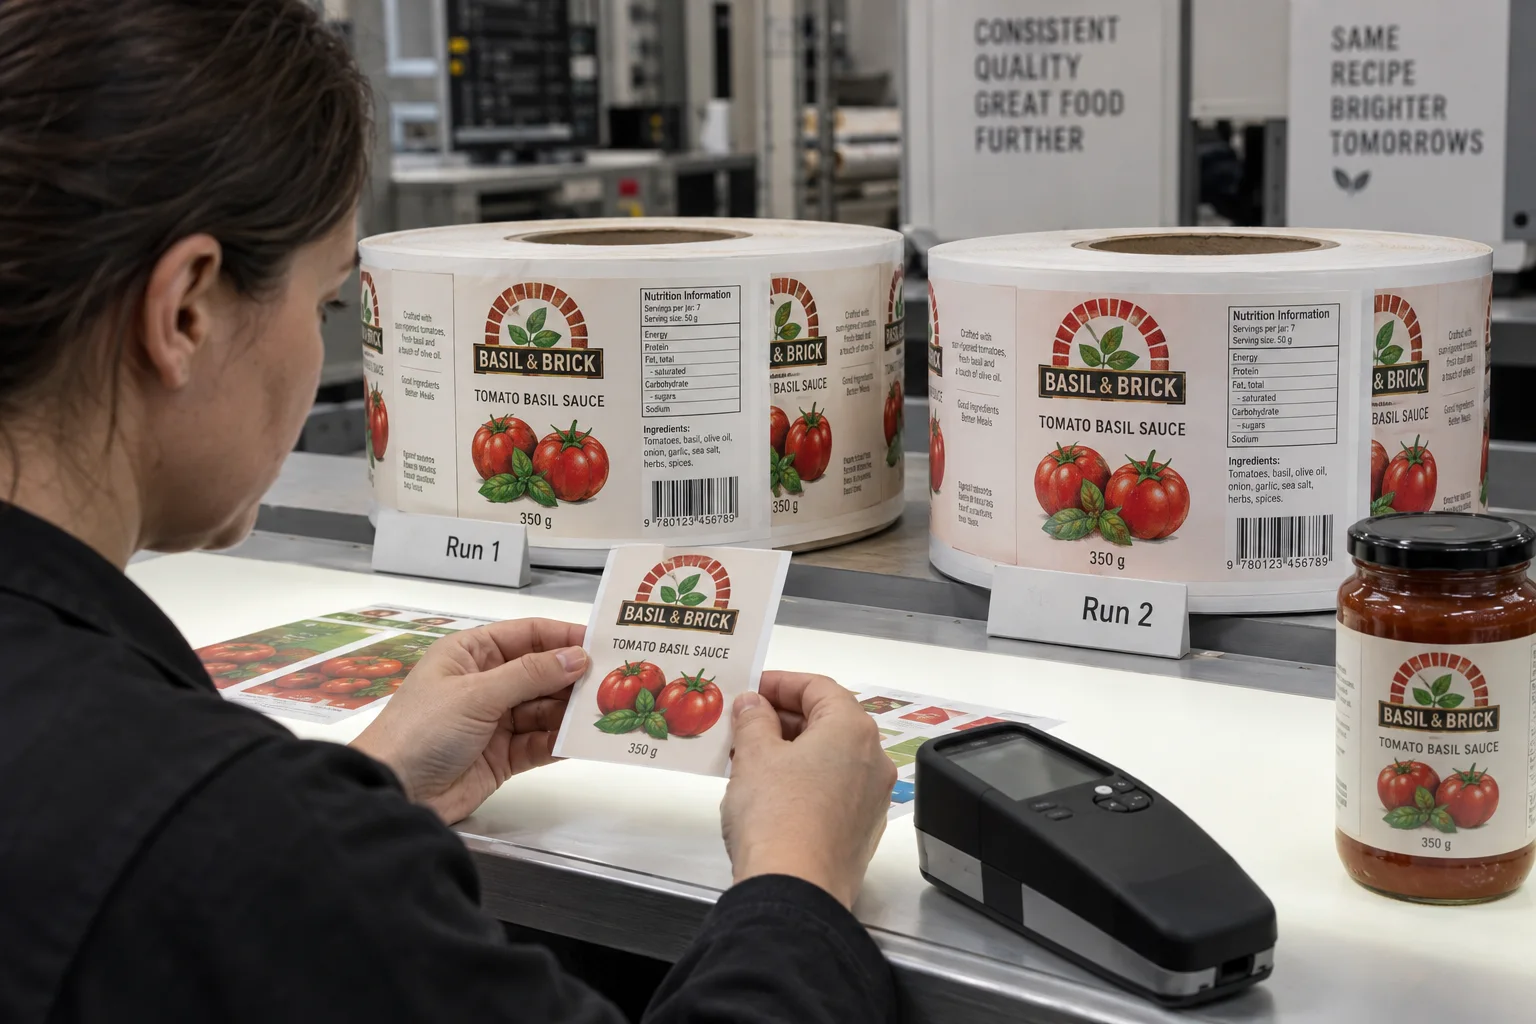
Control the reference, substrate and review conditions before the next label run arrives.
Control Repeat Color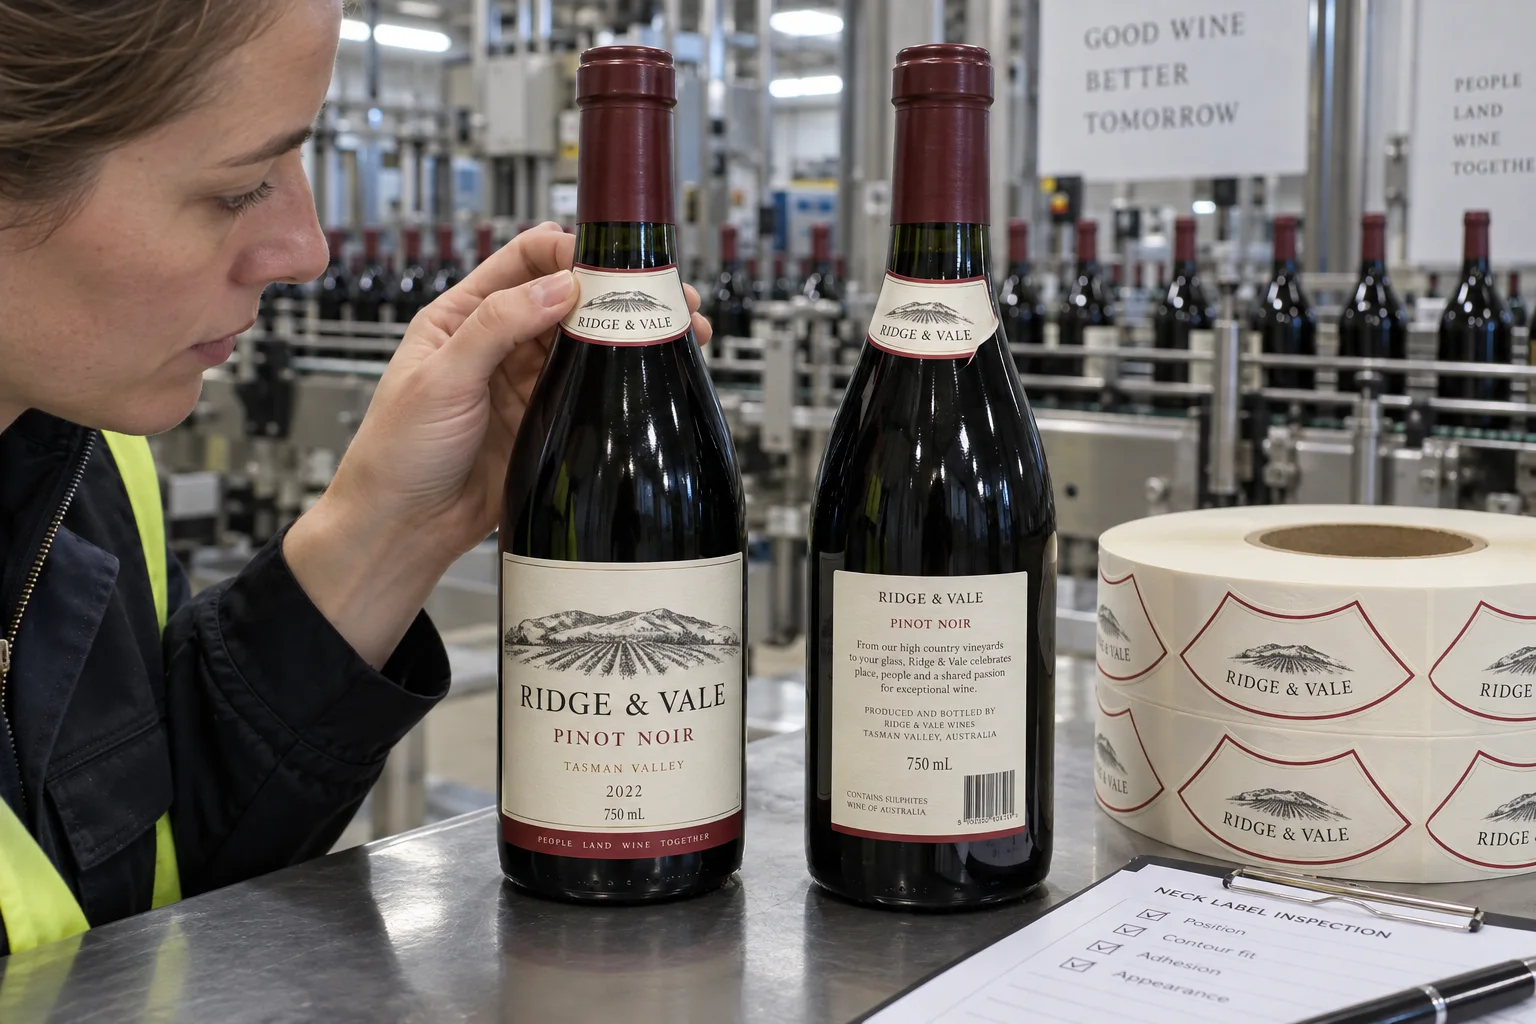
Plan neck-label shape and placement with the actual bottle rather than scaling down a front panel.
Size Wine Neck Labels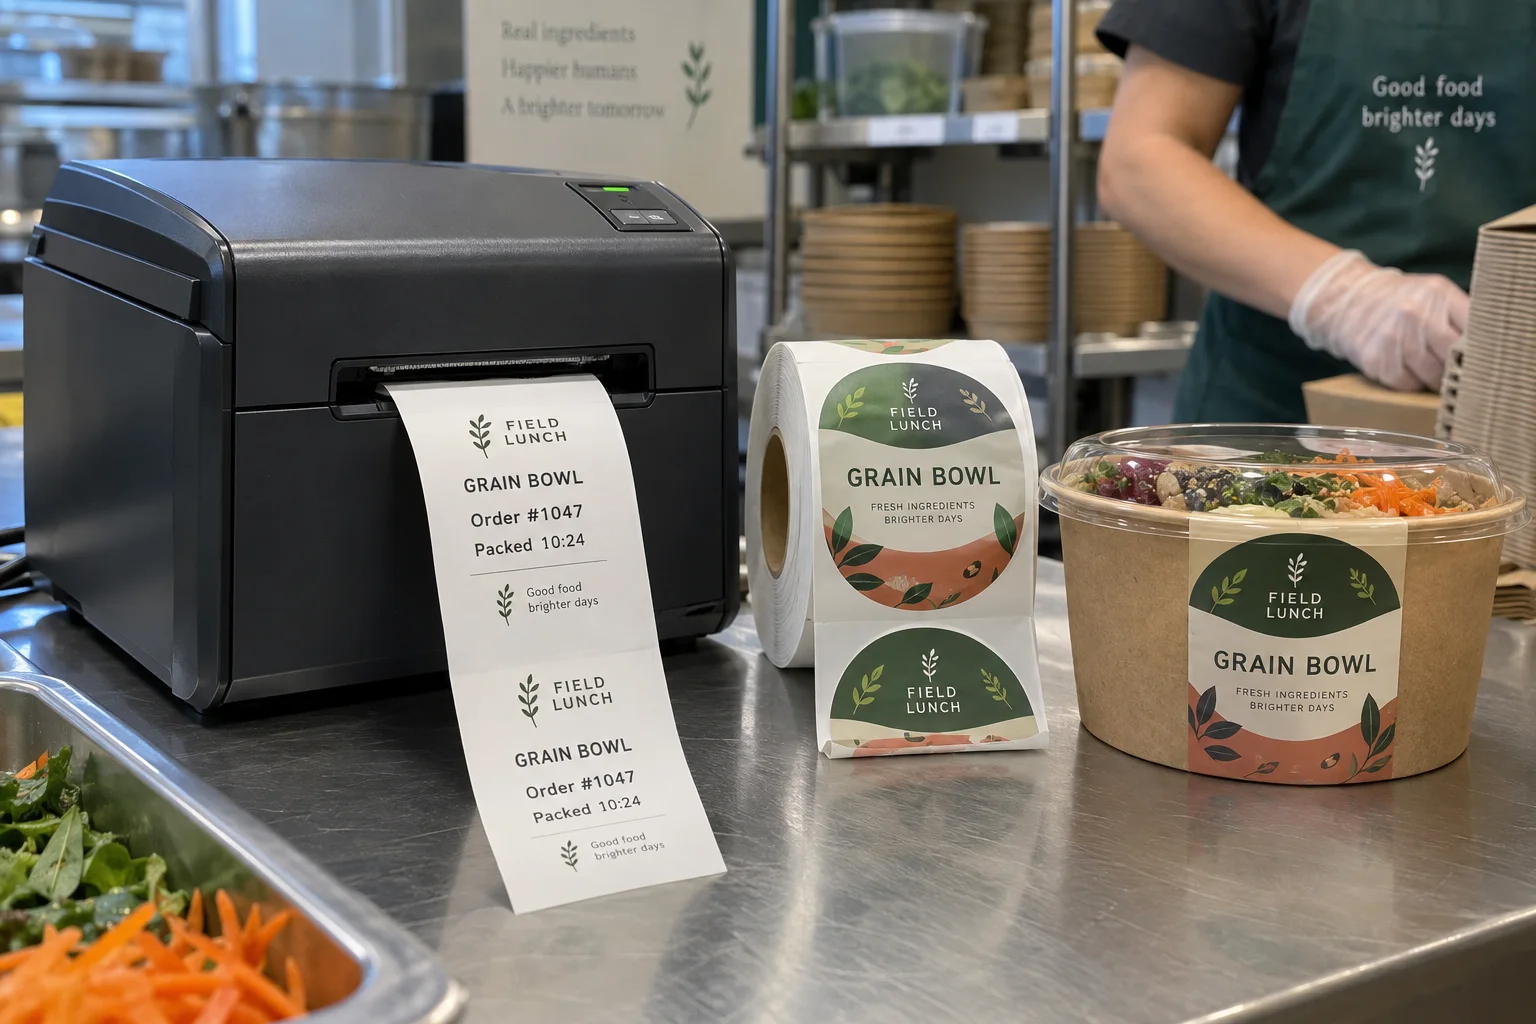
Compare variable-data speed and printer compatibility with the flexibility of preprinted die-cut branding.
Compare Takeaway Formats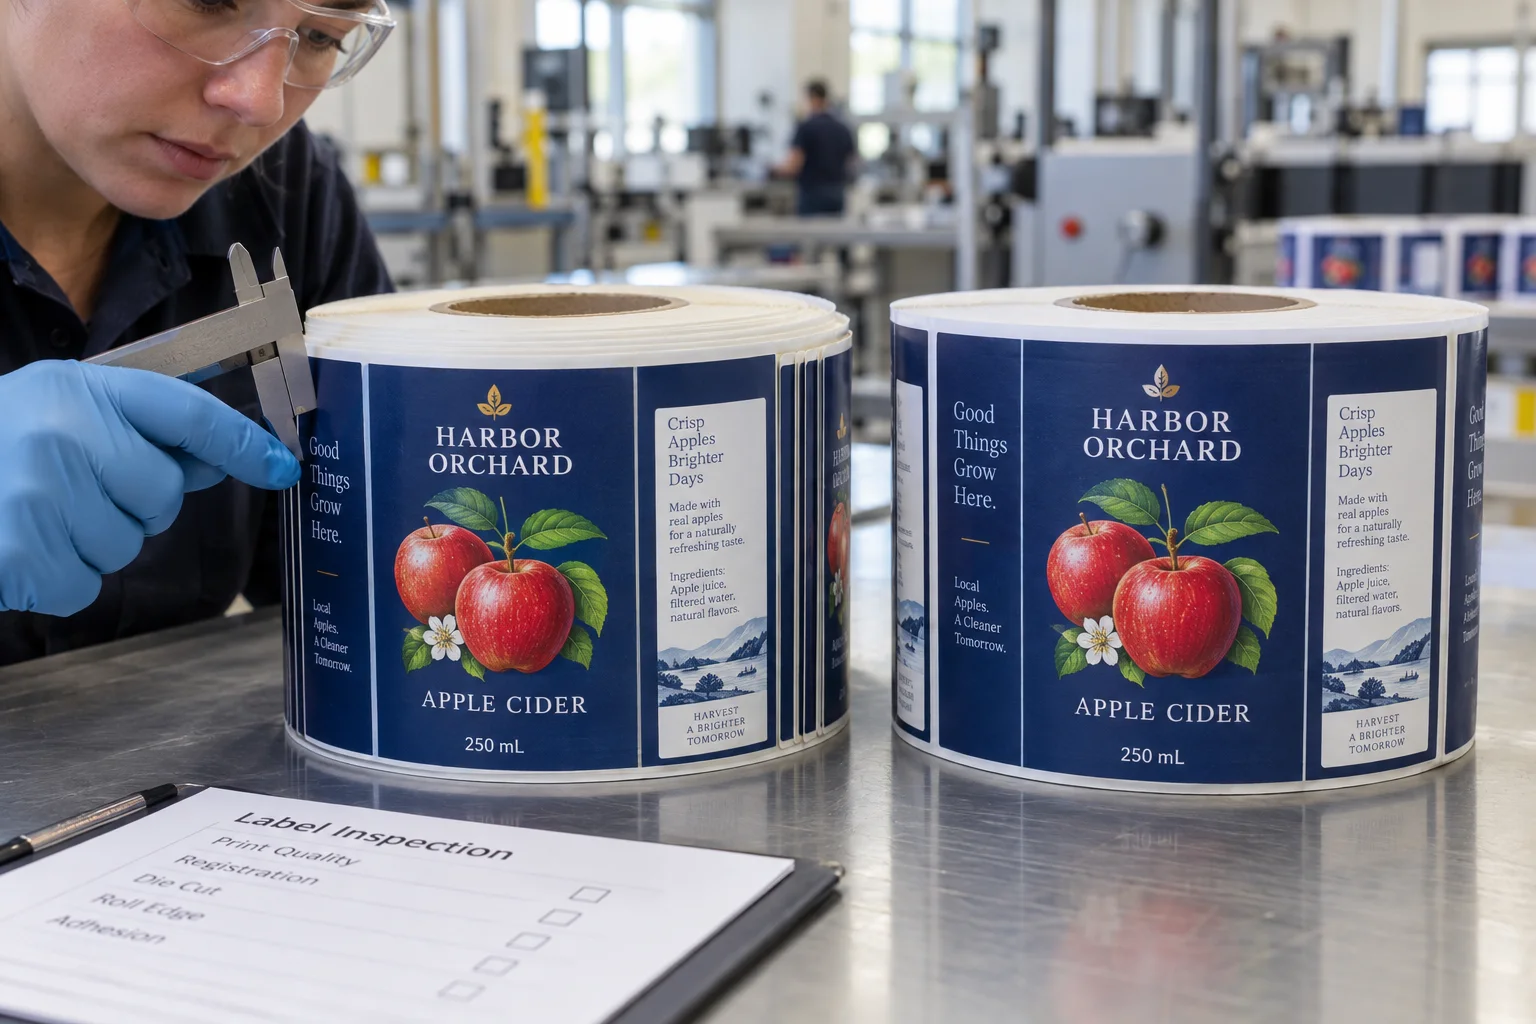
Inspect stepped roll edges, preserve evidence and avoid turning a winding problem into an applicator stoppage.
Check Telescoped Rolls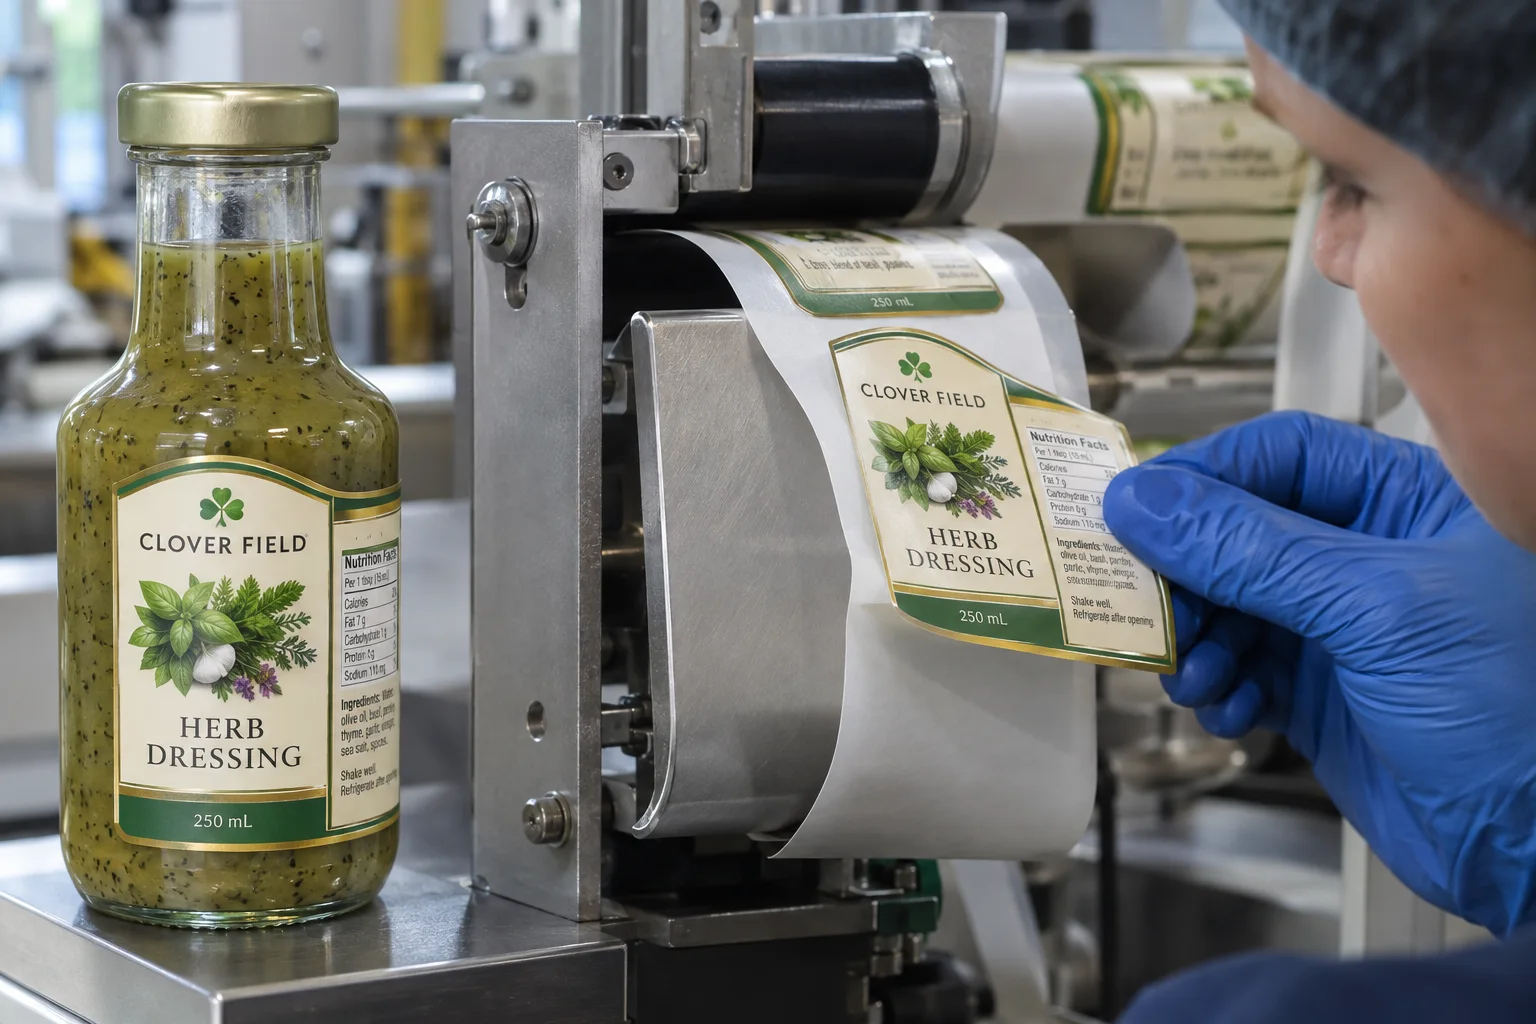
Separate liner-release problems from finished-package adhesion before changing the label construction.
Compare Release and Bond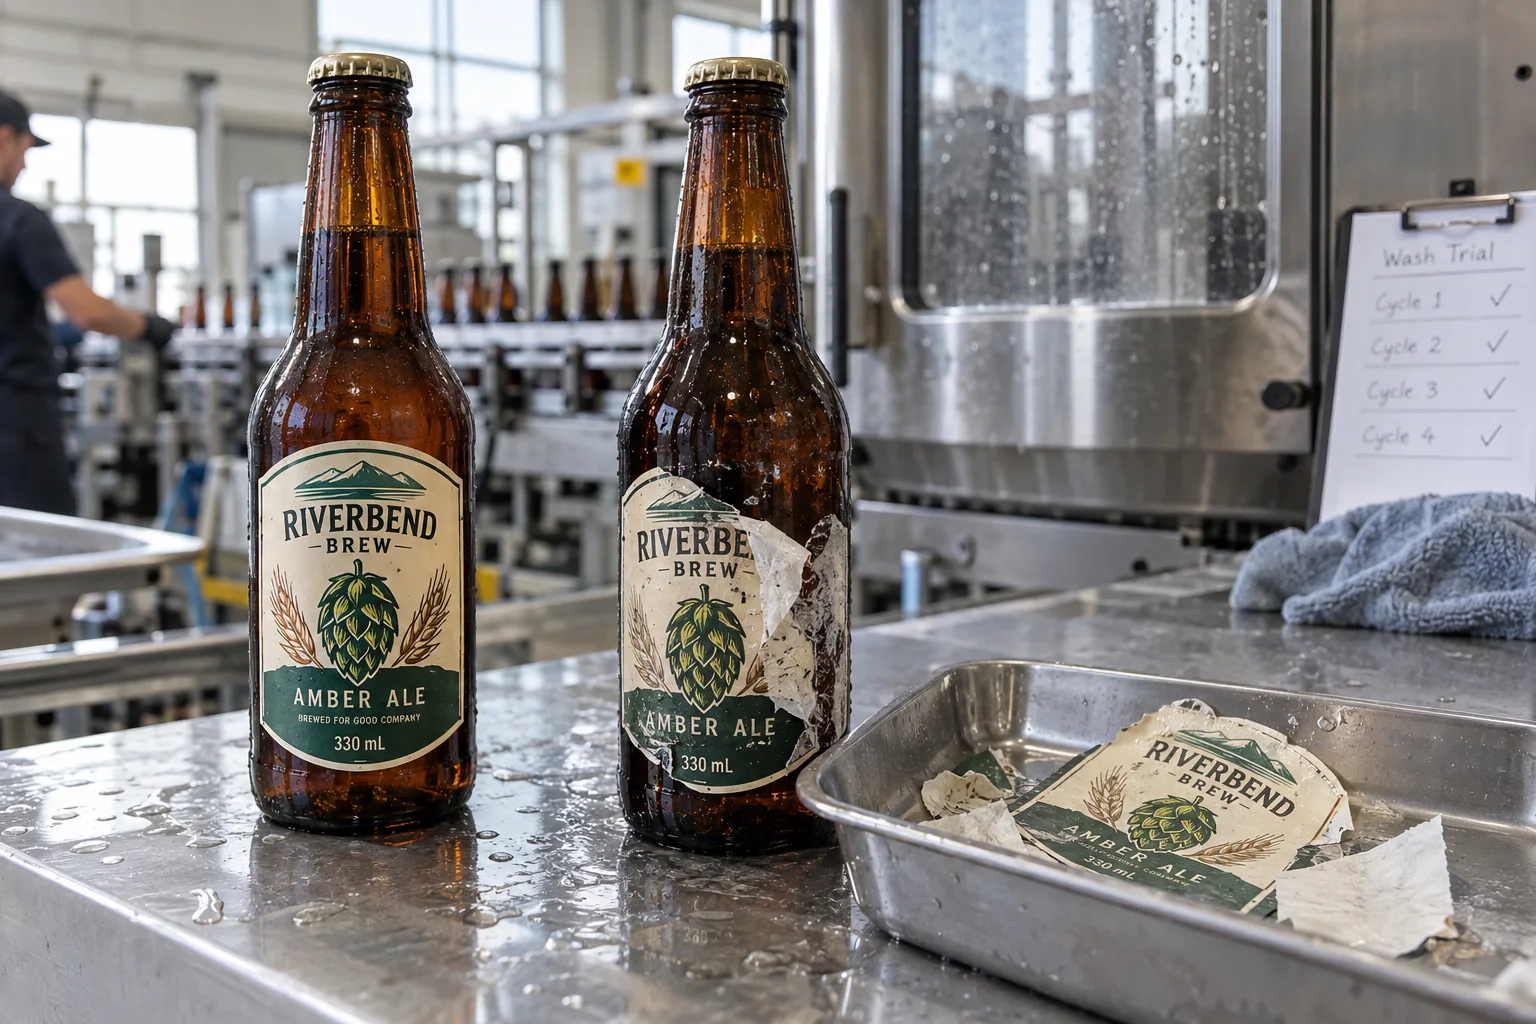
Separate single-use glass recycling from returnable-bottle washing and test the real wash cycle.
Plan Returnable Labels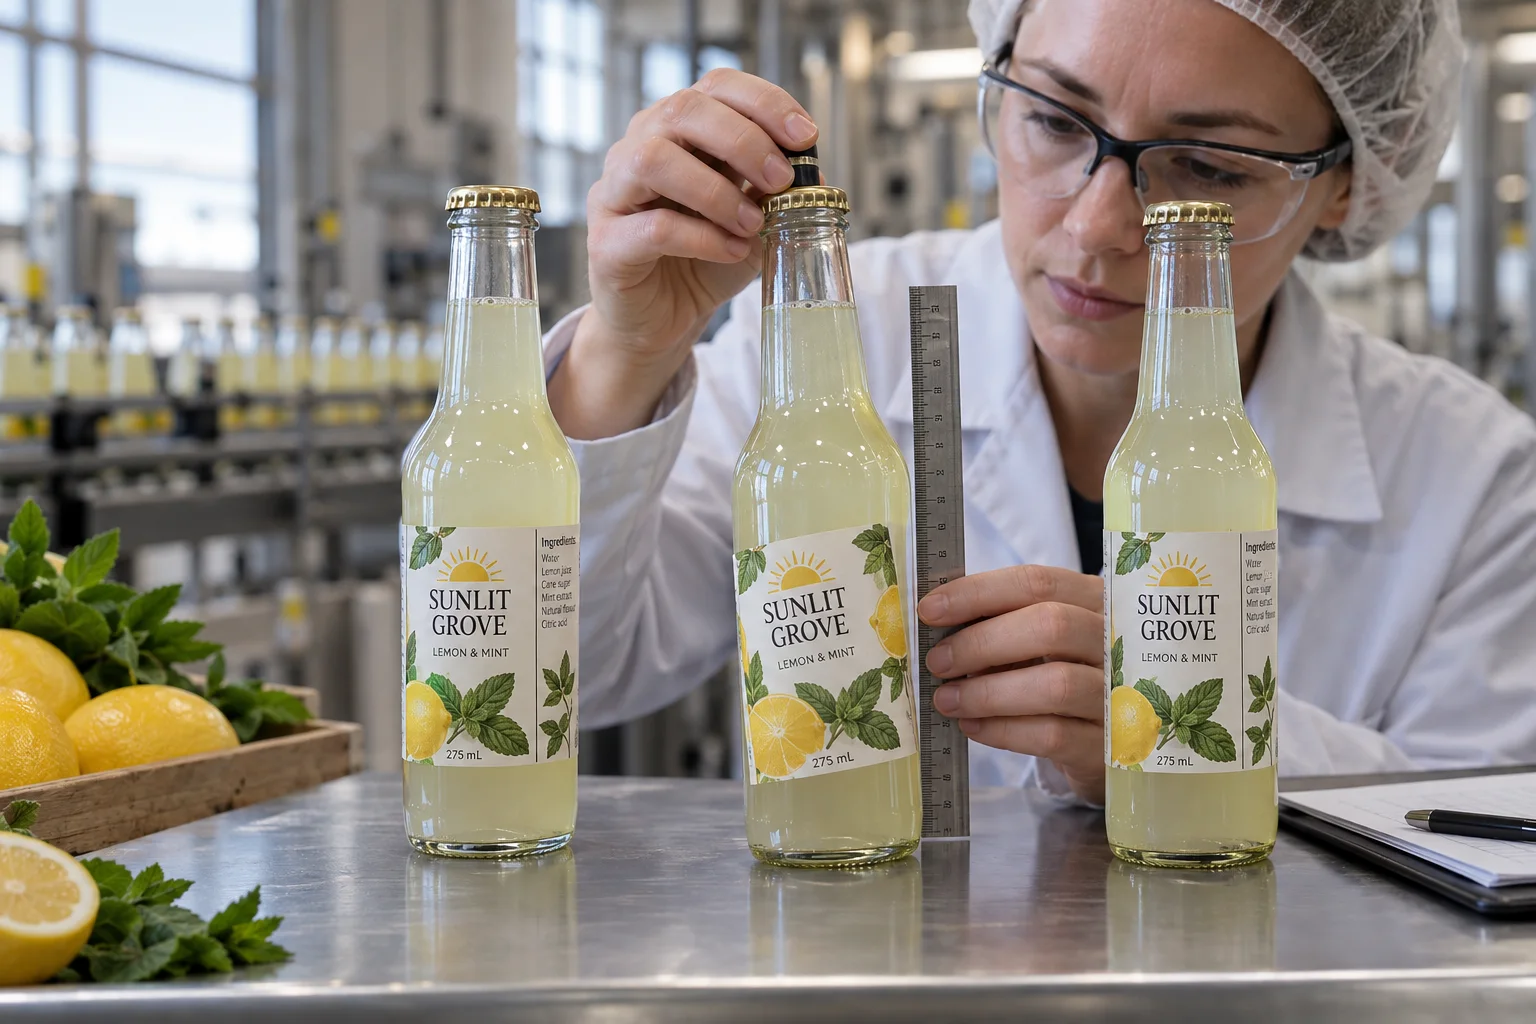
Choose a physical reference, compare good and bad bottles and find the source of skew.
Check Bottle Placement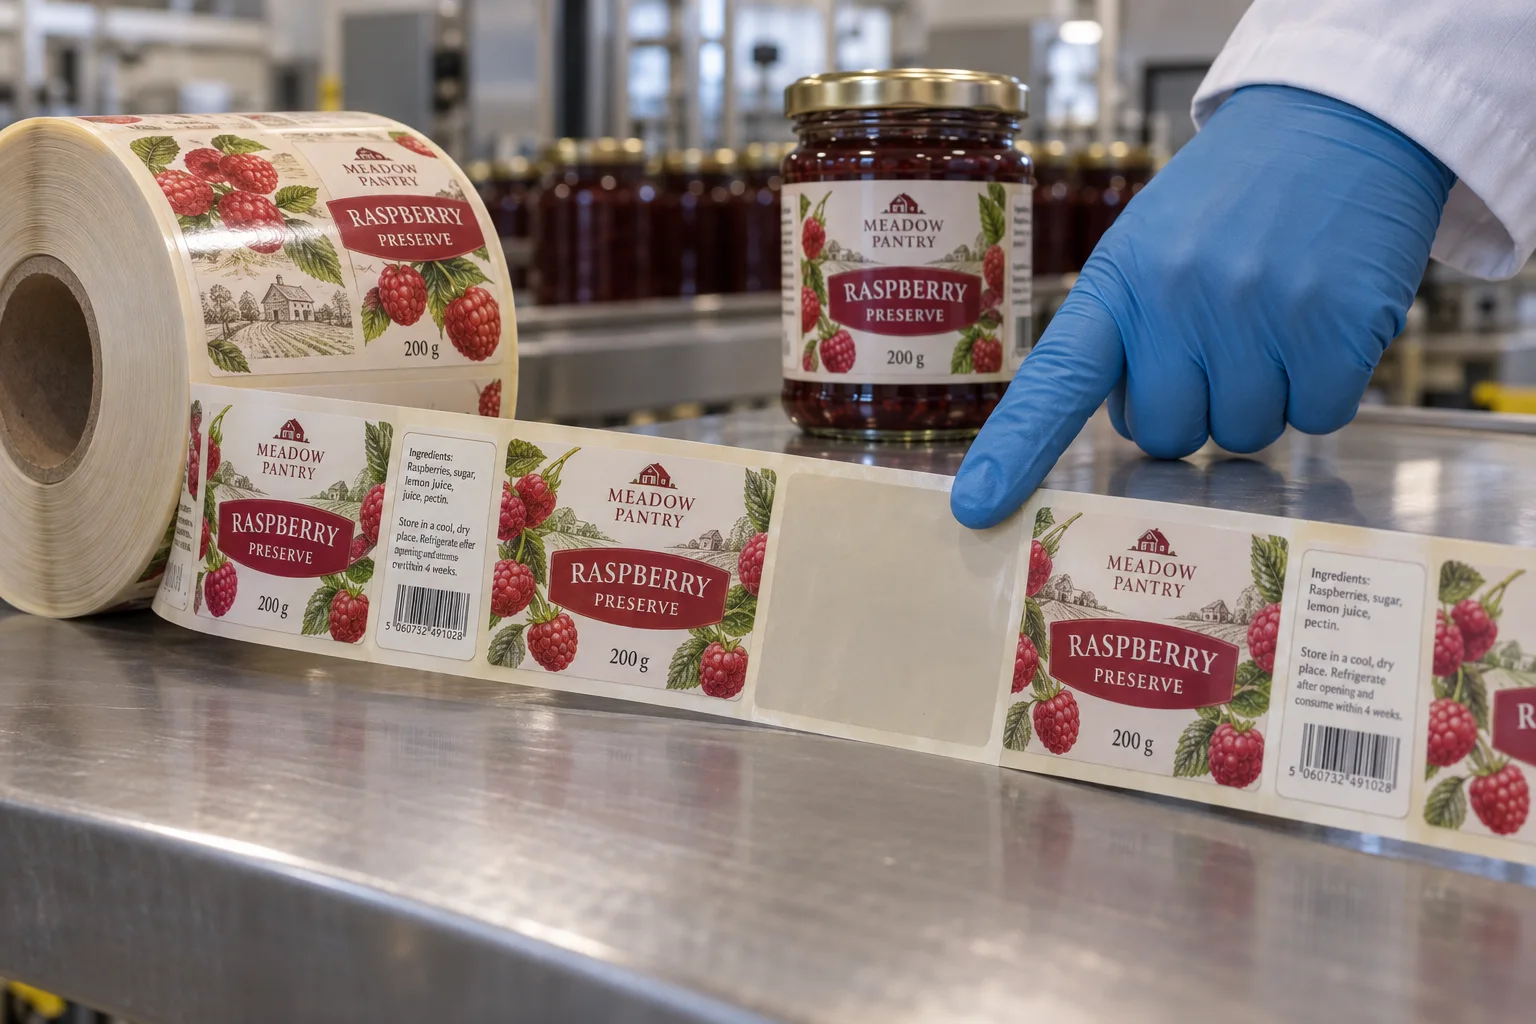
Locate missing labels before changing the roll, blaming the converter or losing filled stock.
Trace Missing Labels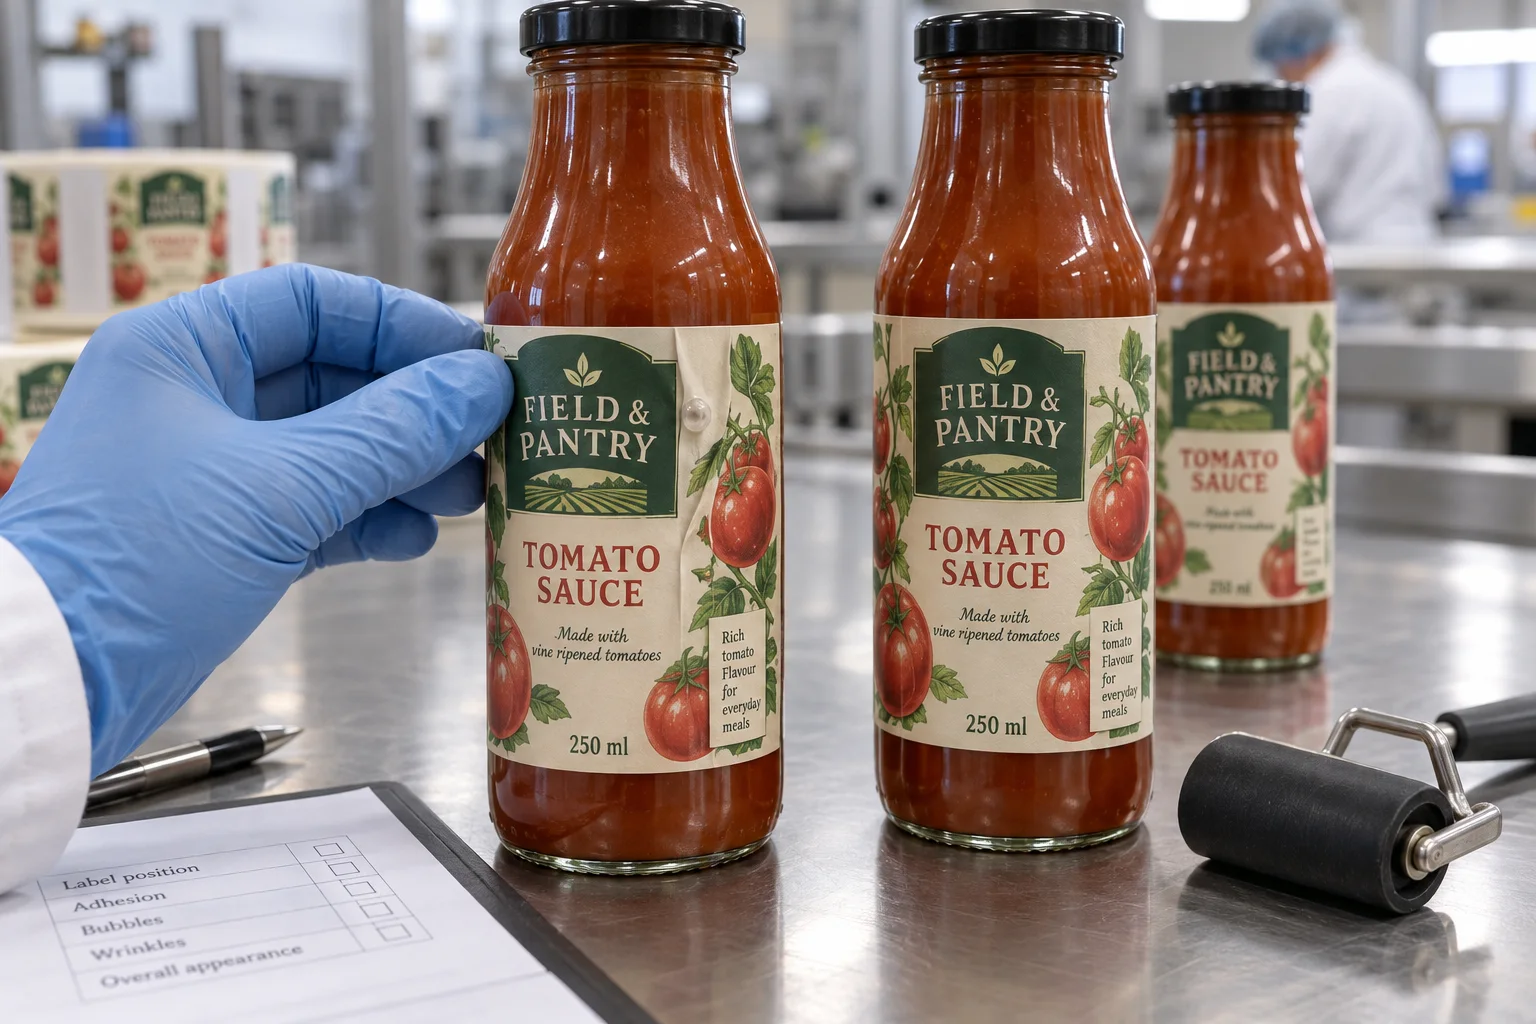
Separate trapped air, package geometry and delayed defects before paying for different label stock.
Diagnose Label Bubbles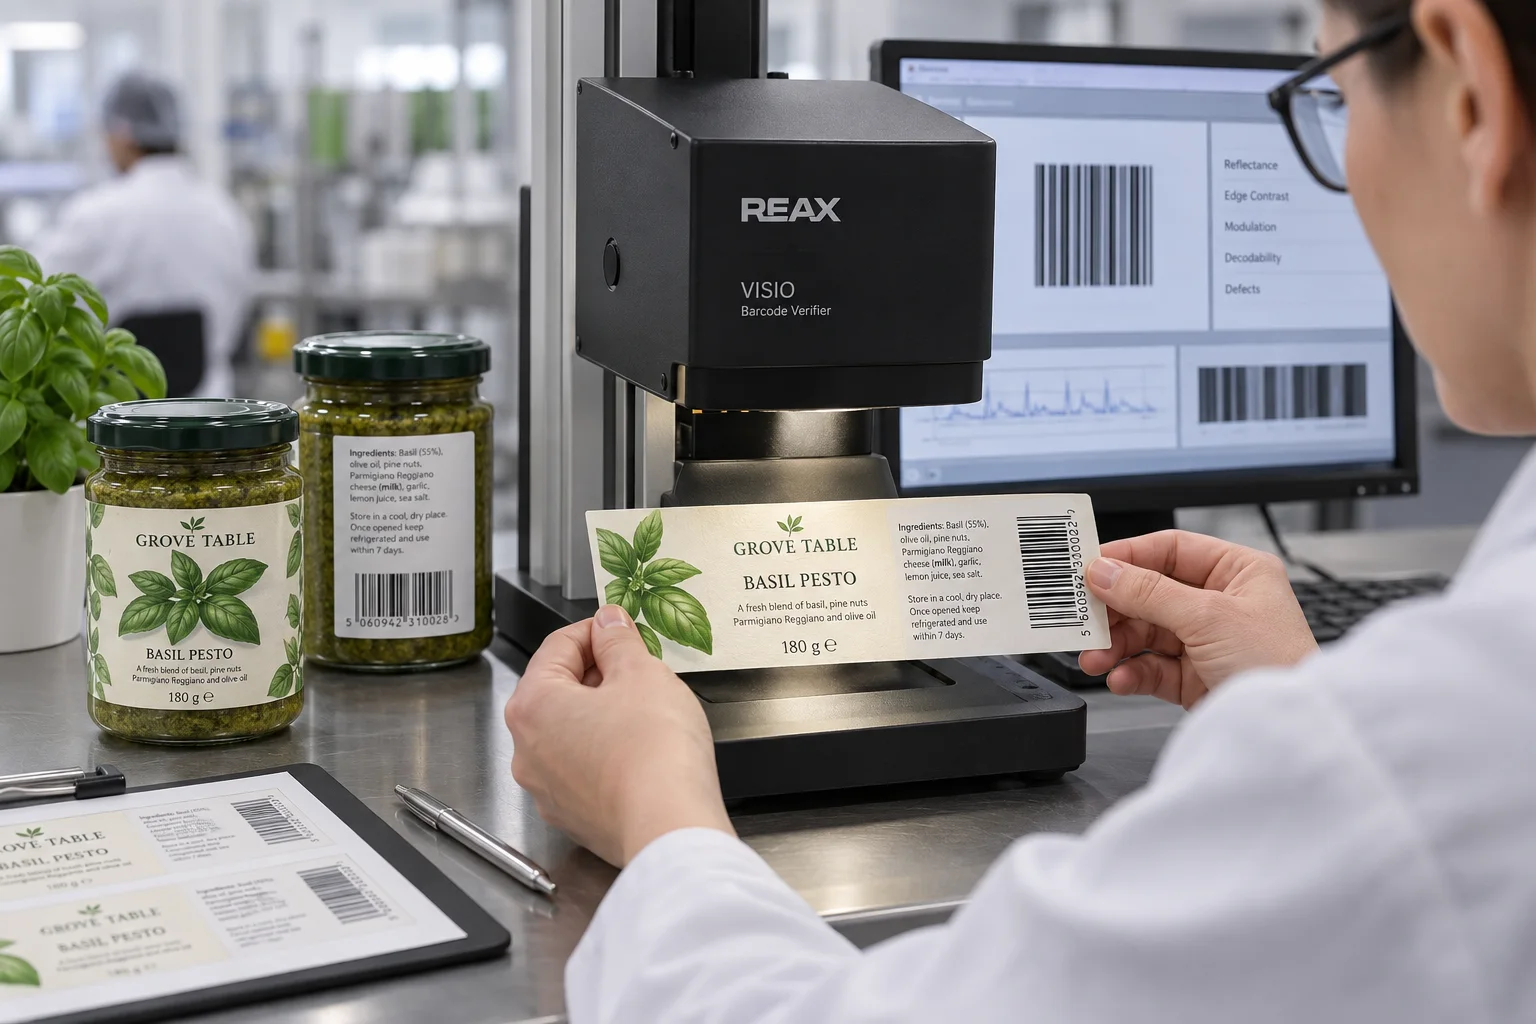
Understand the difference between a successful scan and a useful print-quality verification report.
Review Barcode Checks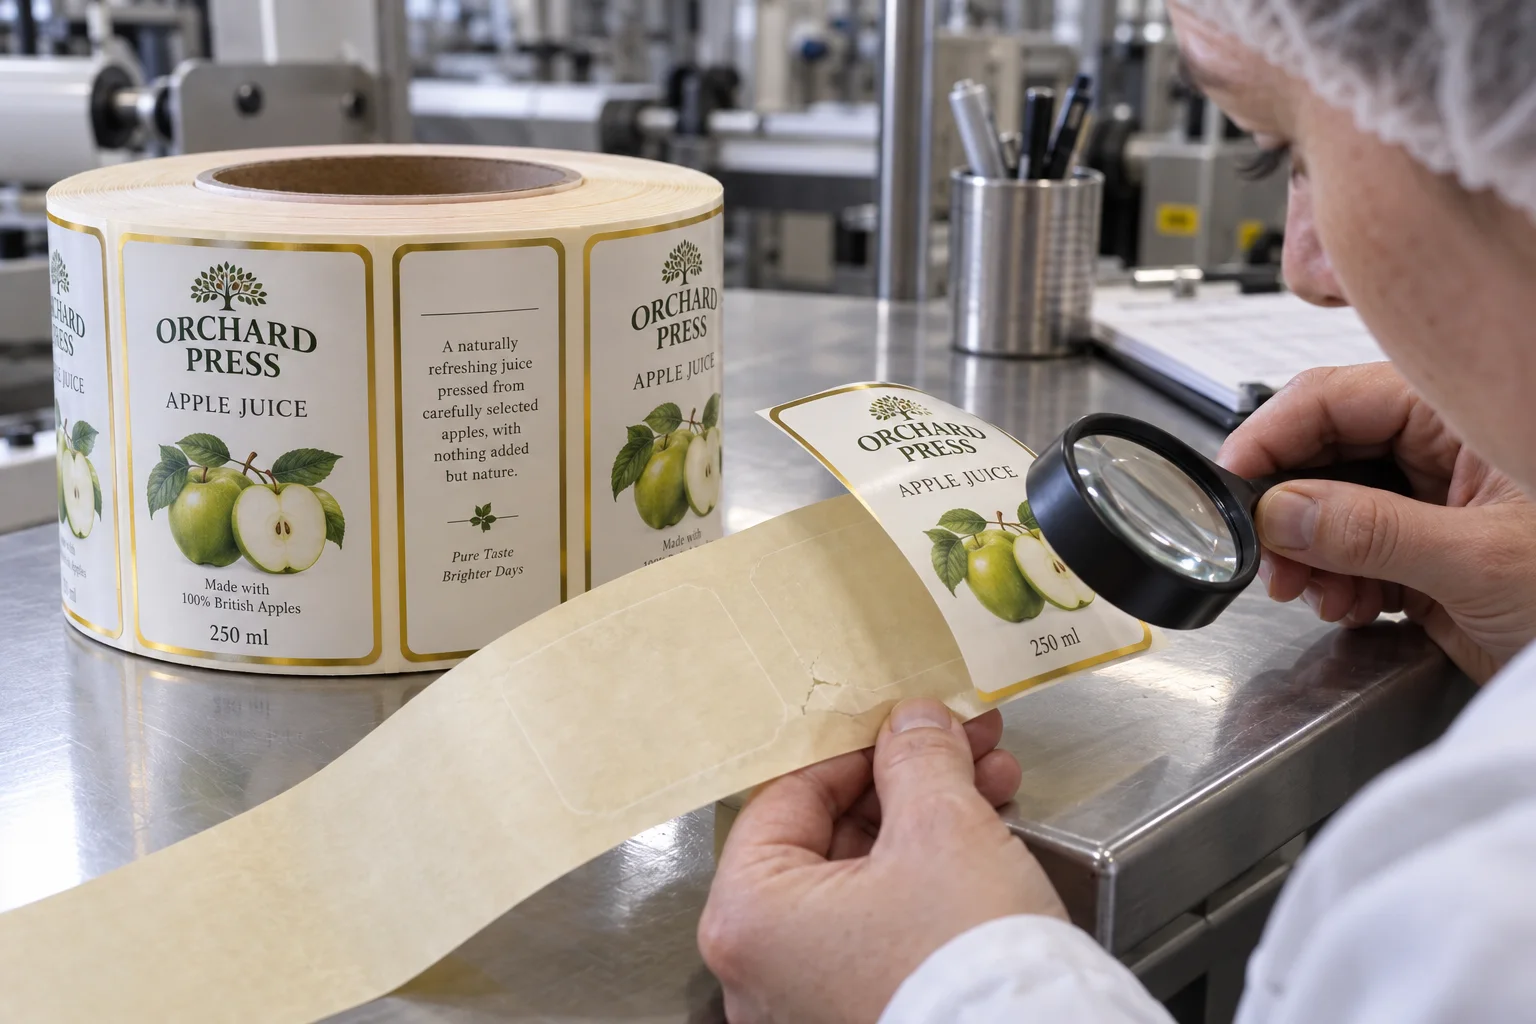
Tell die-cut damage apart from edge nicks, splices and machine-related web breaks.
Inspect Liner Damage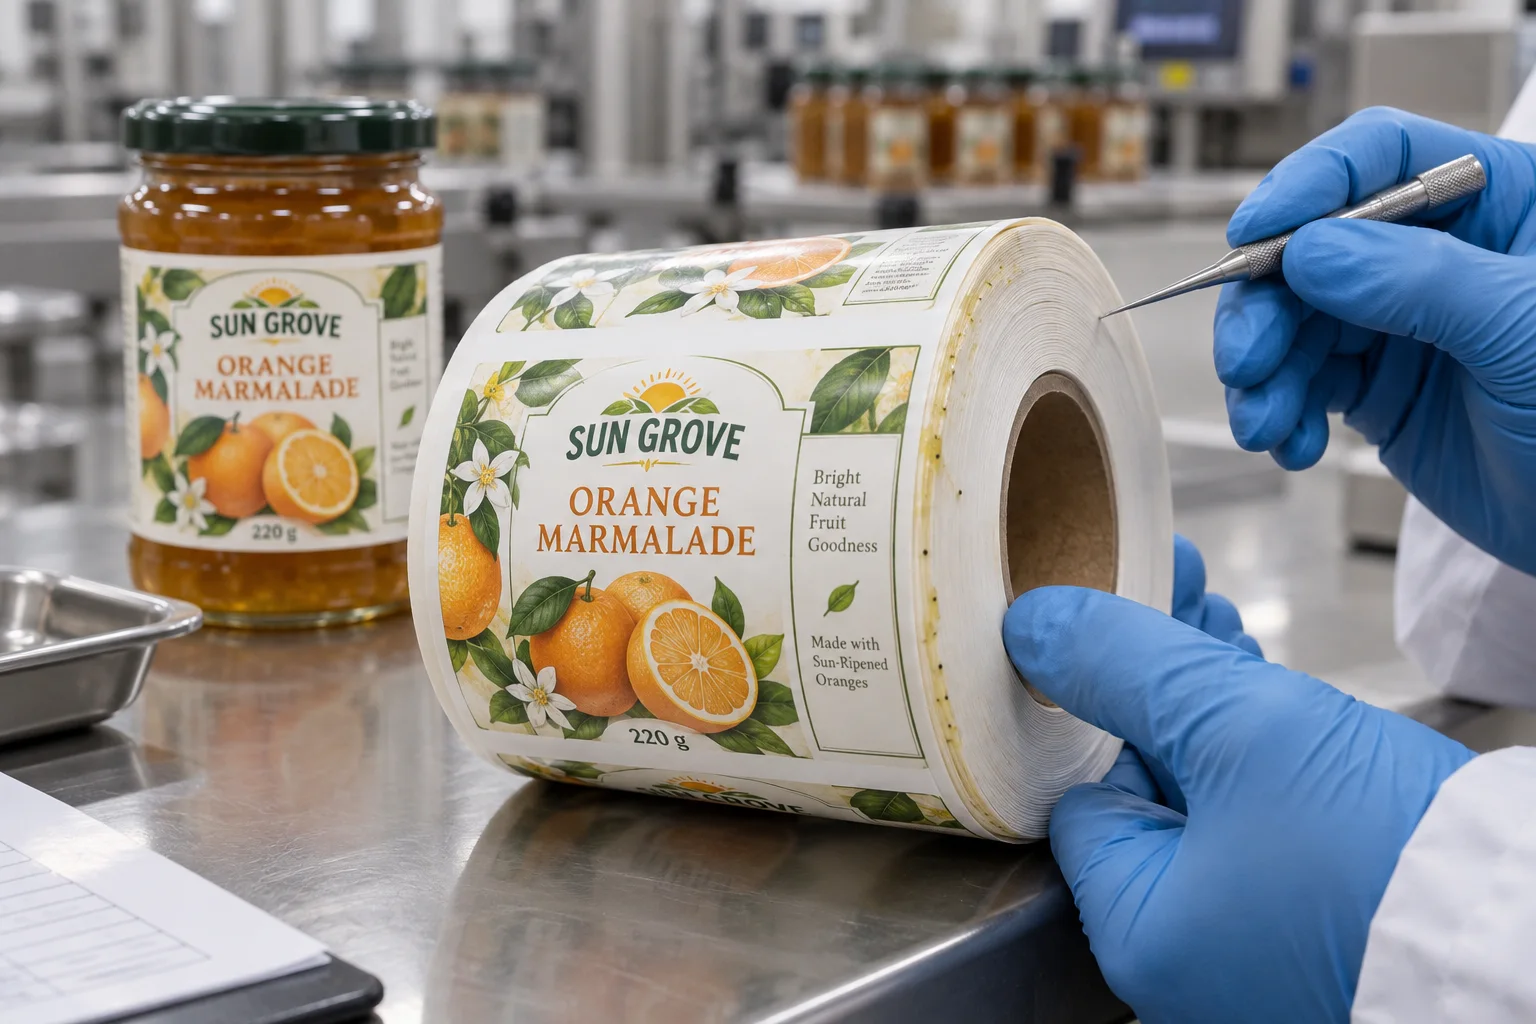
Track sticky edges to the complete construction and process, not simply a stronger or weaker glue.
Check Sticky Roll Edges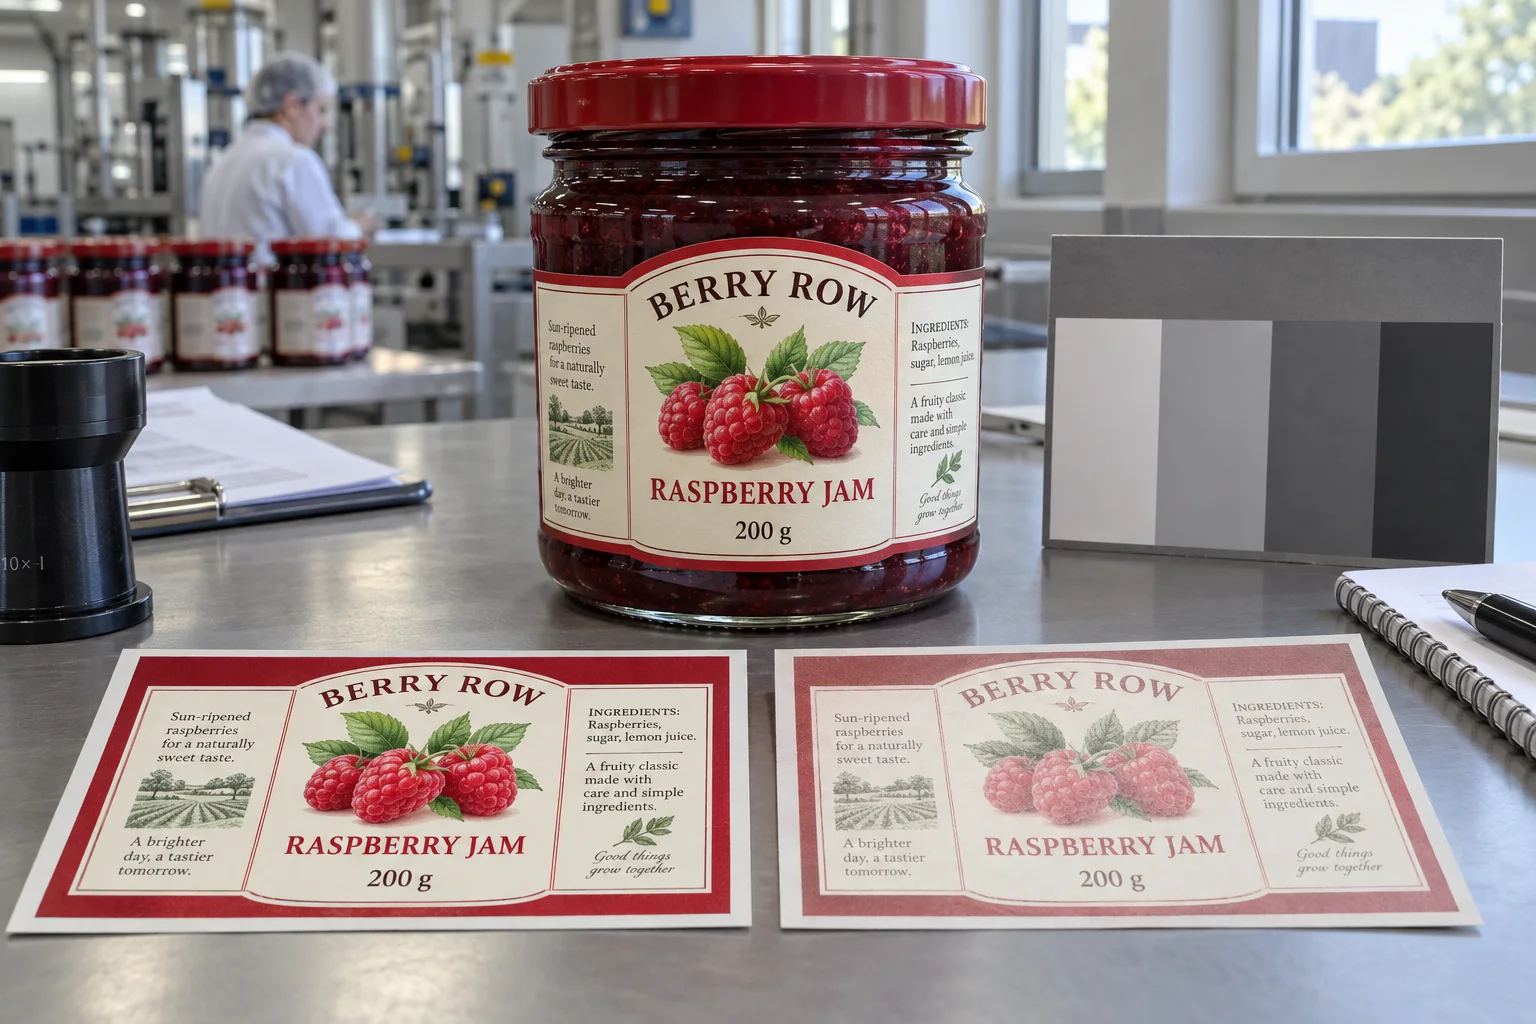
Distinguish fading from rubbing and specify a useful exposure comparison before approving print.
Plan a Fade Test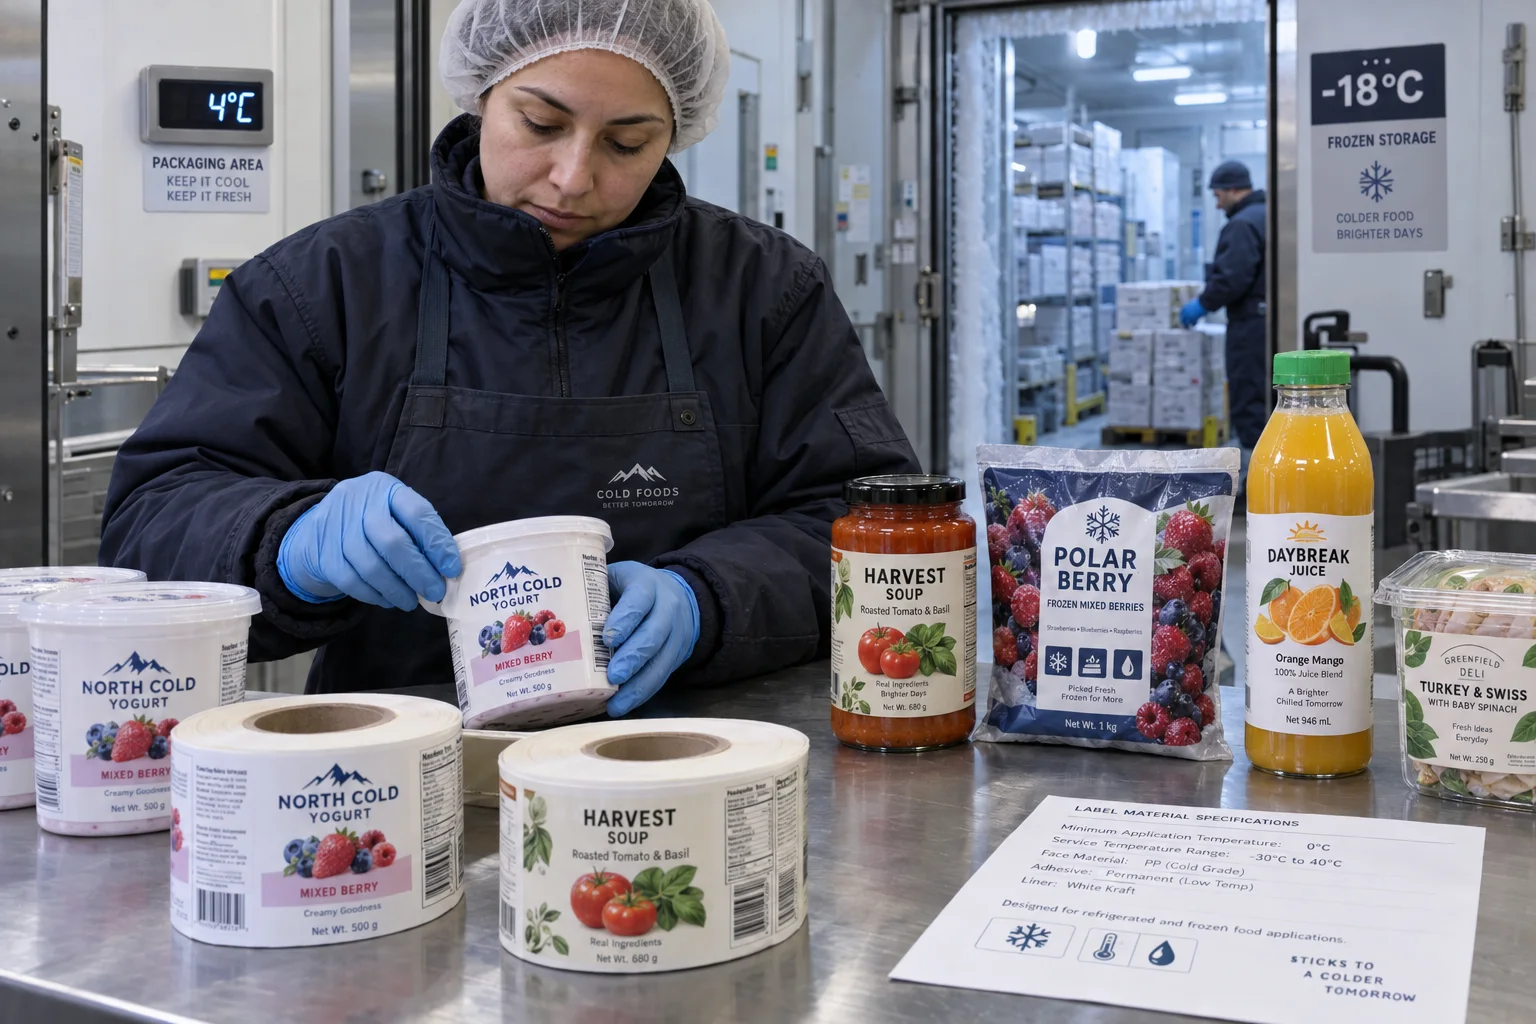
Separate the temperature during label application from the temperature the finished package must survive.
Specify Cold-Use Labels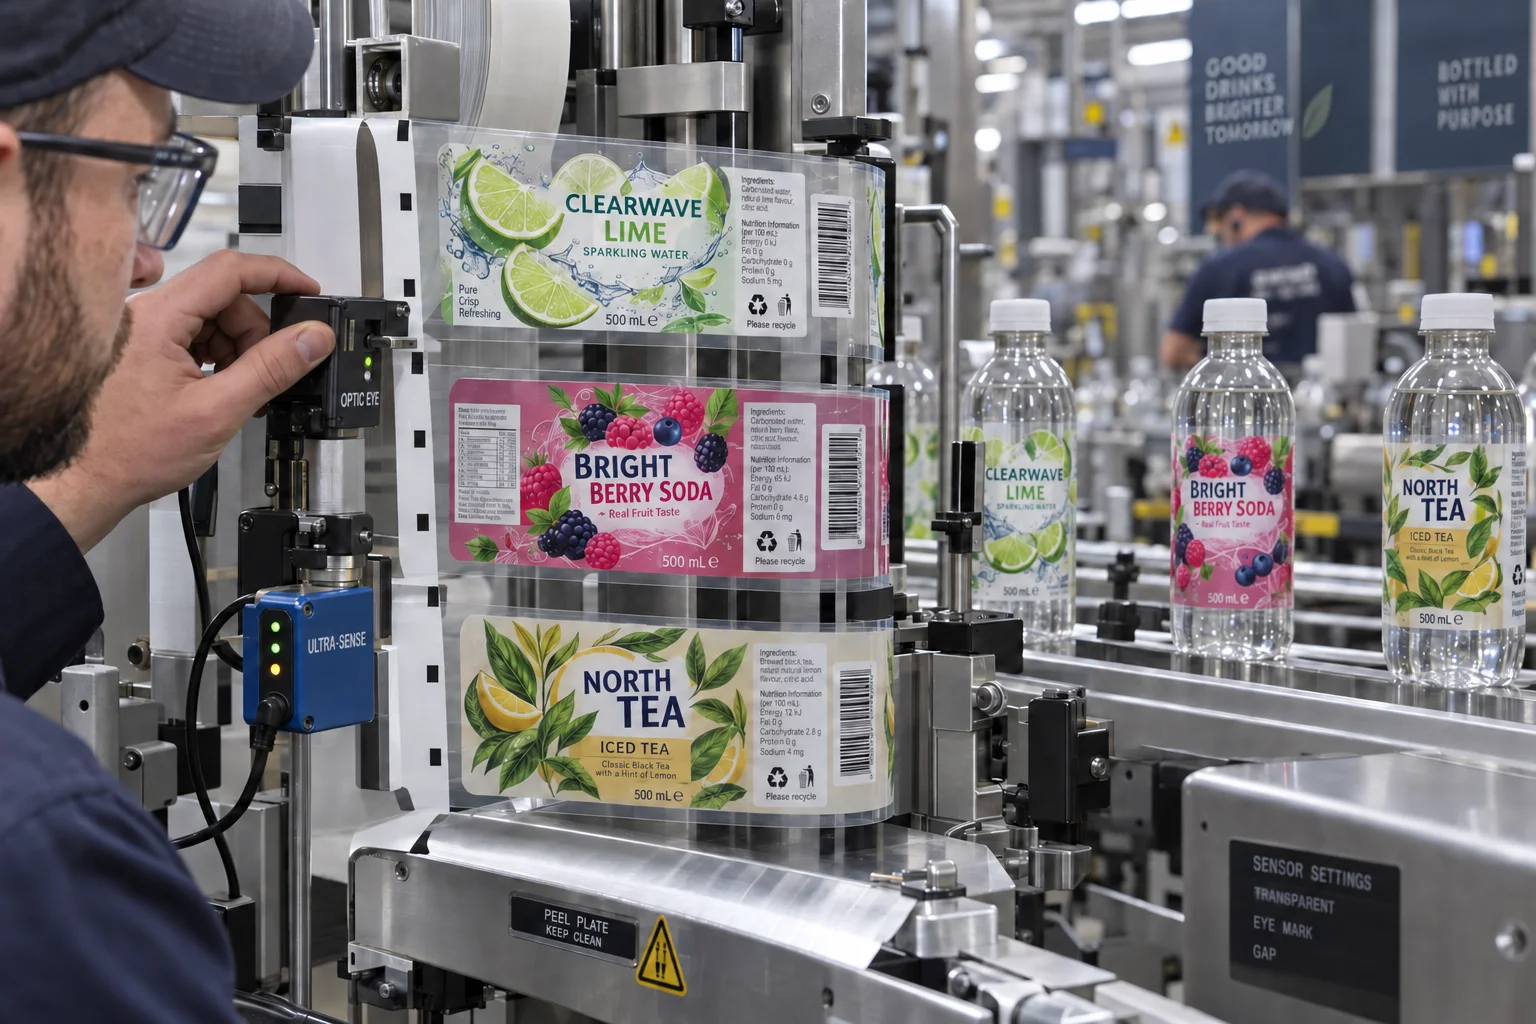
Match transparent labels, web gaps and black eye marks to the applicator sensor before production.
Make Labels Sensor-Ready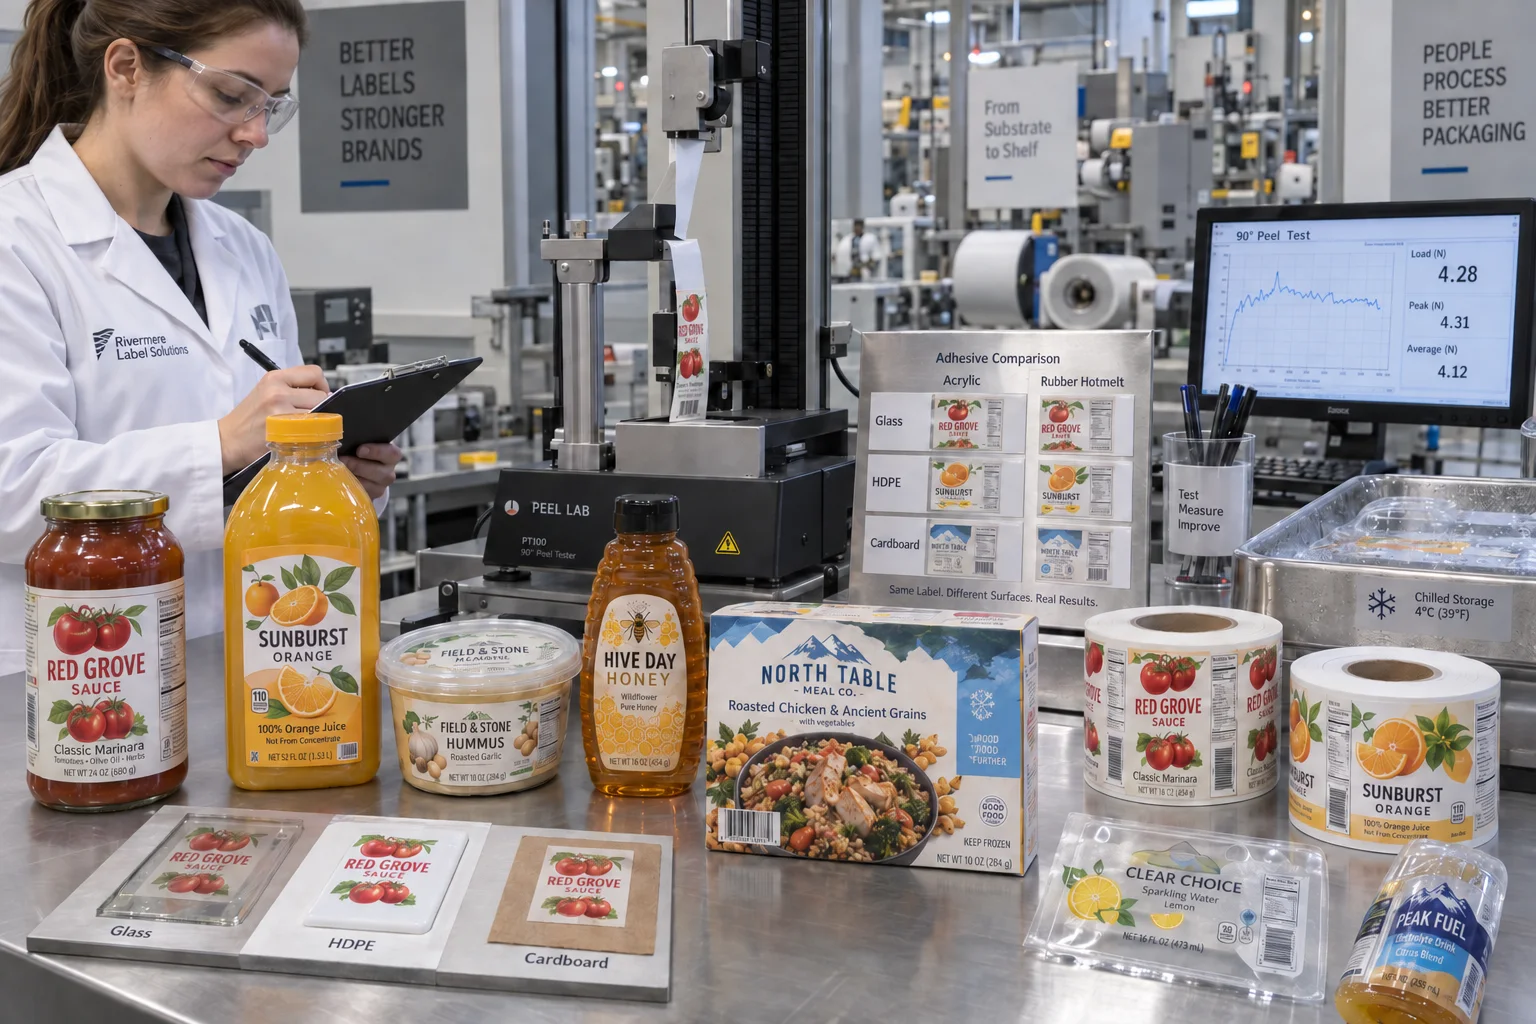
Compare initial tack, clarity, cold performance, heat resistance and converting before choosing adhesive chemistry.
Compare Label Adhesives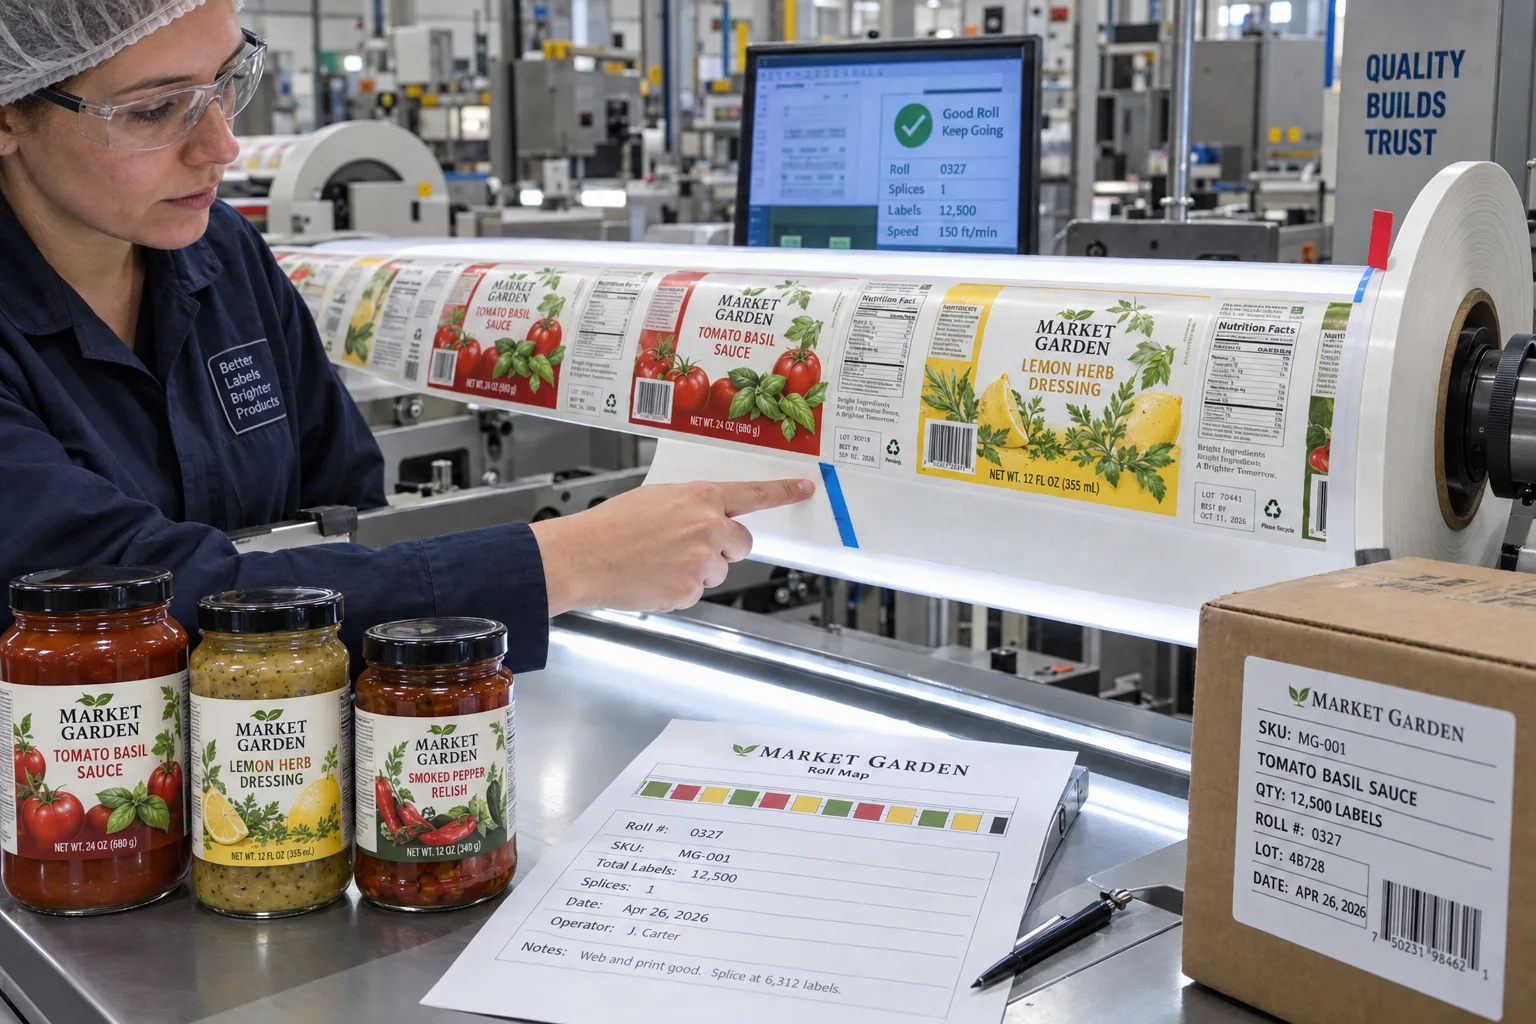
Define splice limits, tape, edge alignment, flags and carton records before rolls reach the applicator.
Set Splice Requirements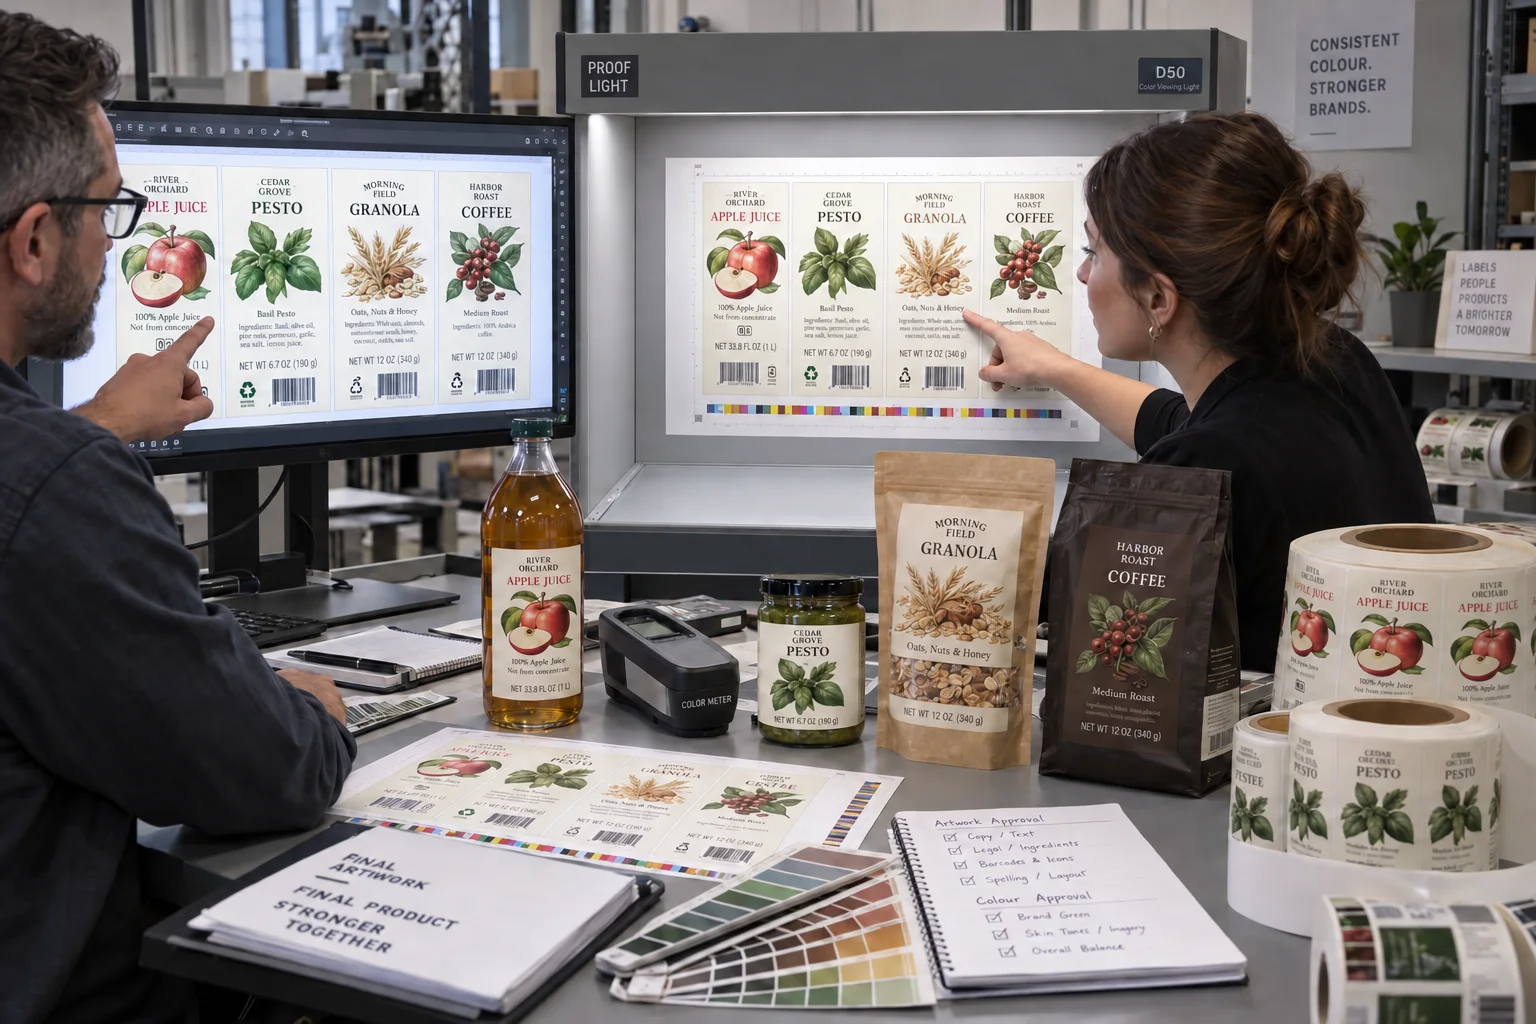
Separate copy approval from color approval and know when a physical proof or production sample is worth the cost.
Choose the Right Proof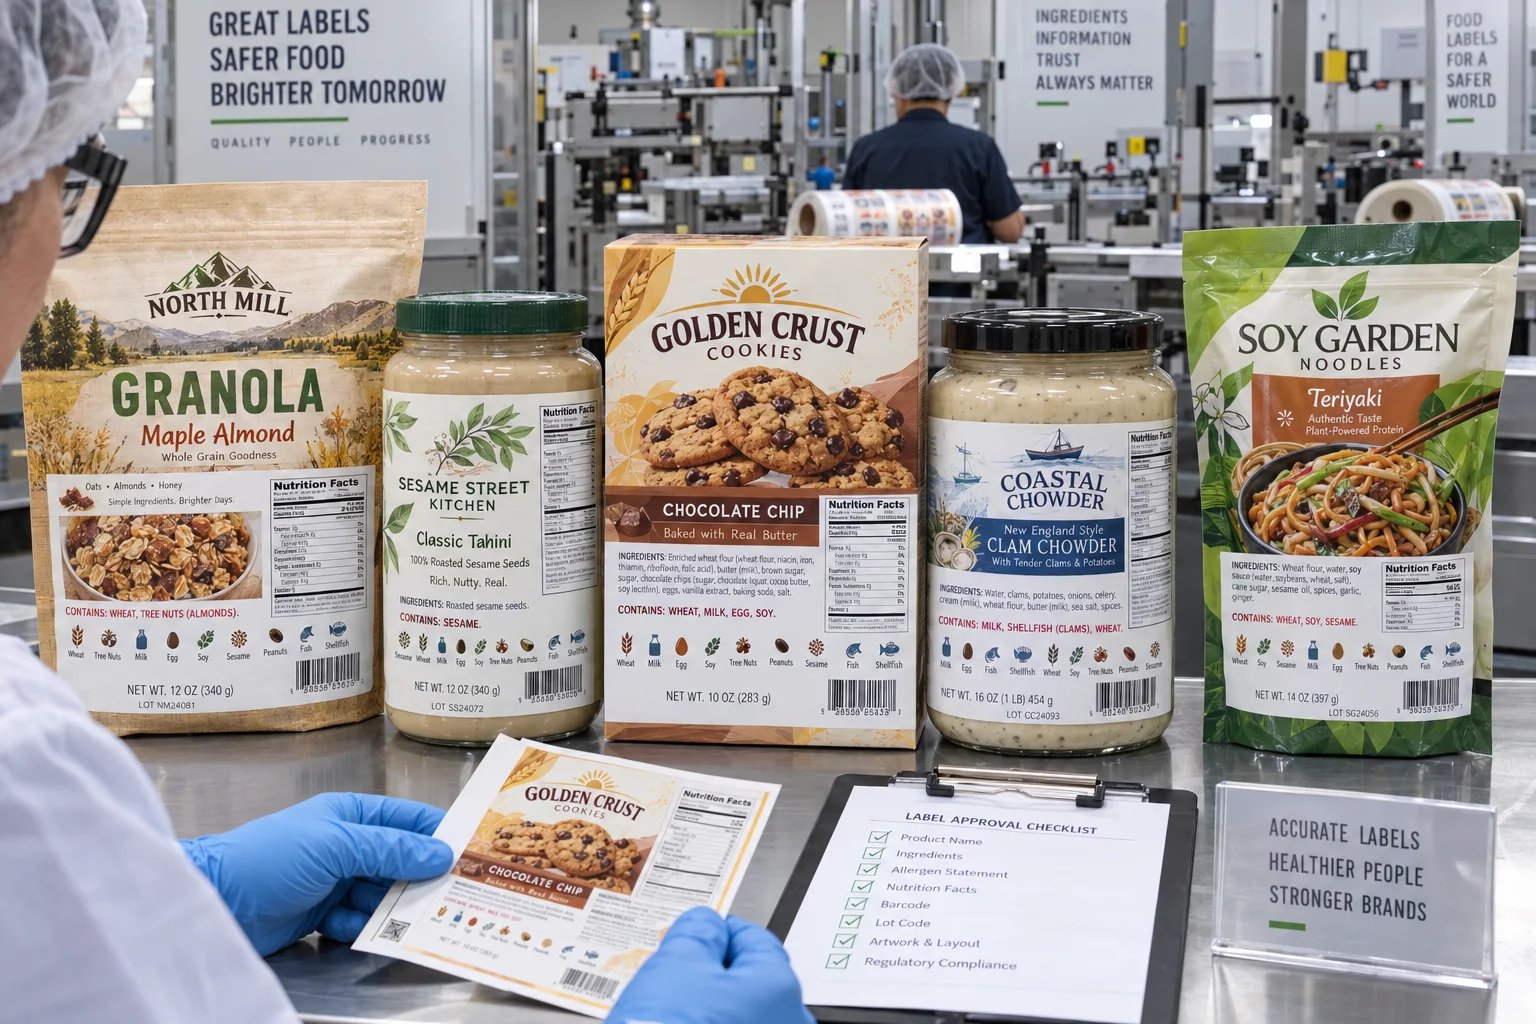
Control the nine major allergens, Contains statements, recipe changes and artwork revisions before print.
Review Allergen Proofs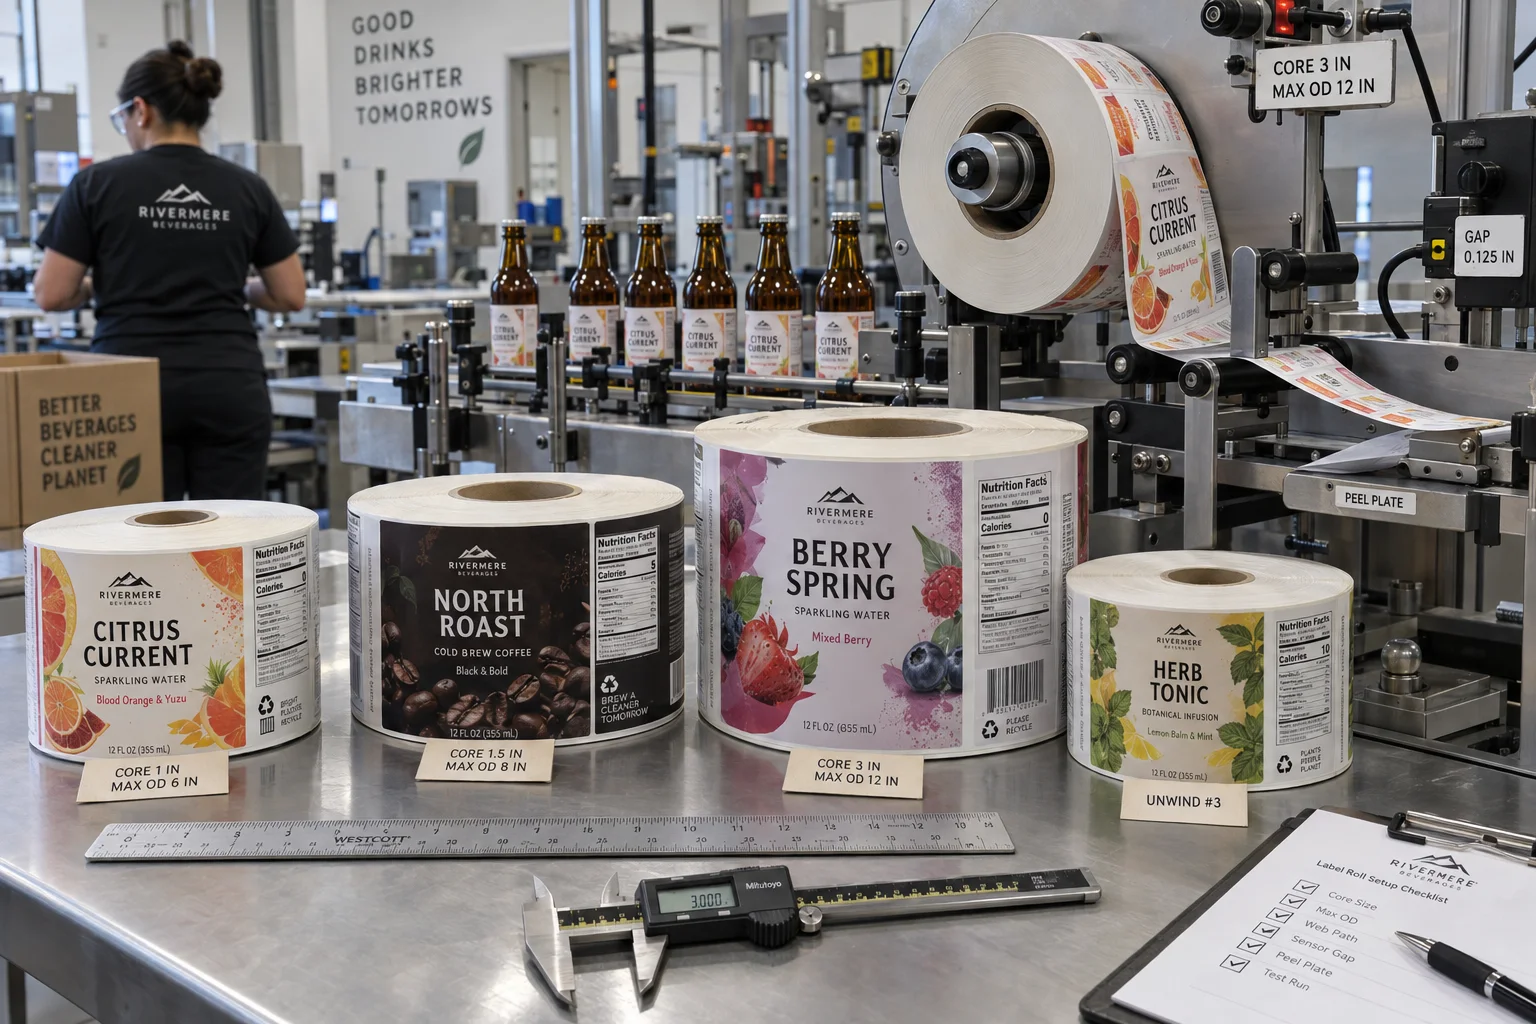
Match core ID, maximum roll OD, unwind, weight and quantity per roll to the actual applicator.
Specify Label Rolls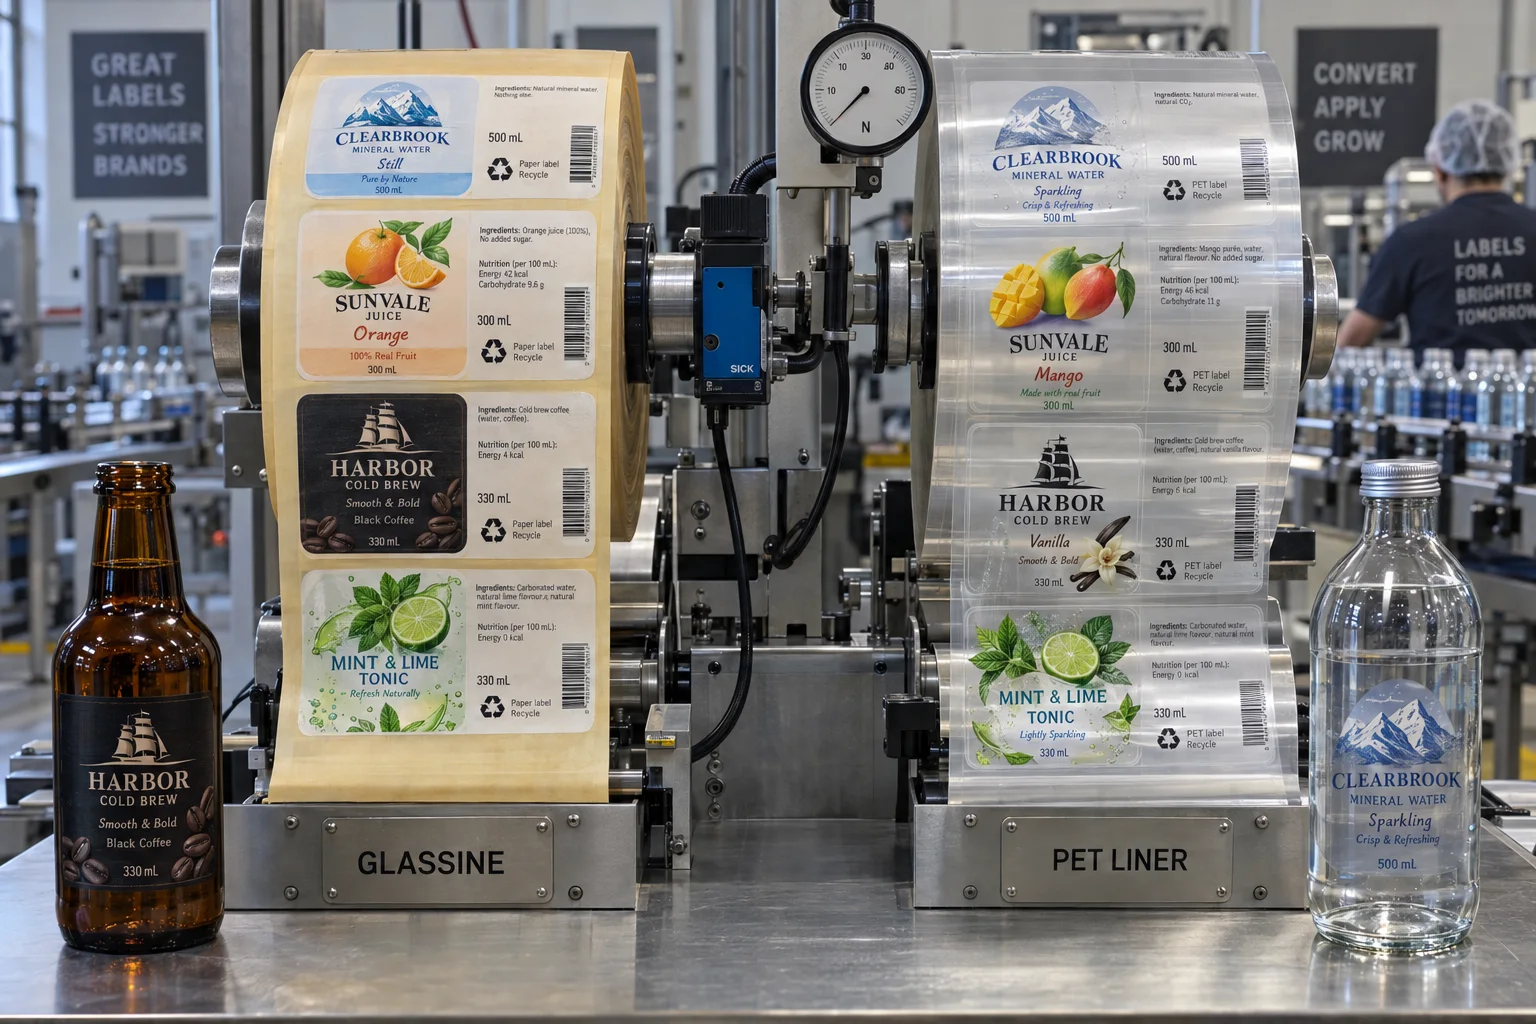
Compare paper and PET liners by dispensing speed, clear-label performance, roll yield and recovery route.
Compare Release Liners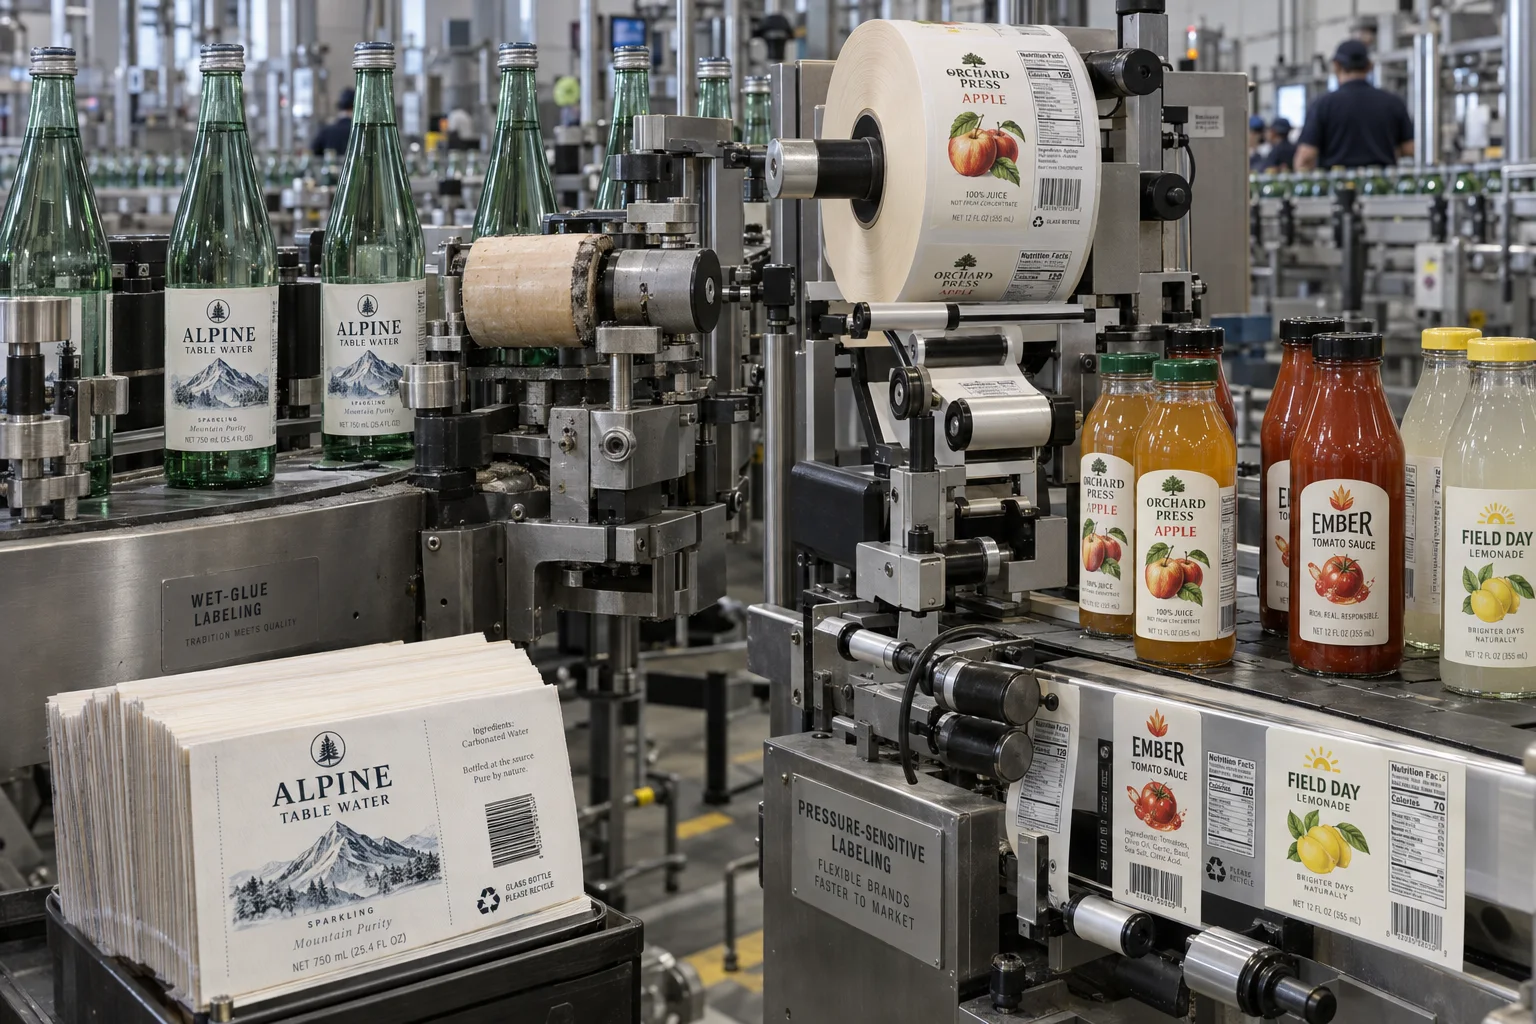
Compare cut-and-stack wet glue and pressure-sensitive rolls by equipment, SKU mix and total line cost.
Compare Bottle Labels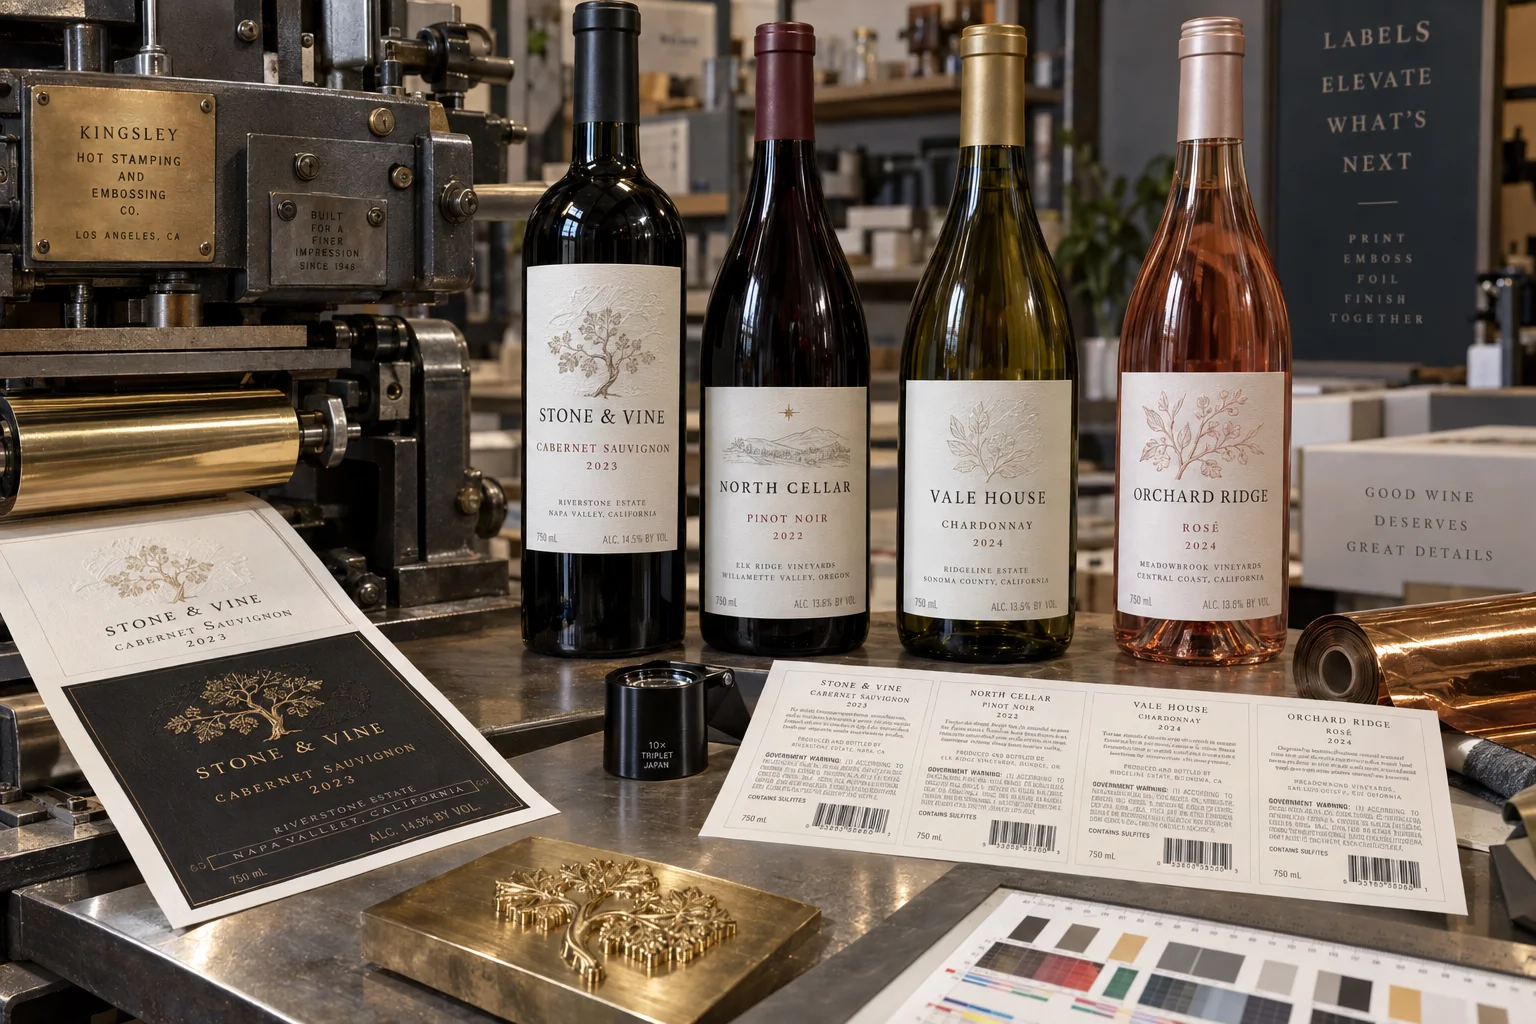
Use embossing, foil, textured paper and controlled hierarchy without sacrificing bottling performance or required copy.
Plan Premium Wine Labels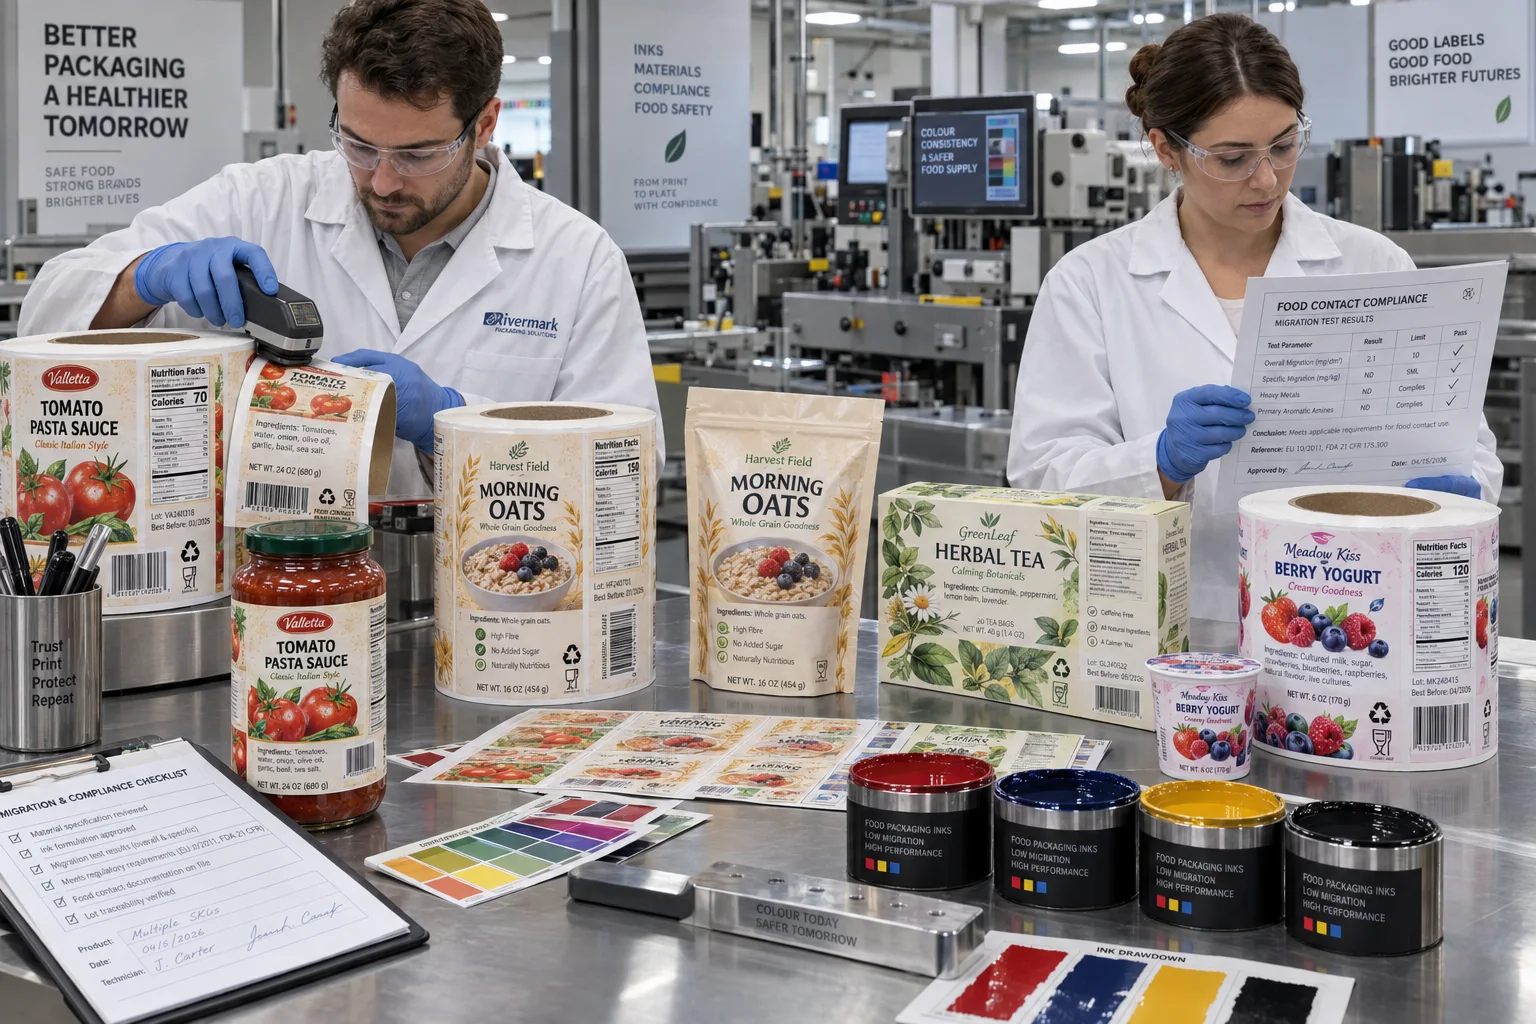
Separate ink formulation from finished-package compliance, migration routes, set-off and supply-chain documentation.
Review Food Packaging Inks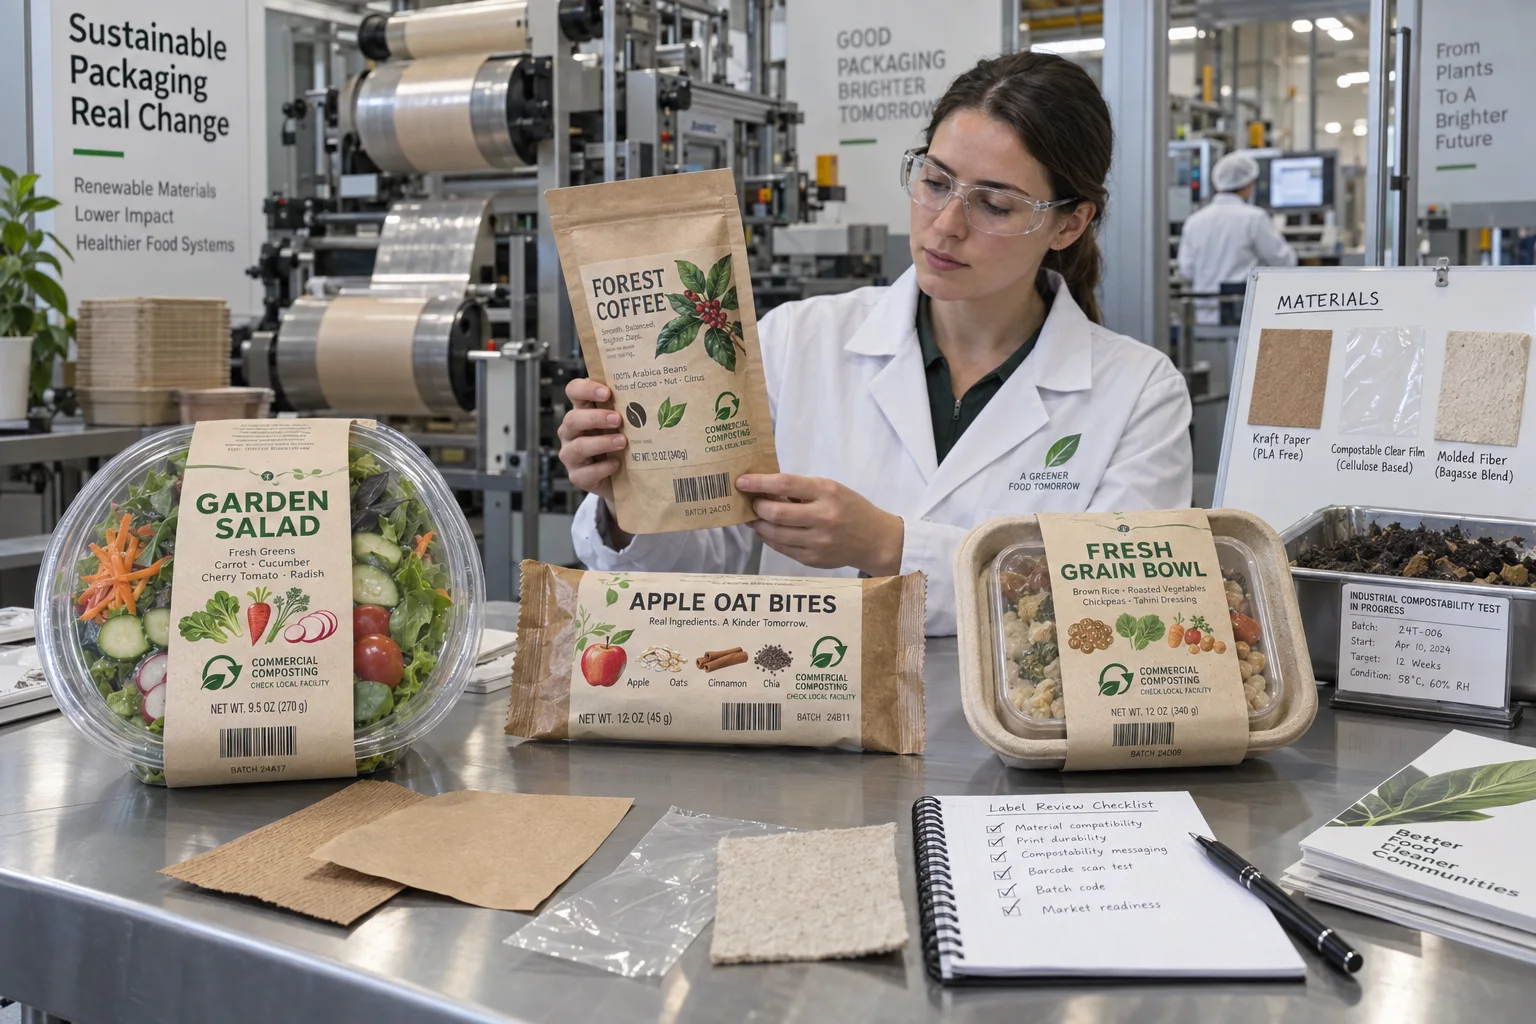
Match face, adhesive, ink and disposal language to the certified package and its actual composting route.
Choose Compostable Labels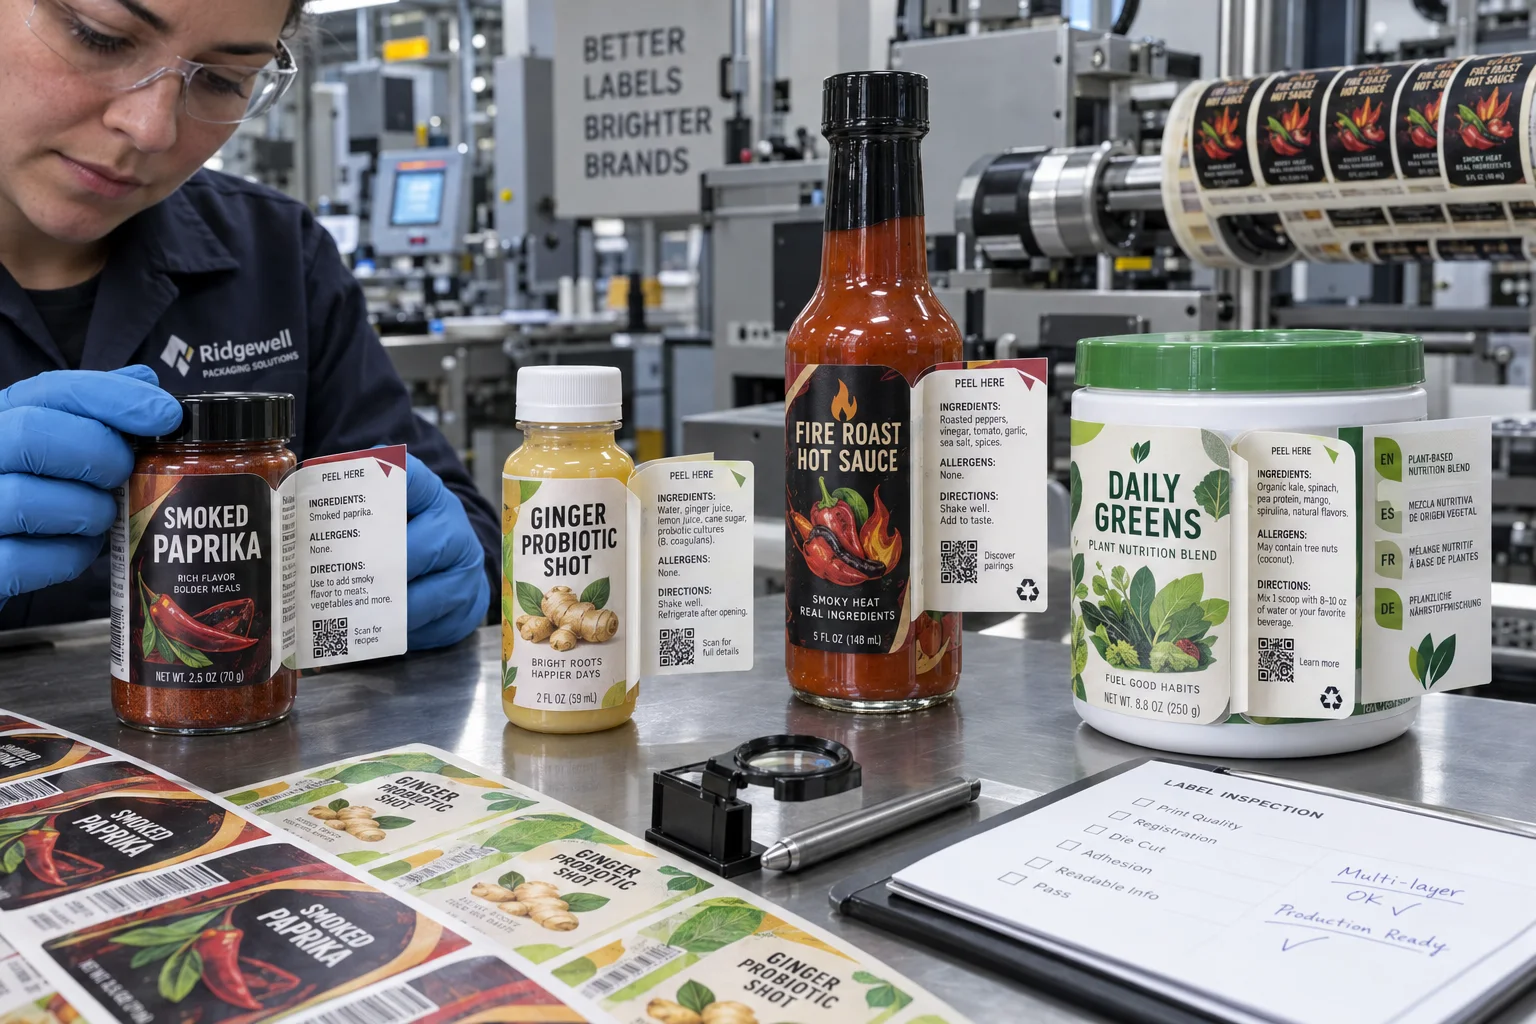
Add readable ingredients, instructions and multilingual copy without turning a small package into tiny type.
Plan Extended Content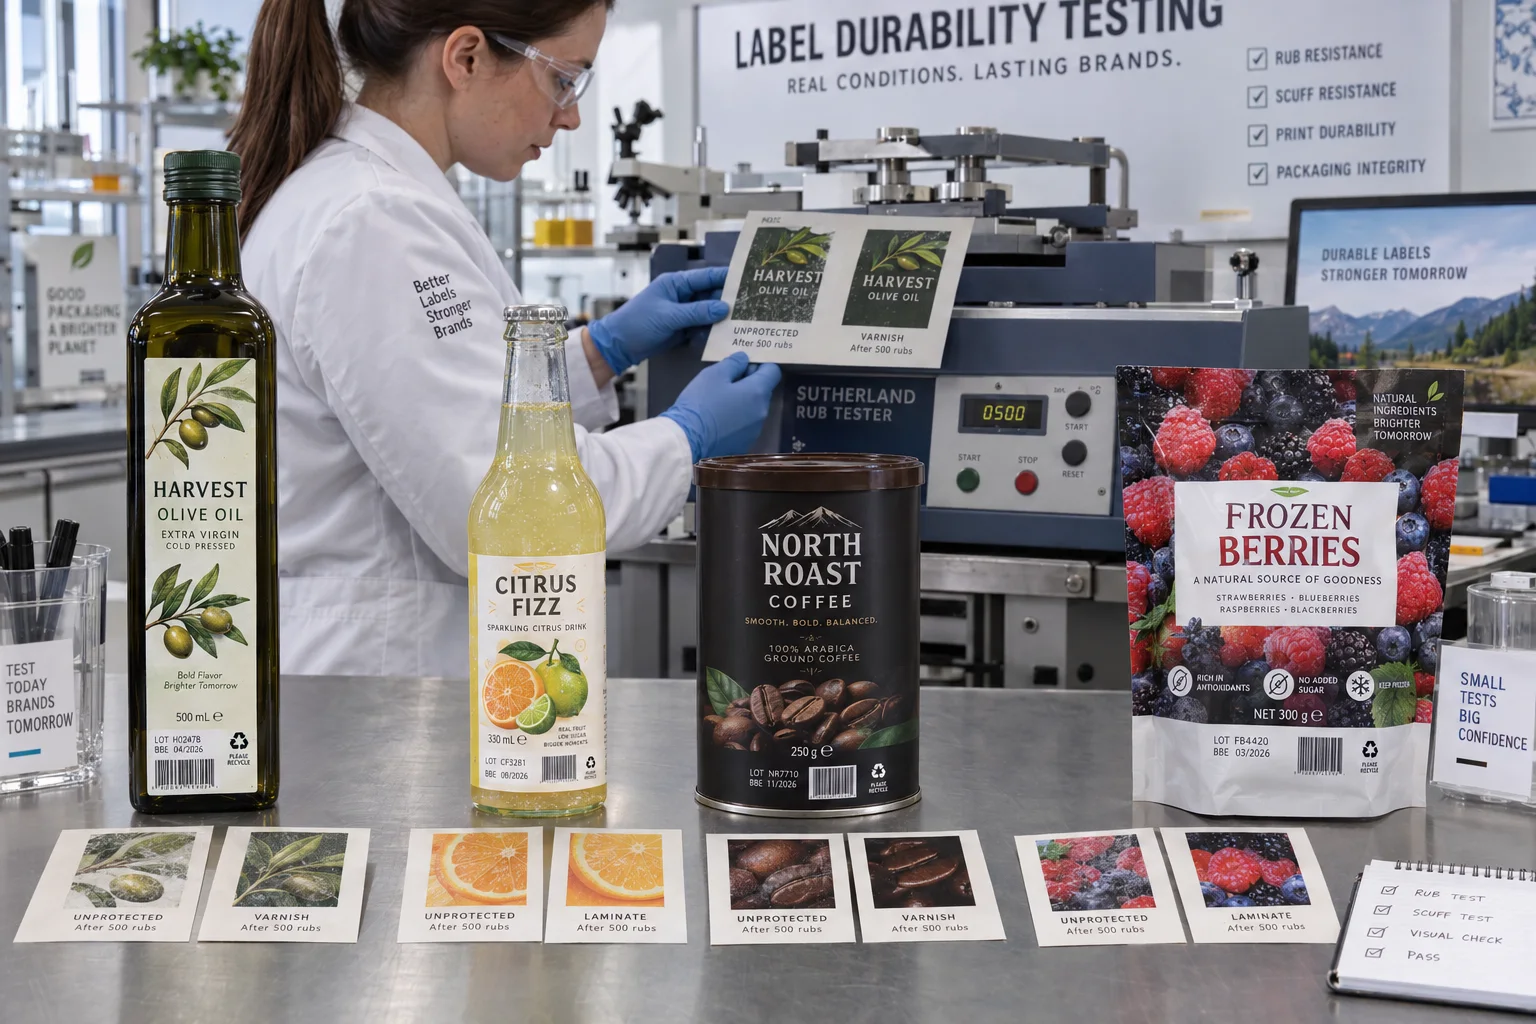
Match ink adhesion, varnish or laminate to real carton contact, moisture and a defined abrasion test.
Improve Label Durability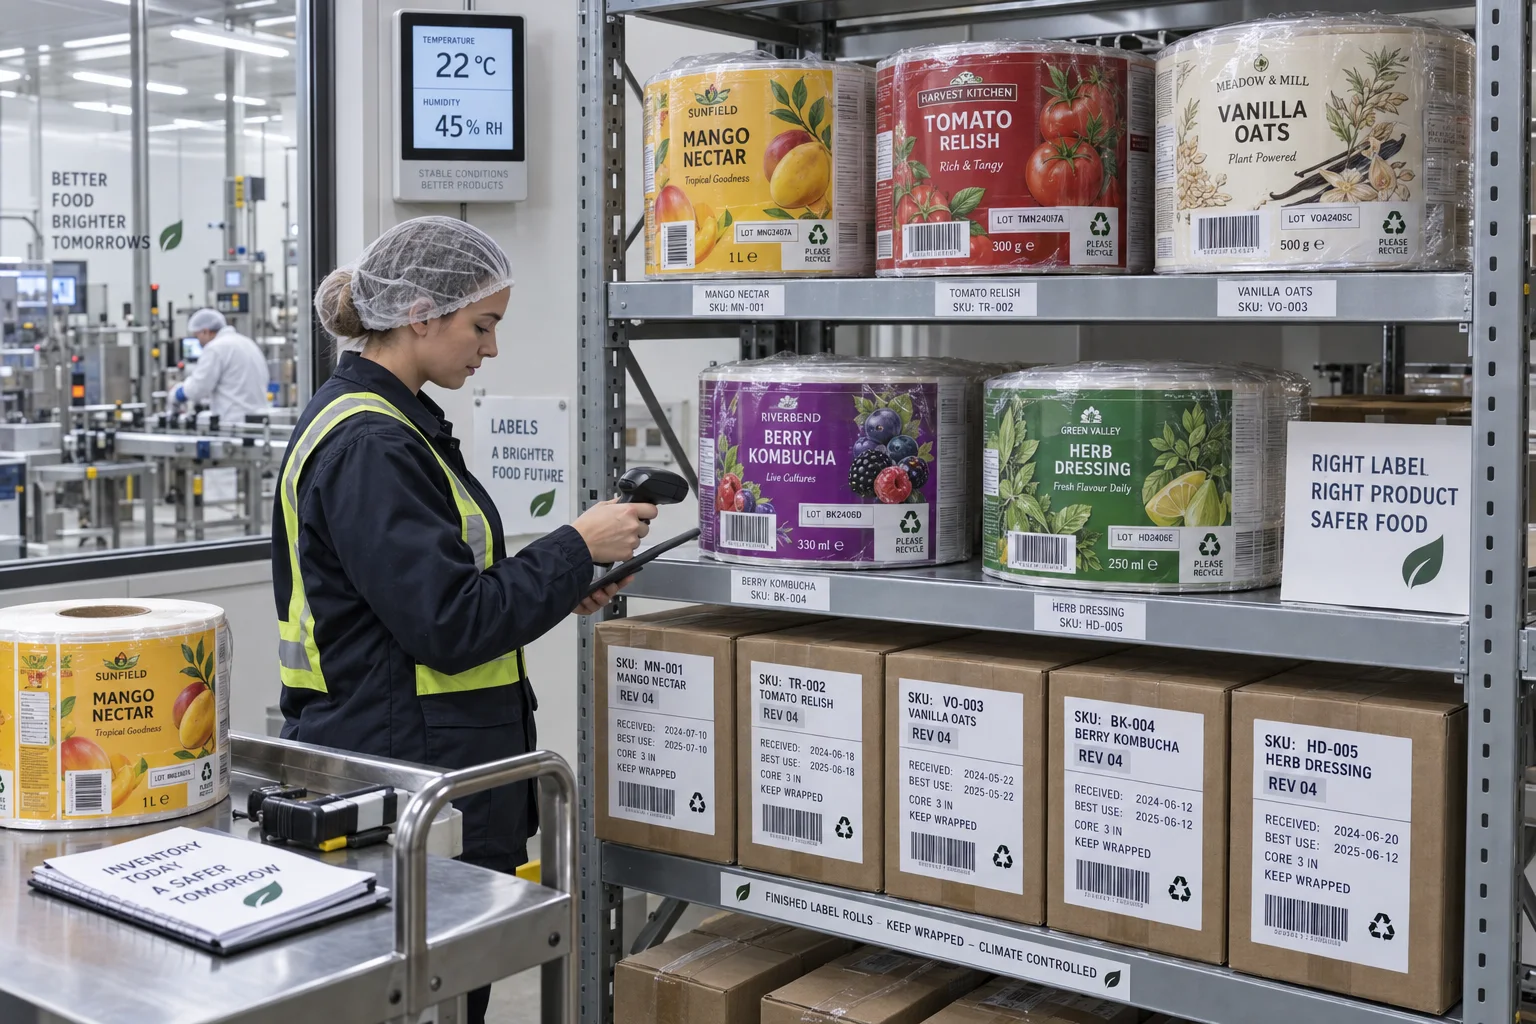
Protect adhesive and dispensing performance with controlled temperature, humidity, wrapping and artwork rotation.
Store Label Rolls Correctly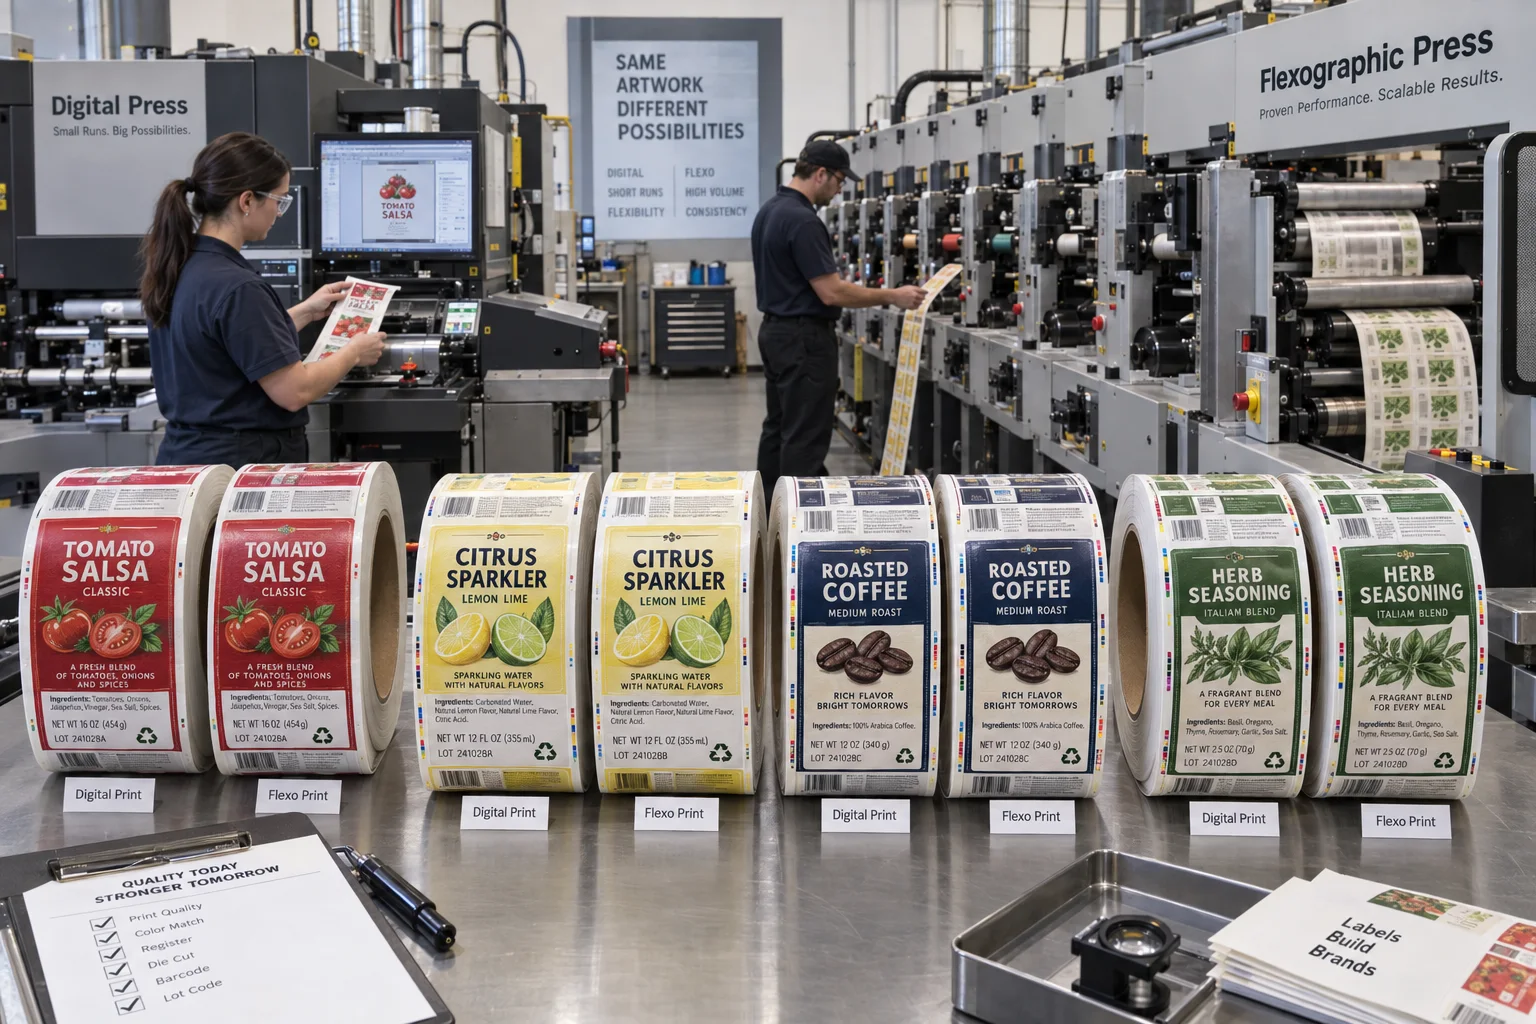
Compare setup, SKU count, color control and total applied cost before choosing digital or flexographic labels.
Compare Printing Methods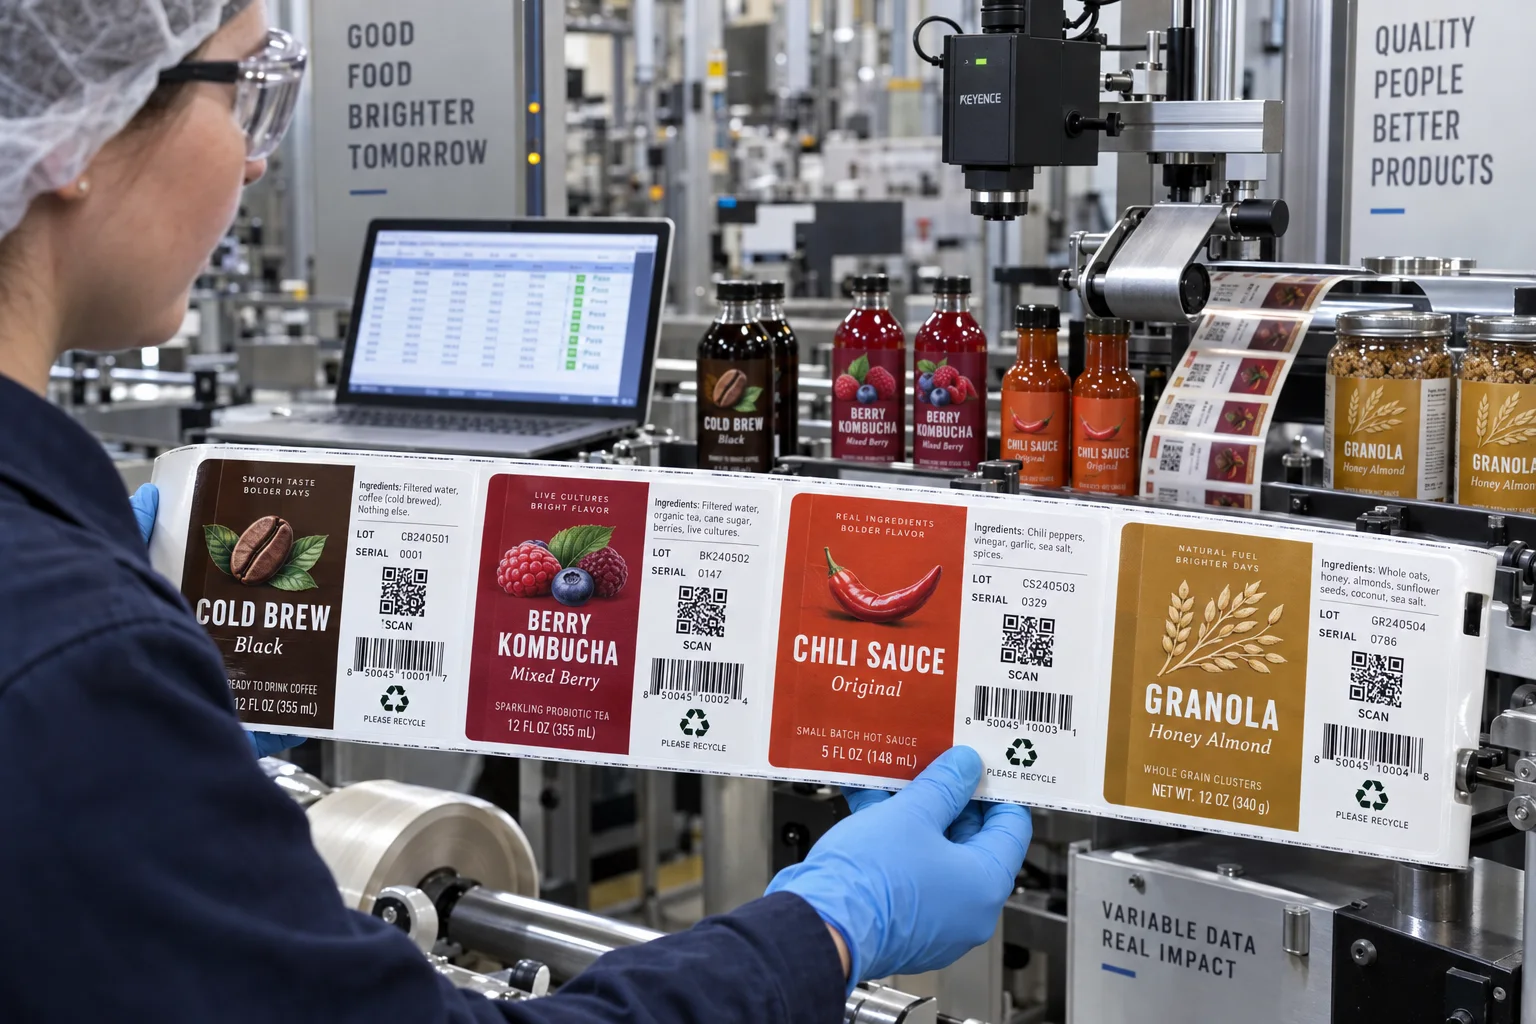
Plan unique QR, serial and lot data with data validation, scan checks and a defensible production audit trail.
Plan Variable Data Labels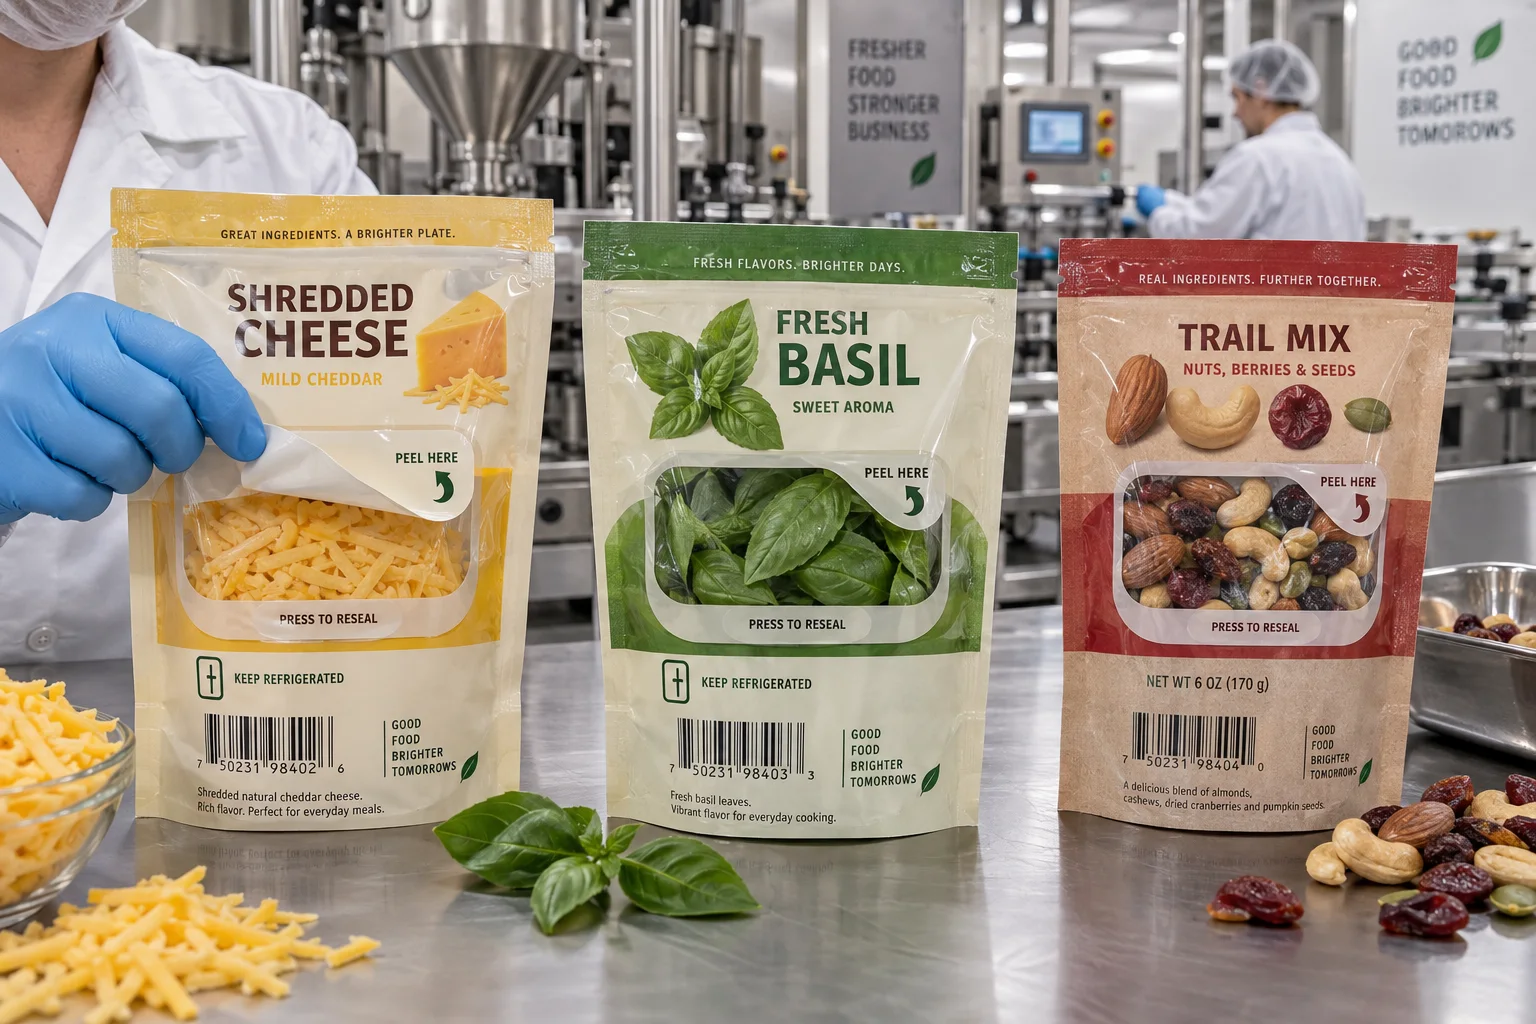
Treat the label as a working reclosure system: tab, hinge, adhesive zone, pack surface and repeated opening cycles.
Plan Reseal Labels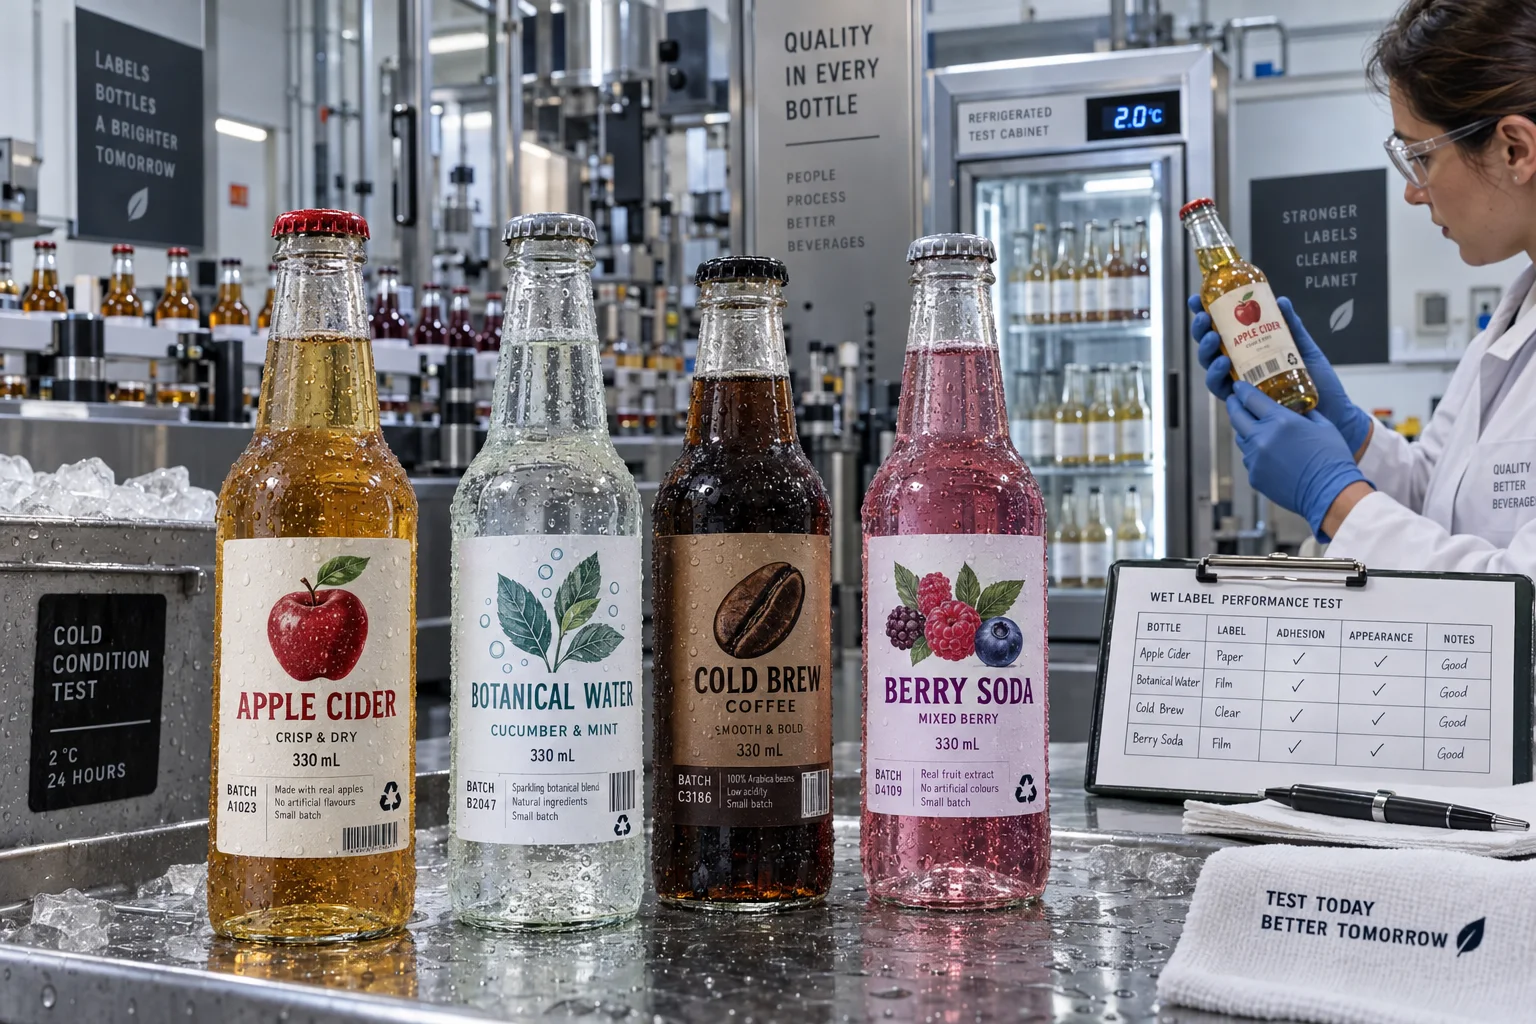
Separate wet-use durability from wet application, then match paper or film to the real glass bottle and cold chain.
Choose Glass Bottle Labels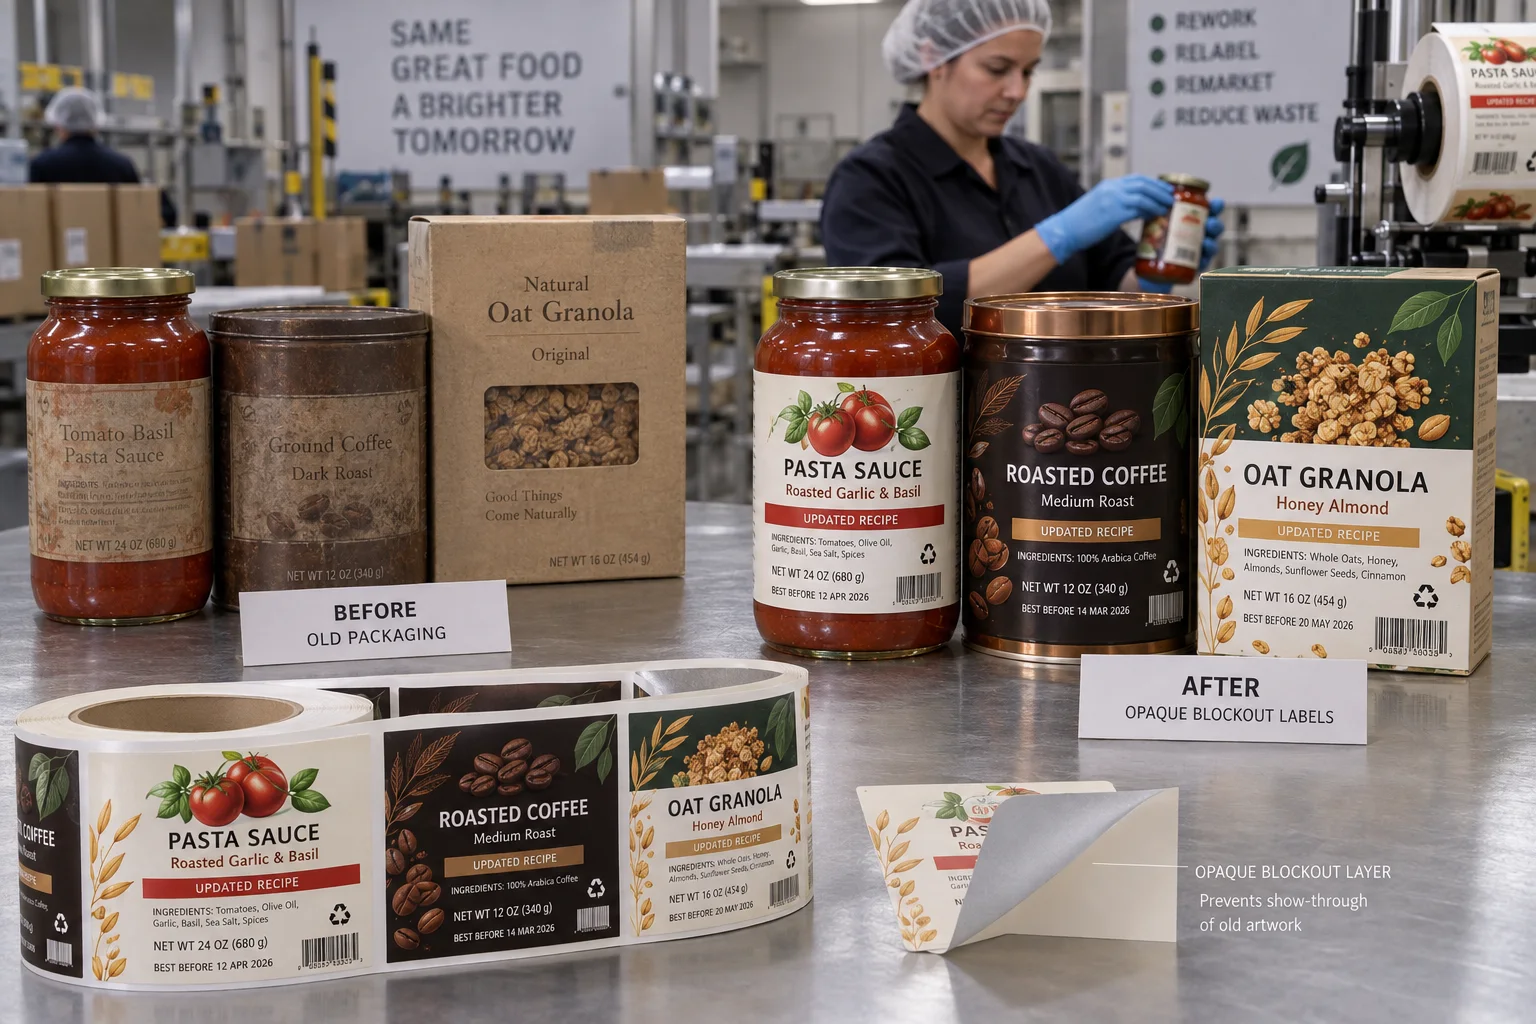
Cover old graphics, barcodes and corrected copy without show-through, edge lift or uncontrolled rework labor.
Plan Blockout Labels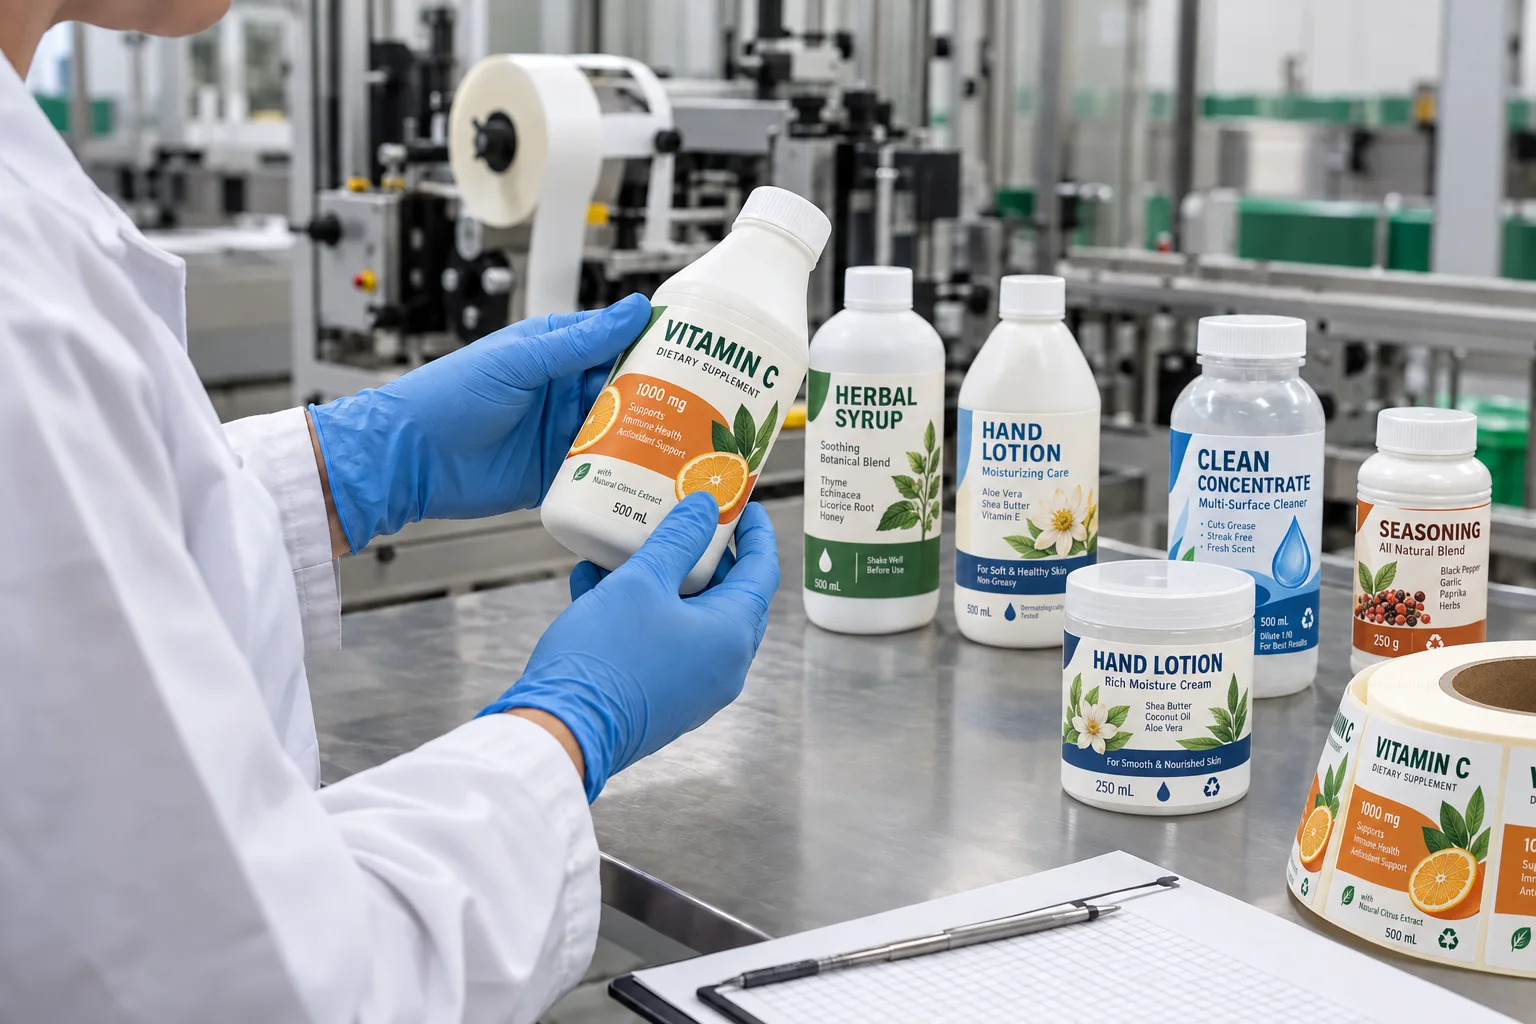
Understand why HDPE and PP are difficult to label, then match adhesive, film and testing to the real container.
Read HDPE Label Guide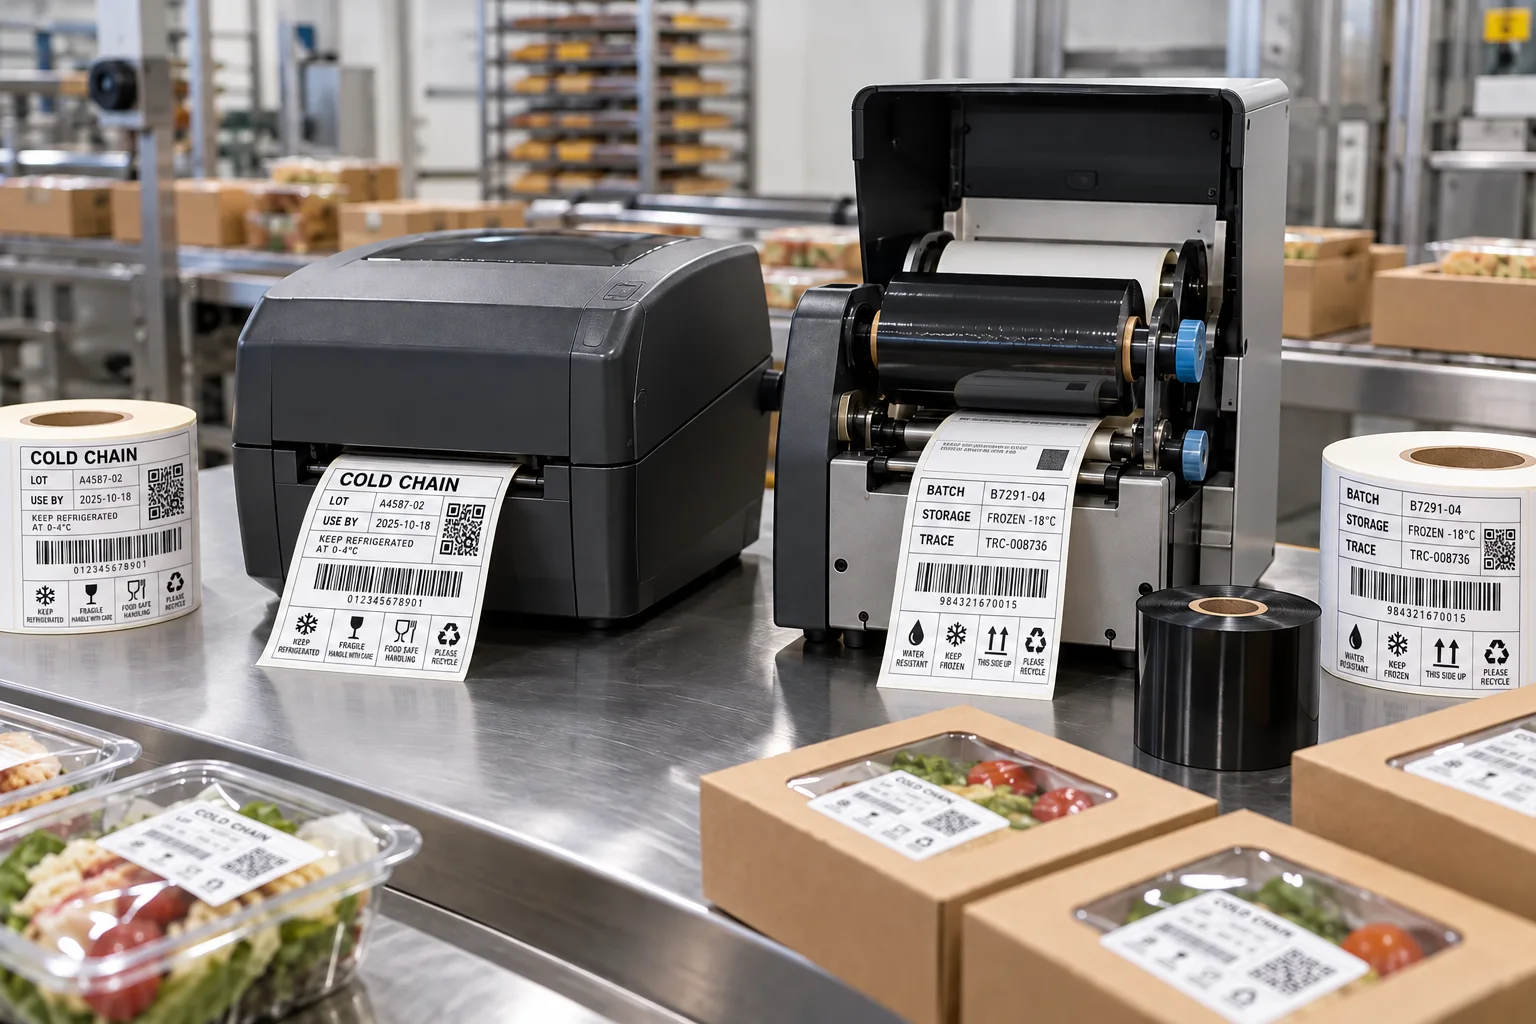
Compare ribbon-free direct thermal with more durable thermal transfer printing for dates, lots and barcodes.
Compare Thermal Methods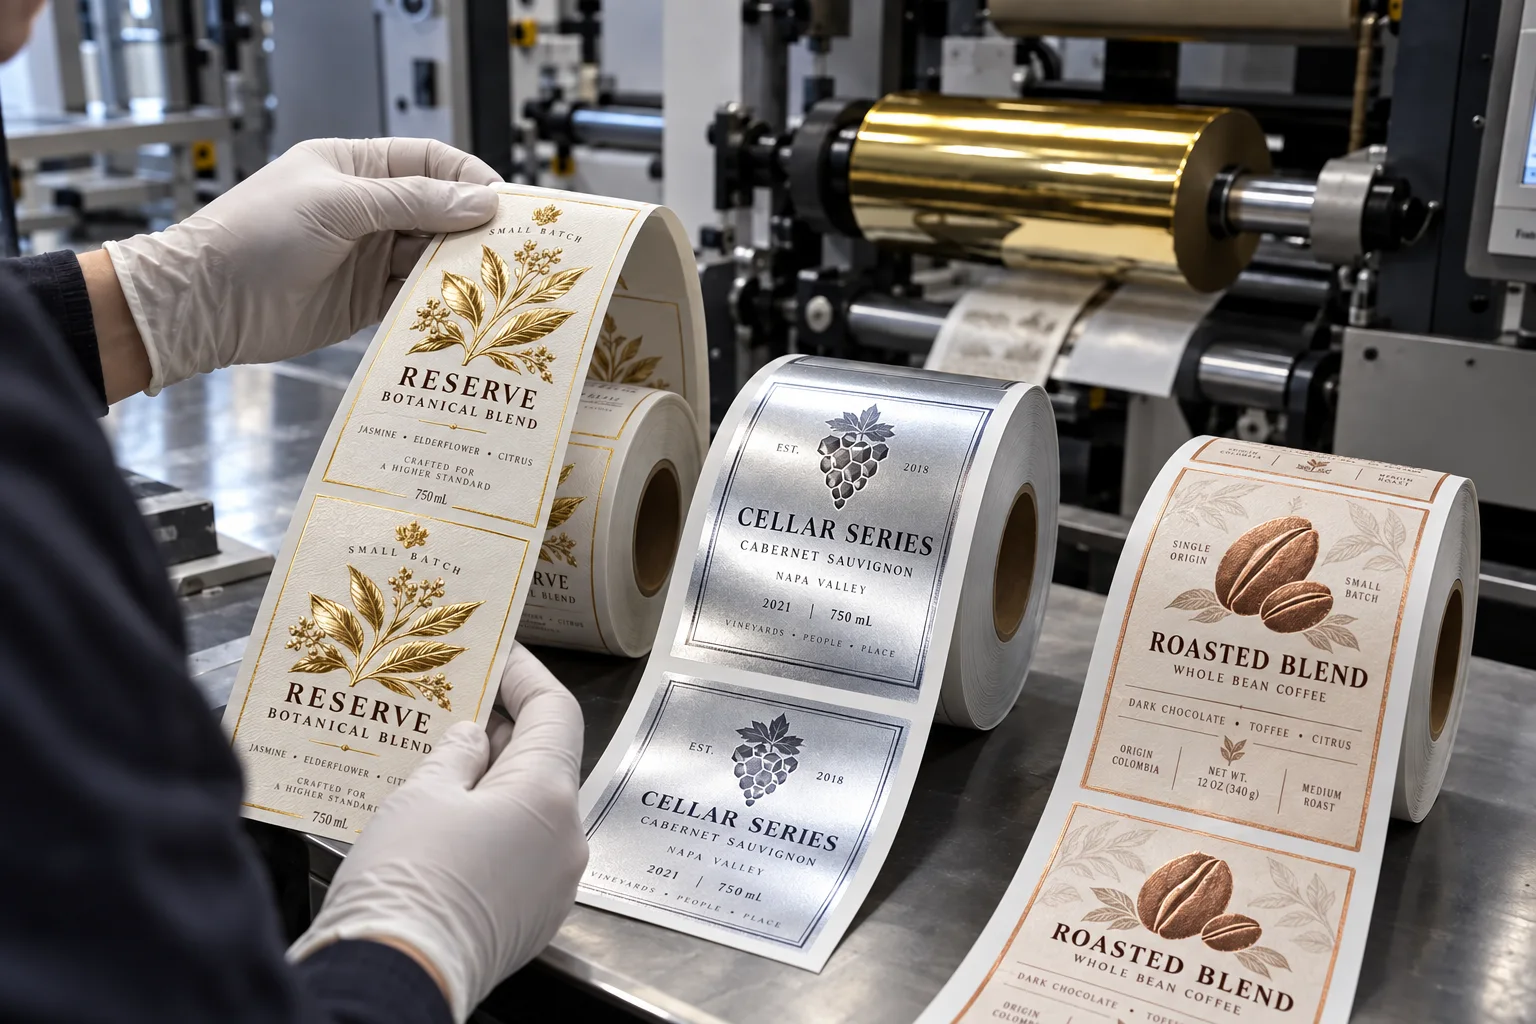
Separate reflective foil, tactile stamping and subtler metallic ink before approving a gold label quote.
Compare Metallic Finishes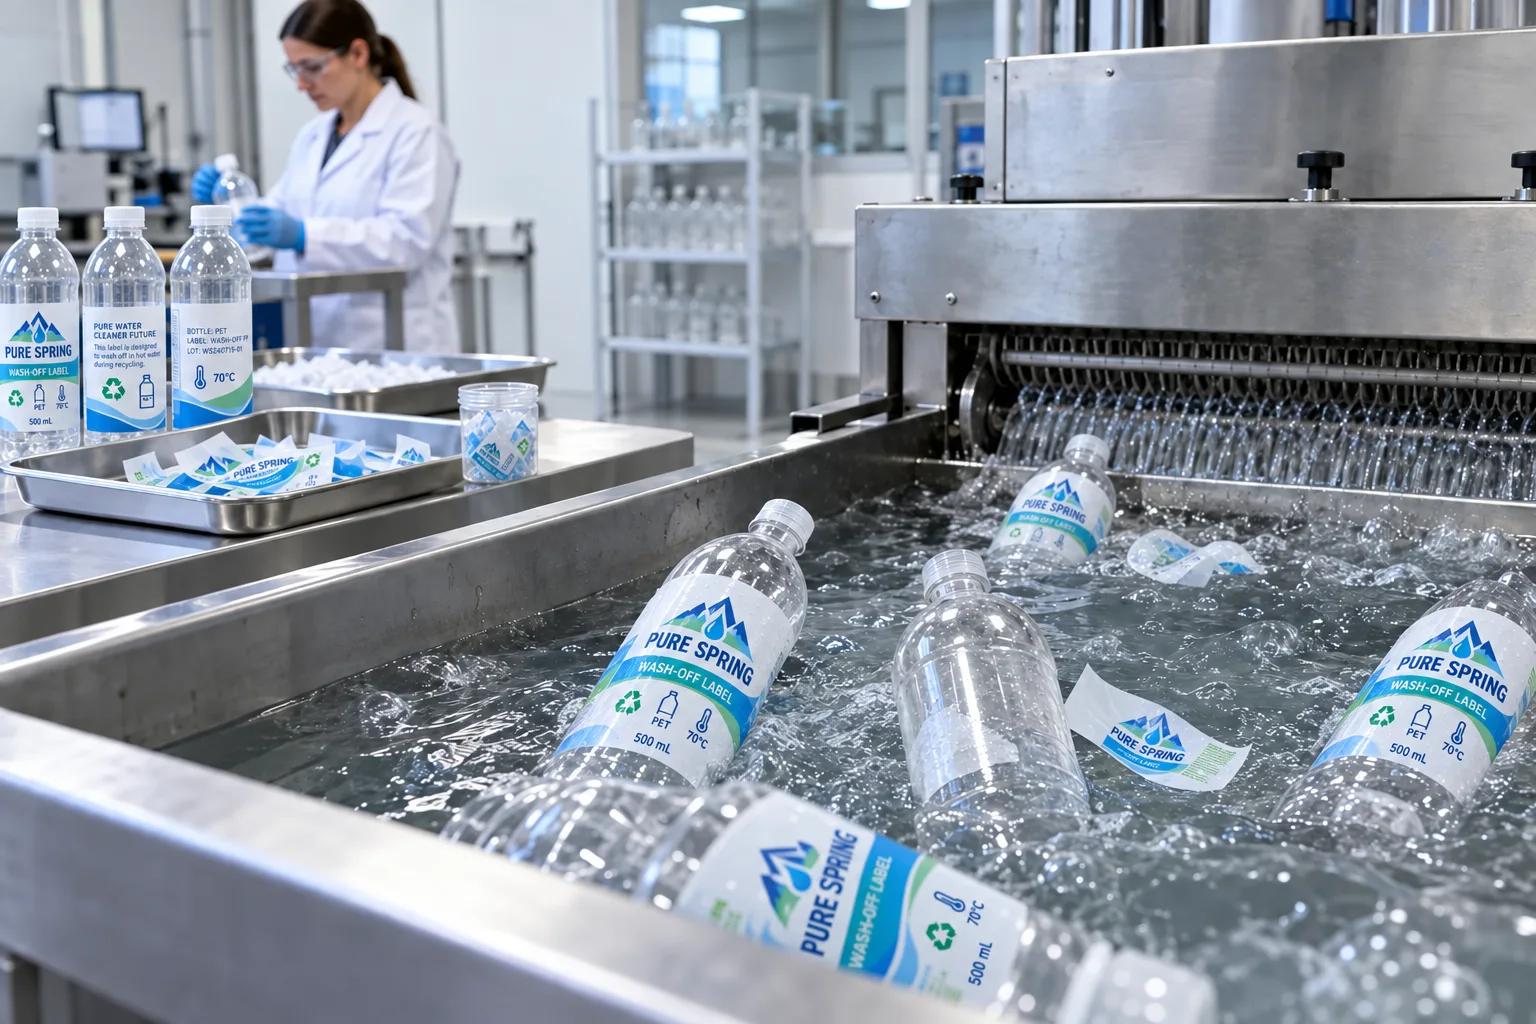
Evaluate wash-off adhesive, label film, ink and the real PET recycling stream before making a packaging claim.
Read Wash-Off Guide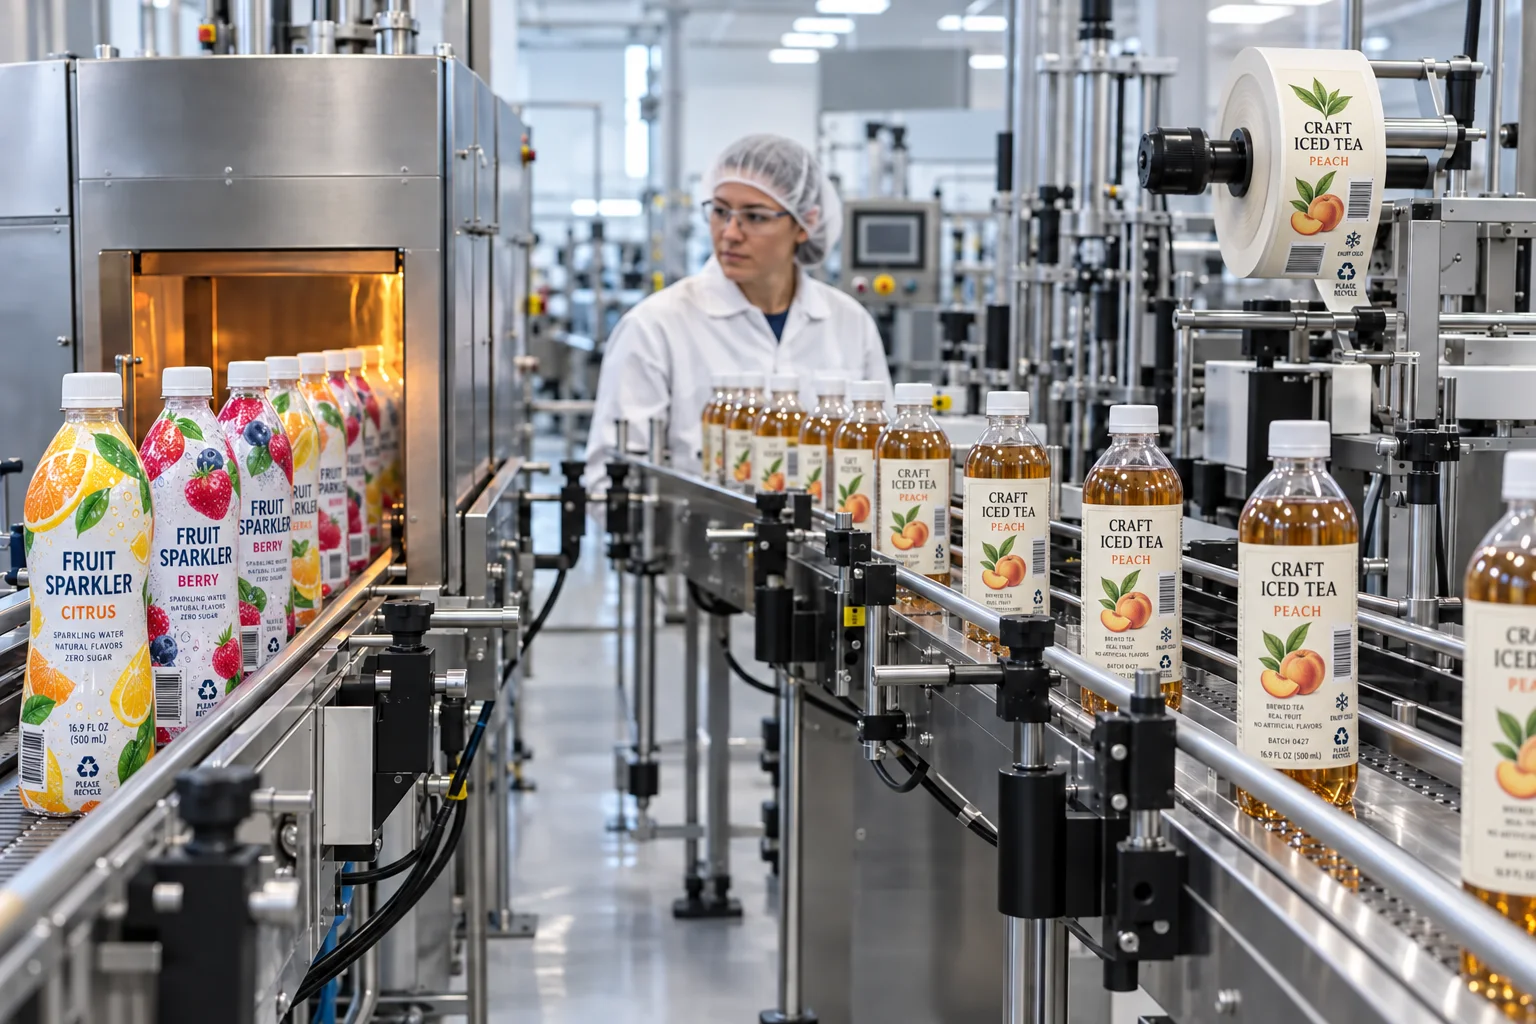
Compare bottle geometry, coverage, equipment and SKU flexibility before choosing sleeves or adhesive labels.
Compare Bottle Label Formats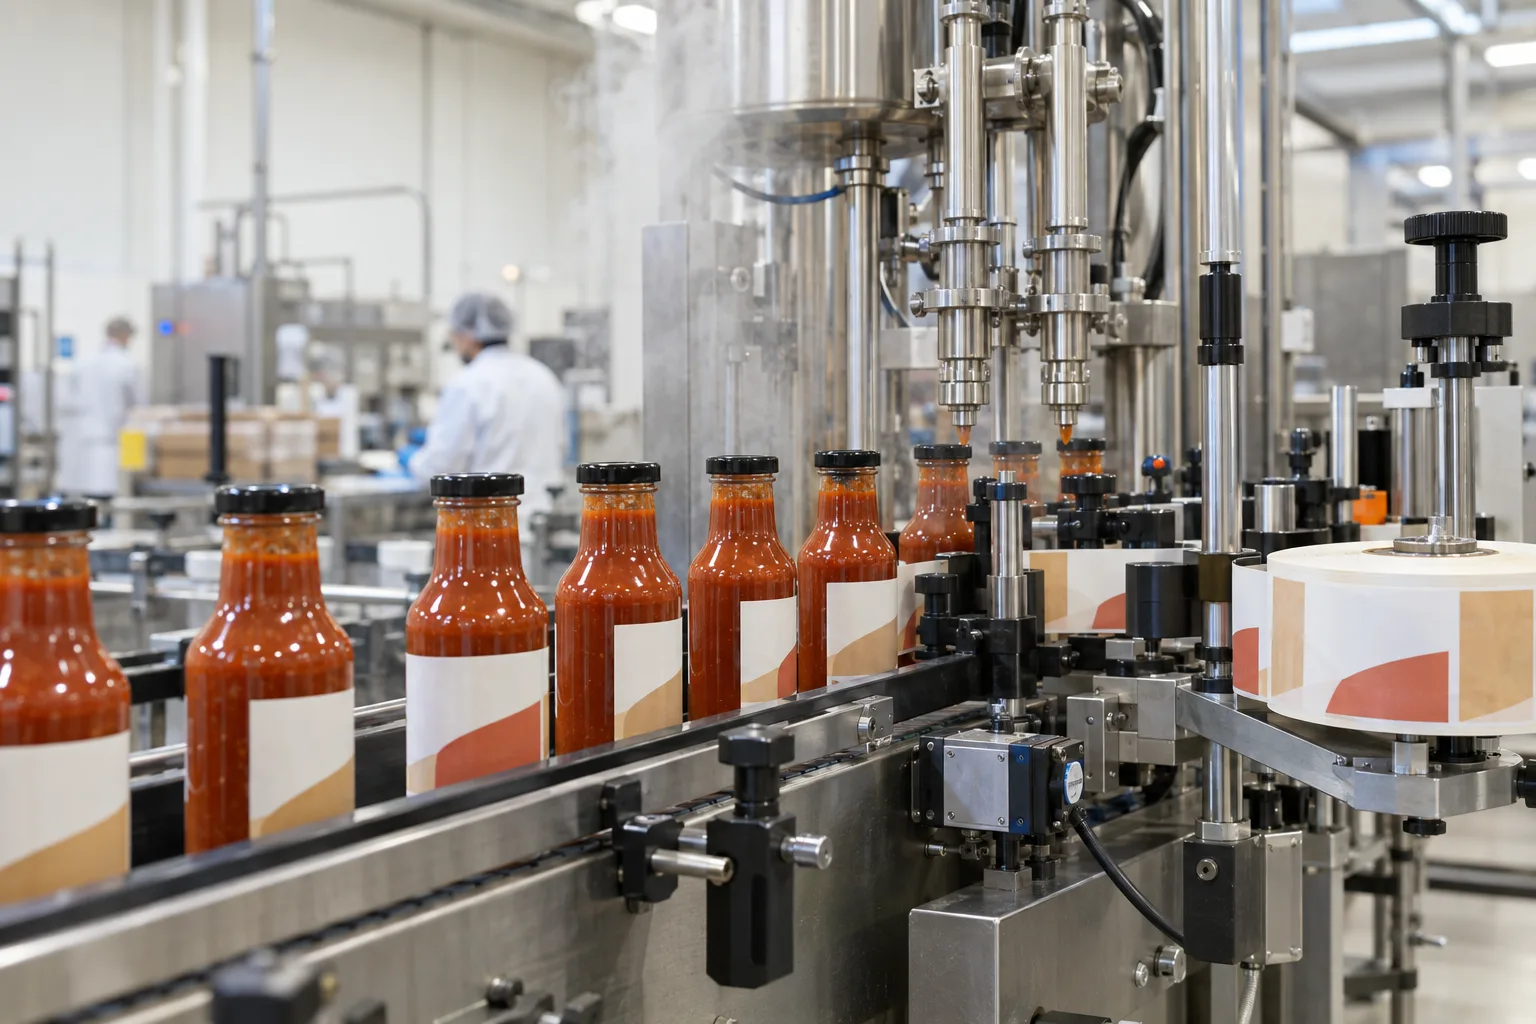
Match label material and application timing to hot bottles, cooling, condensation and production speed.
Read Hot-Fill Guide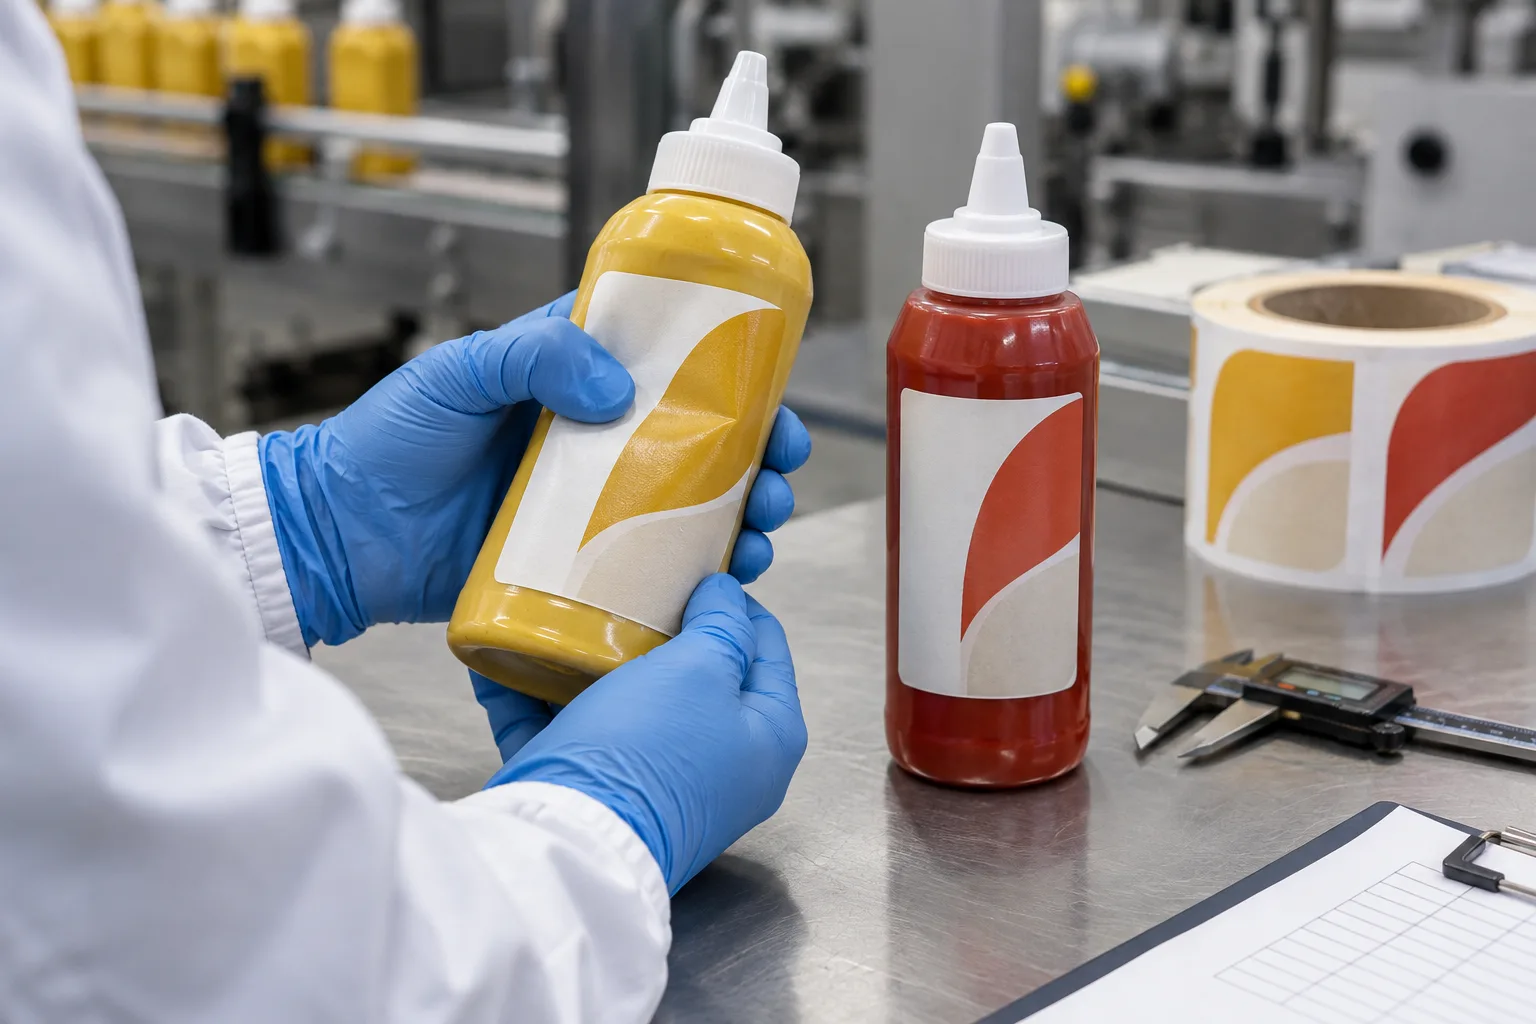
Choose a conformable label that can move with flexible sauce and condiment bottles without lifting.
Read Squeeze Bottle Guide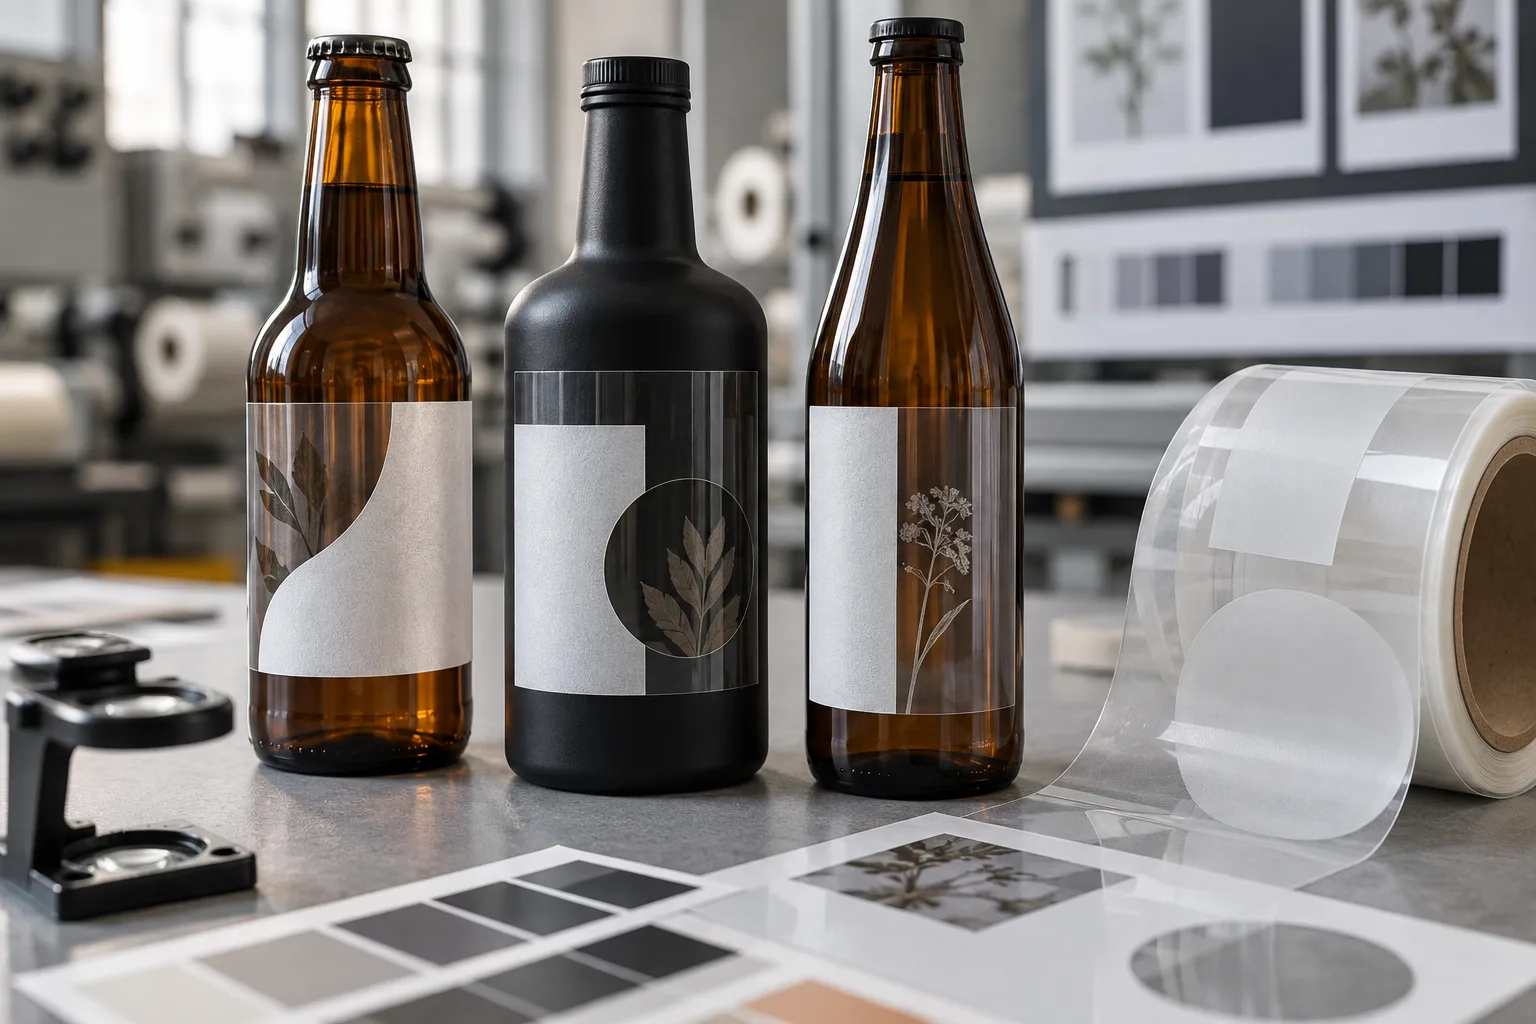
Understand white ink underprinting, color shift and when white film beats a clear no-label look.
Read White Ink Guide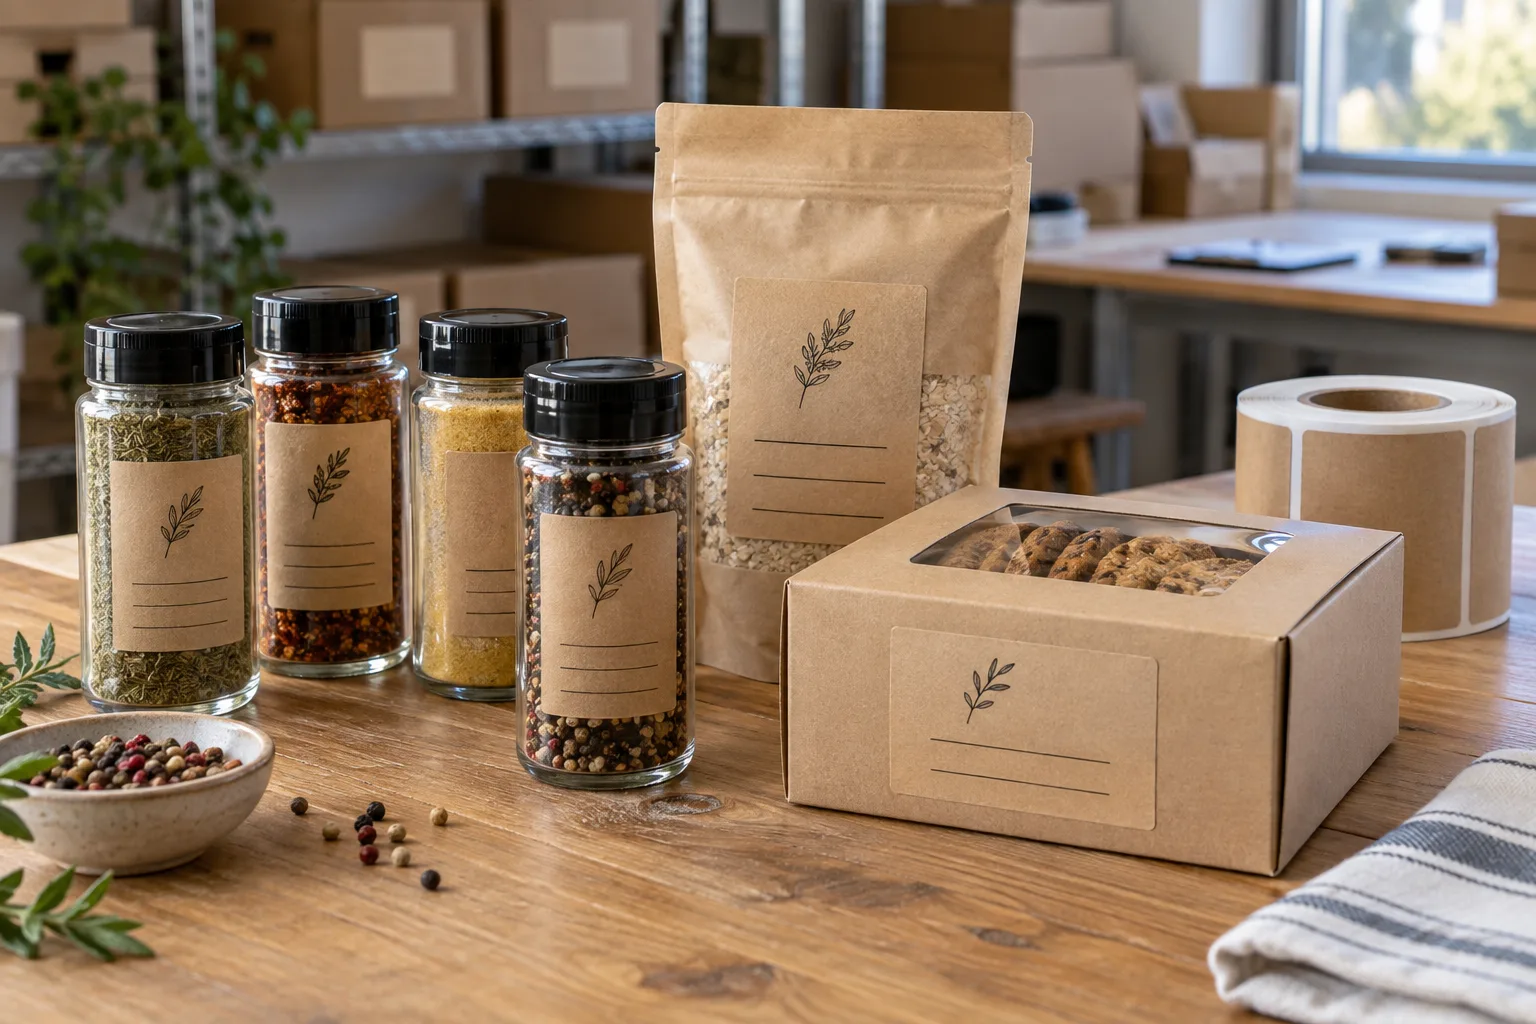
Use kraft where its texture helps, and recognize when moisture, oil or cold storage makes film safer.
Read Kraft Label Guide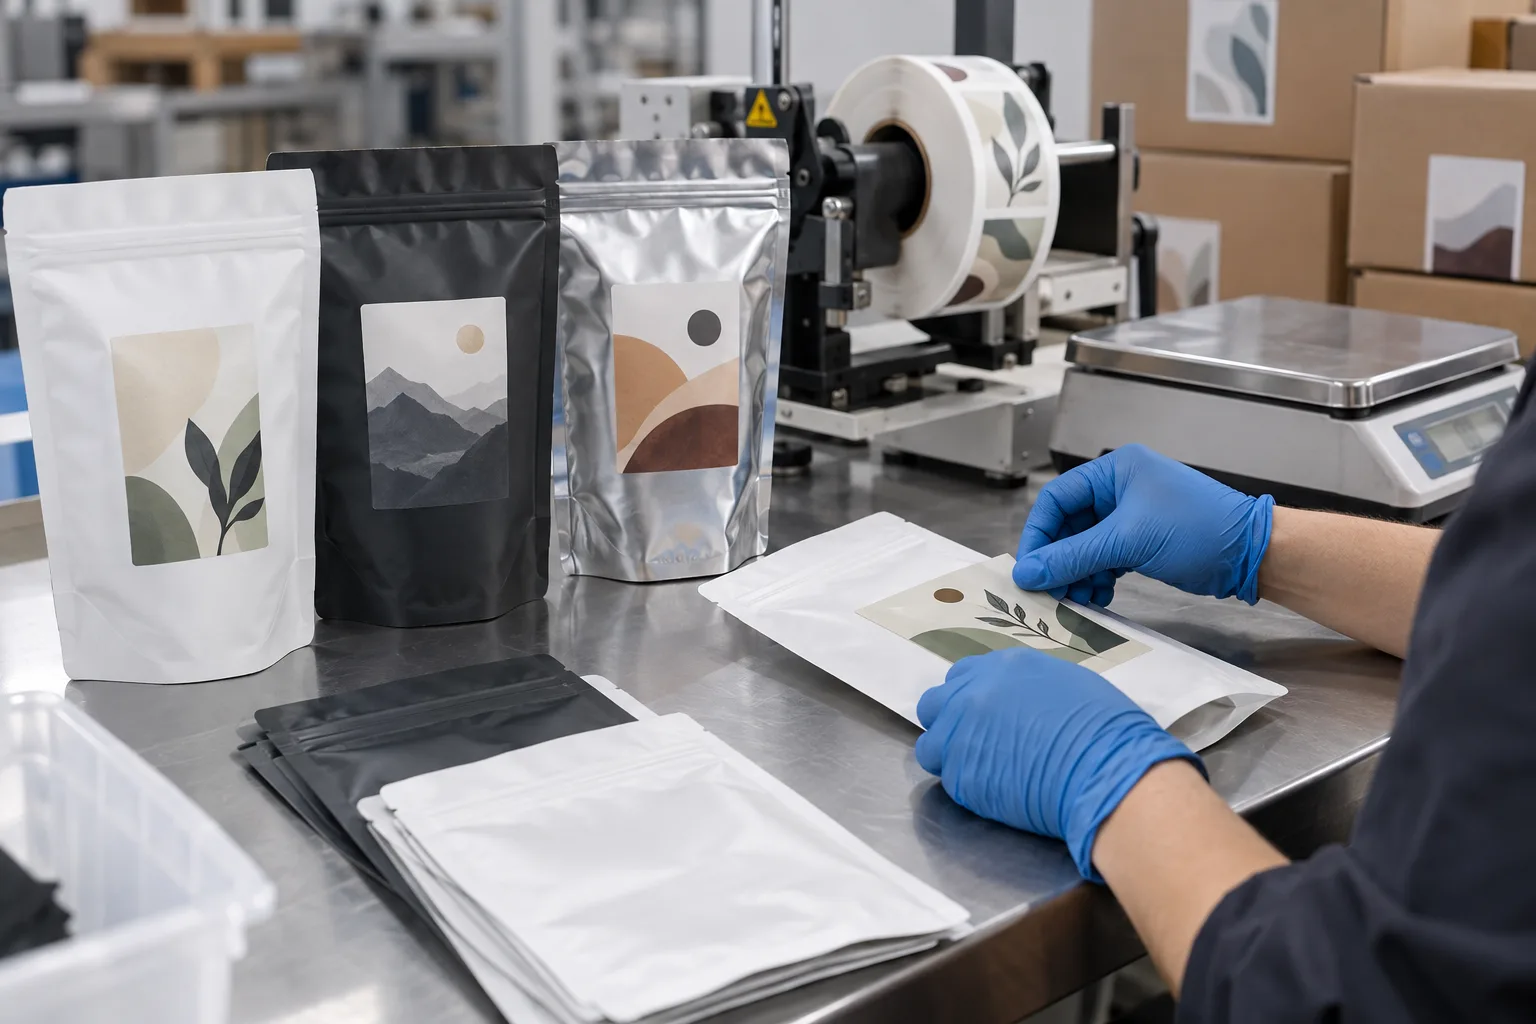
Size and place pouch labels around the zipper, gusset, seams and the shape of the filled package.
Read Pouch Label Guide
Understand the seven cost drivers, compare quotes fairly and prepare the details needed for accurate pricing.
Read Pricing Guide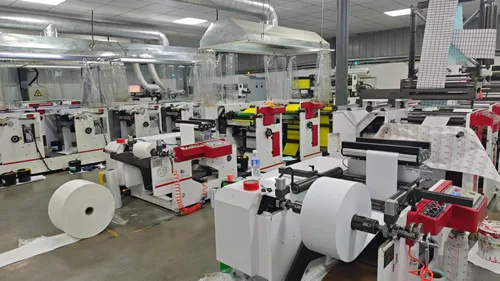
Compare hand application, positioning jigs and bottle label applicators before ordering roll labels.
Read Guide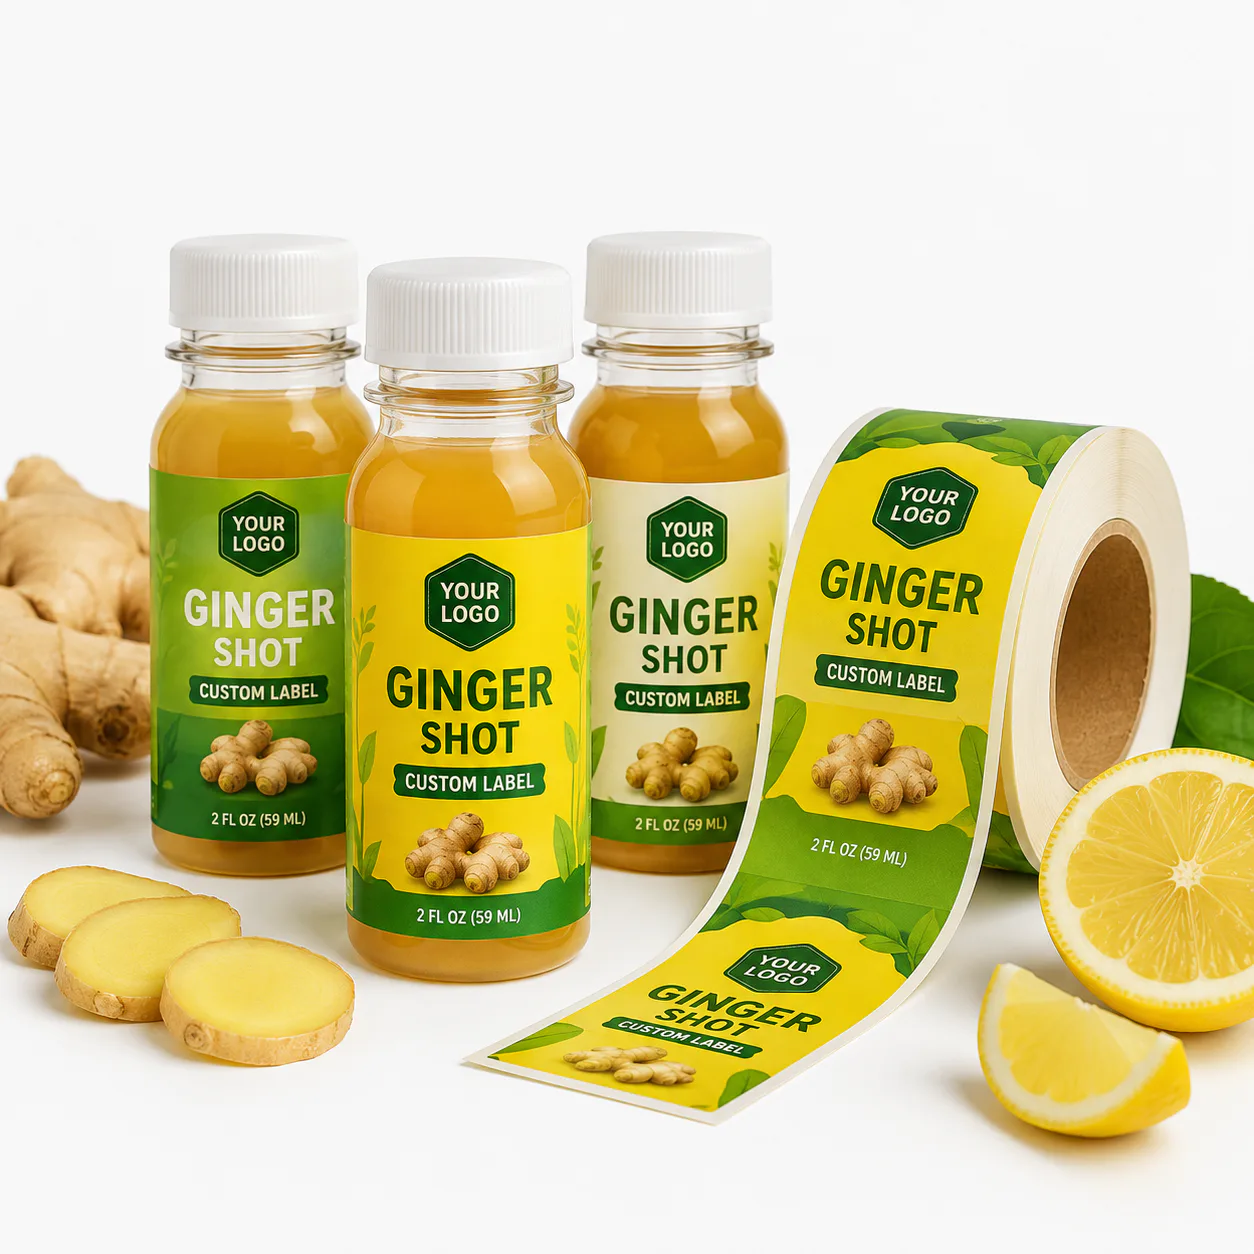
Prevent wrinkles and edge lift by matching label height, shape and material to the real container curve.
Read Guide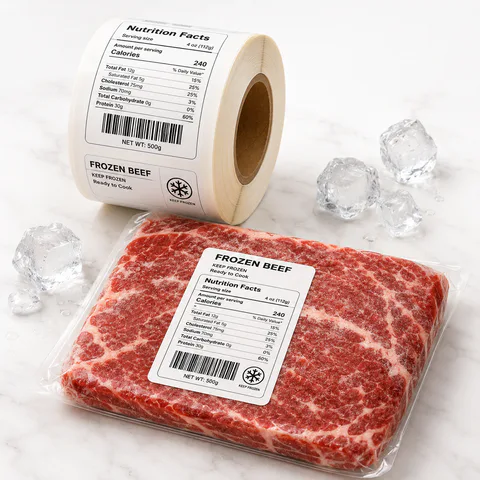
Match film, adhesive and application timing to frozen vacuum bags and flexible freezer packaging.
Read Guide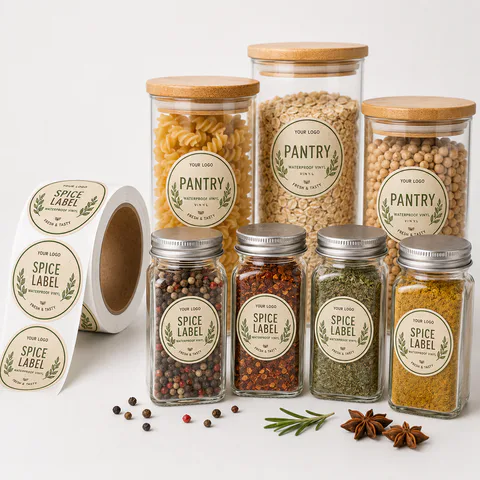
Organize flavors, artwork versions and quantities without creating unnecessary label inventory.
Read Guide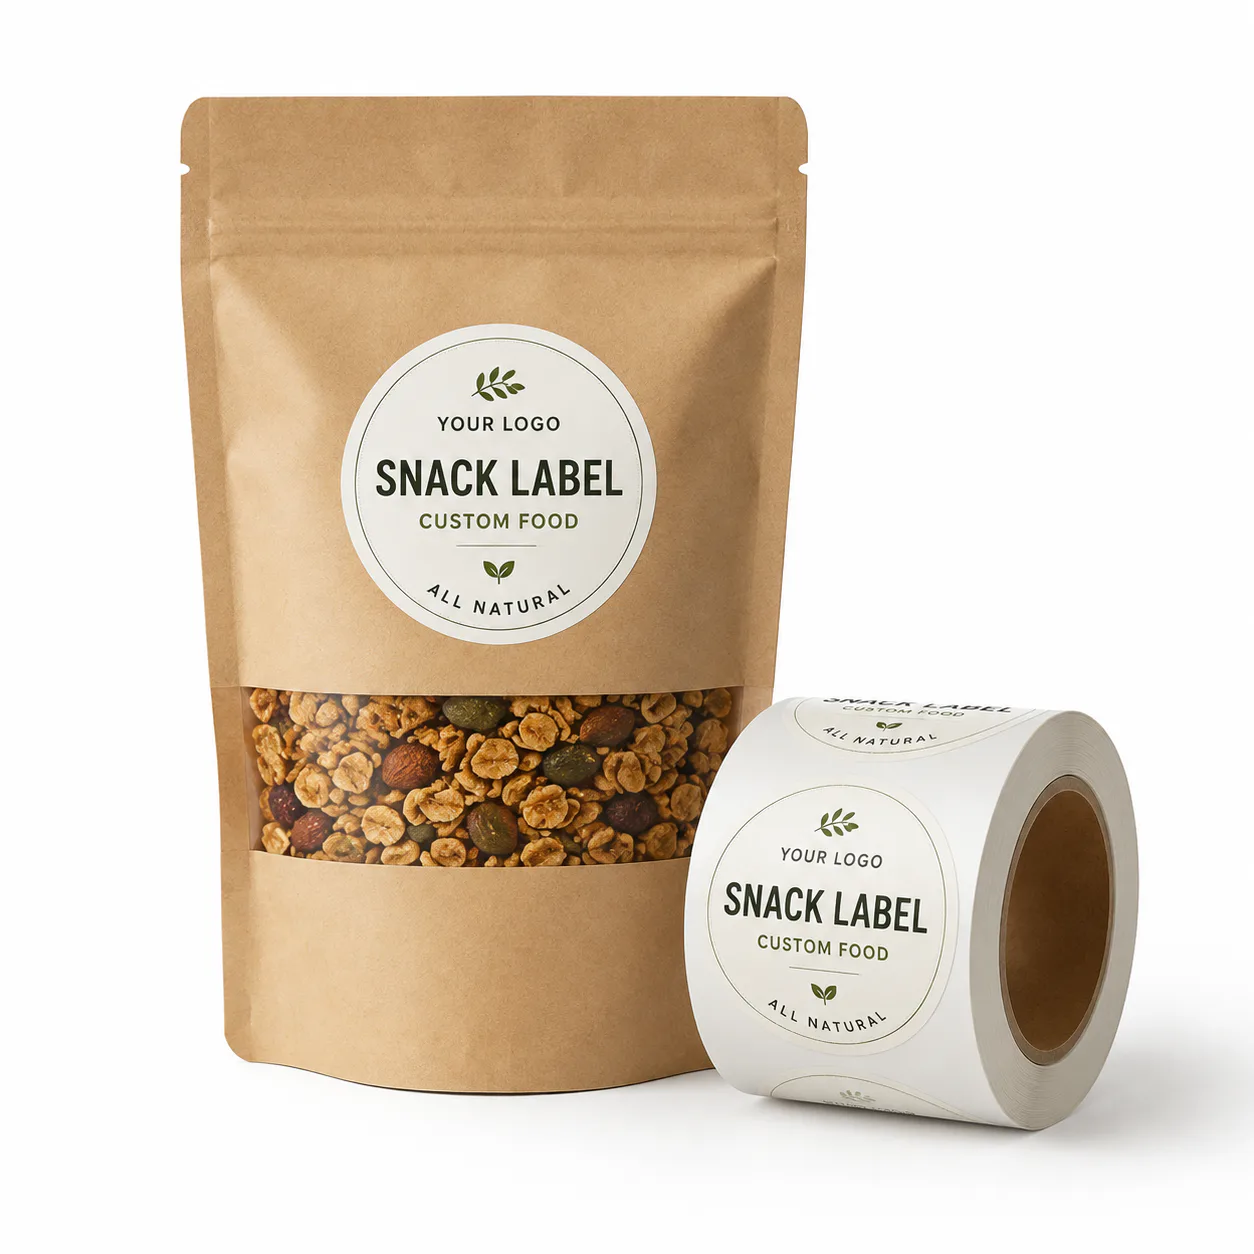
Compare flexible stock packs with labels against fully printed bags, boxes, bottles or cans.
Read Guide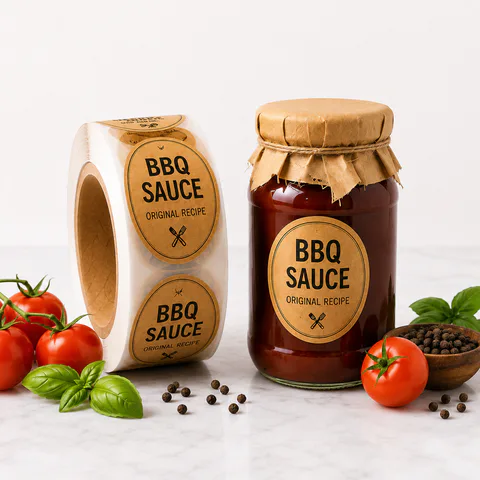
Choose film, adhesive and finish for sauce bottles, dressing jars and oily food packaging.
Read Guide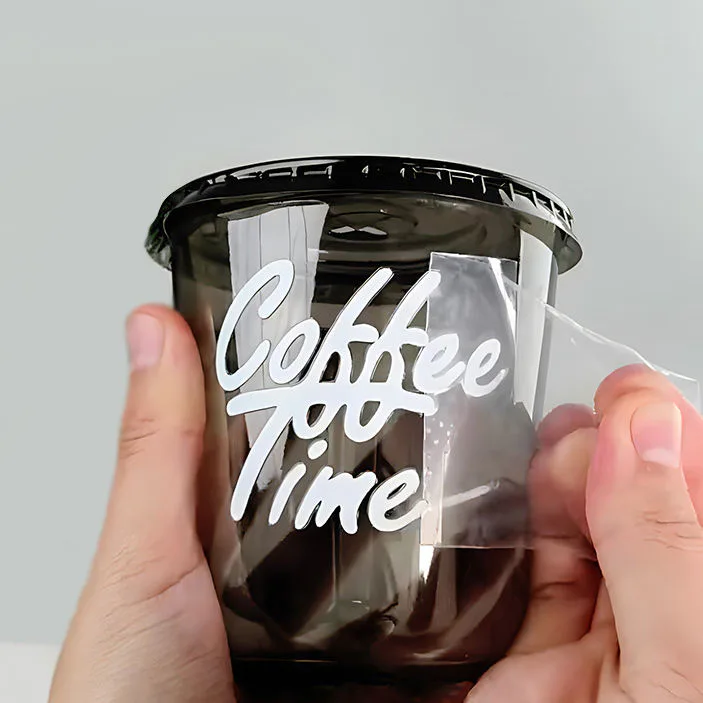
Plan labels for coffee bags, cafe cups, cold brew bottles and roast variants.
Read Guide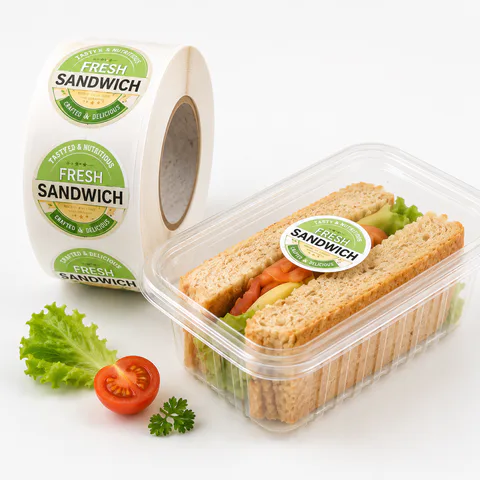
Reserve readable code areas before artwork proof approval and roll label production.
Read Guide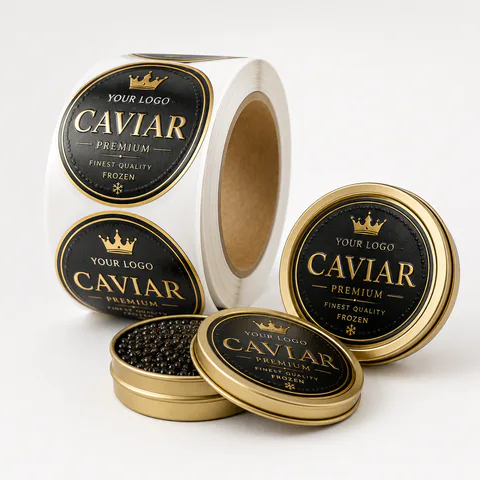
Choose matte, gloss or protective lamination for moisture, oil, scuffs and cold handling.
Read Guide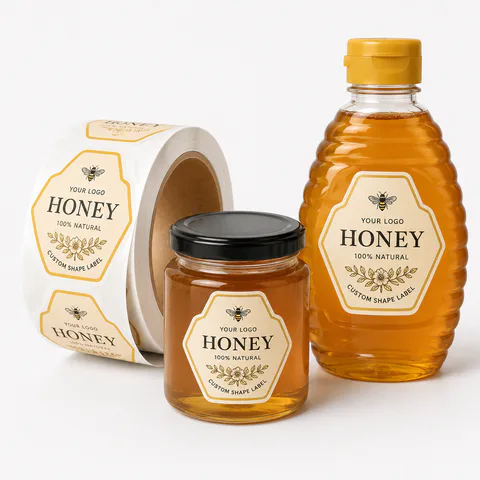
Compare paper, BOPP and PET choices for dry goods, jars, sauces and cold storage.
Read Guide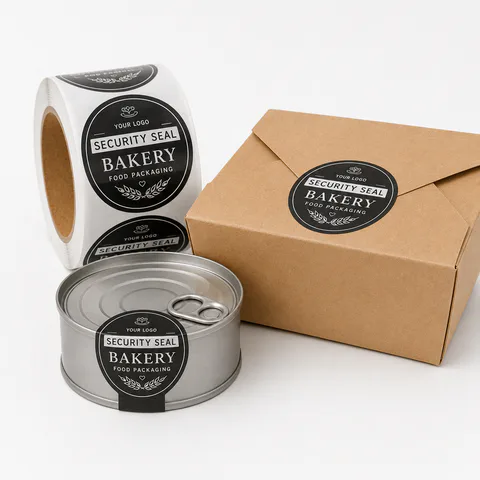
Plan seal strips, lid seals, adhesive, shape and roll setup for food packaging.
Read Guide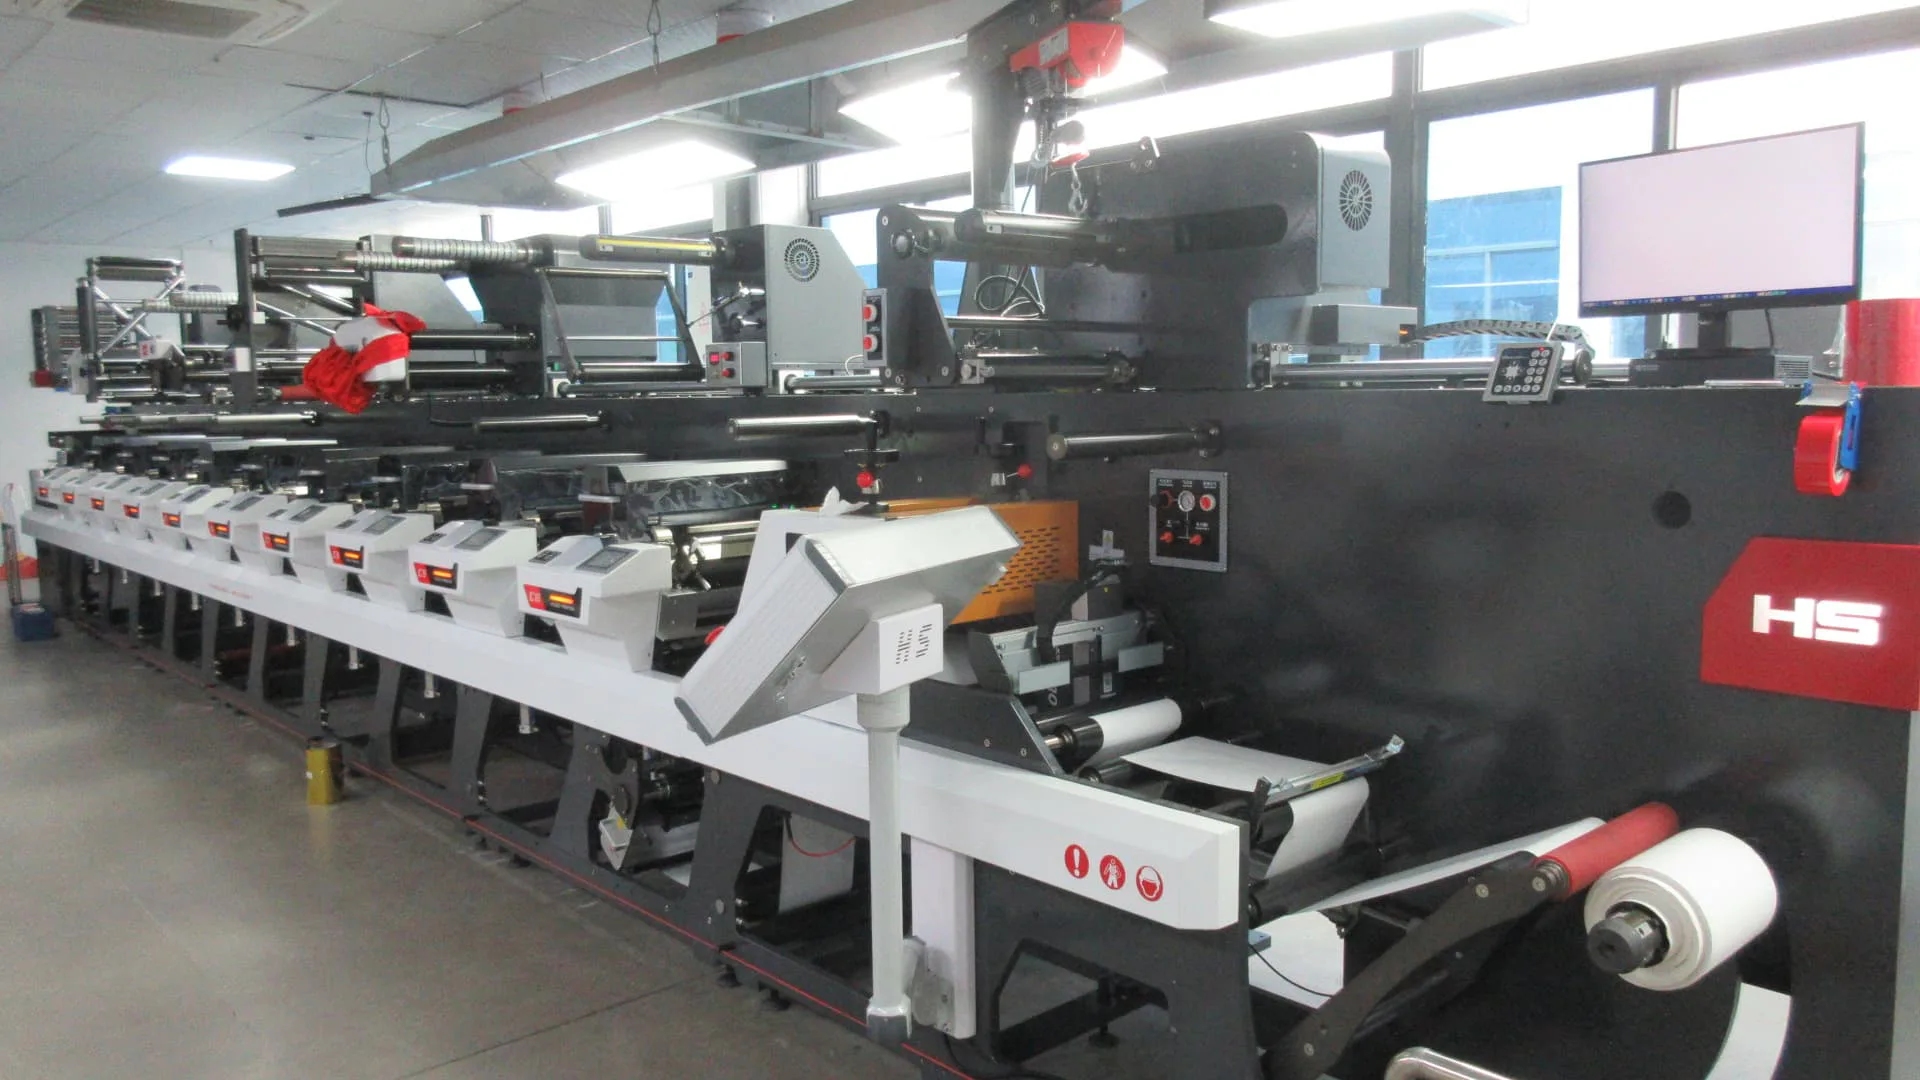
Prepare PDF, AI, bleed, CMYK, fonts and dielines before custom label printing.
Read Guide
Plan color matching for food, beverage and wine labels before proof approval.
Read Guide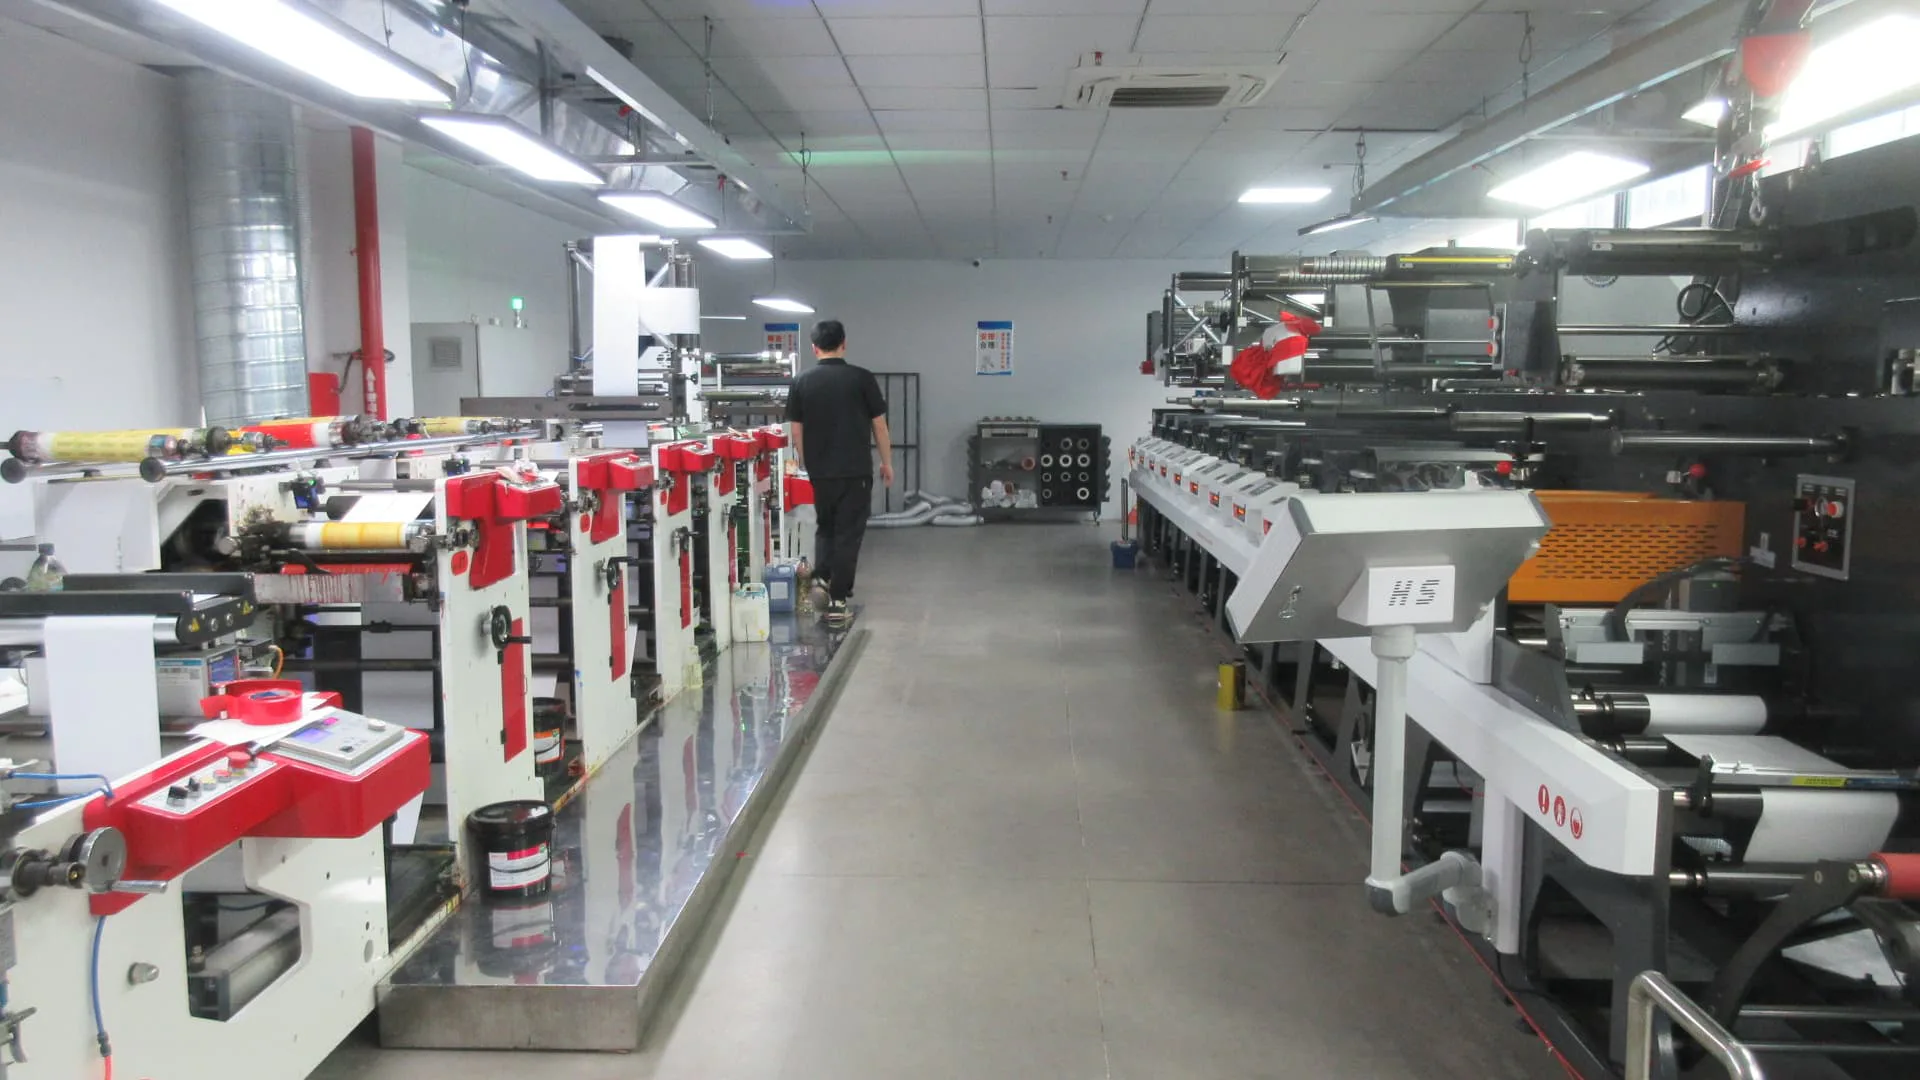
Confirm roll setup, core size, carton packing and SKU counts before bulk packaging.
Read GuidePlan scannable barcode and QR code placement before food and beverage label printing.
Read GuideChoose the right label adhesive for jars, bottles, reusable packaging and retail use.
Read GuidePlan label shapes, rounded corners, bleed and safe area before proof approval.
Read Guide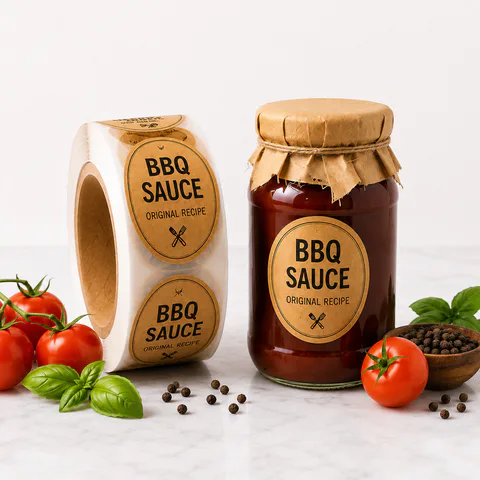
Choose label size for bottles, jars, cups, cans and pouches before printing.
Read Guide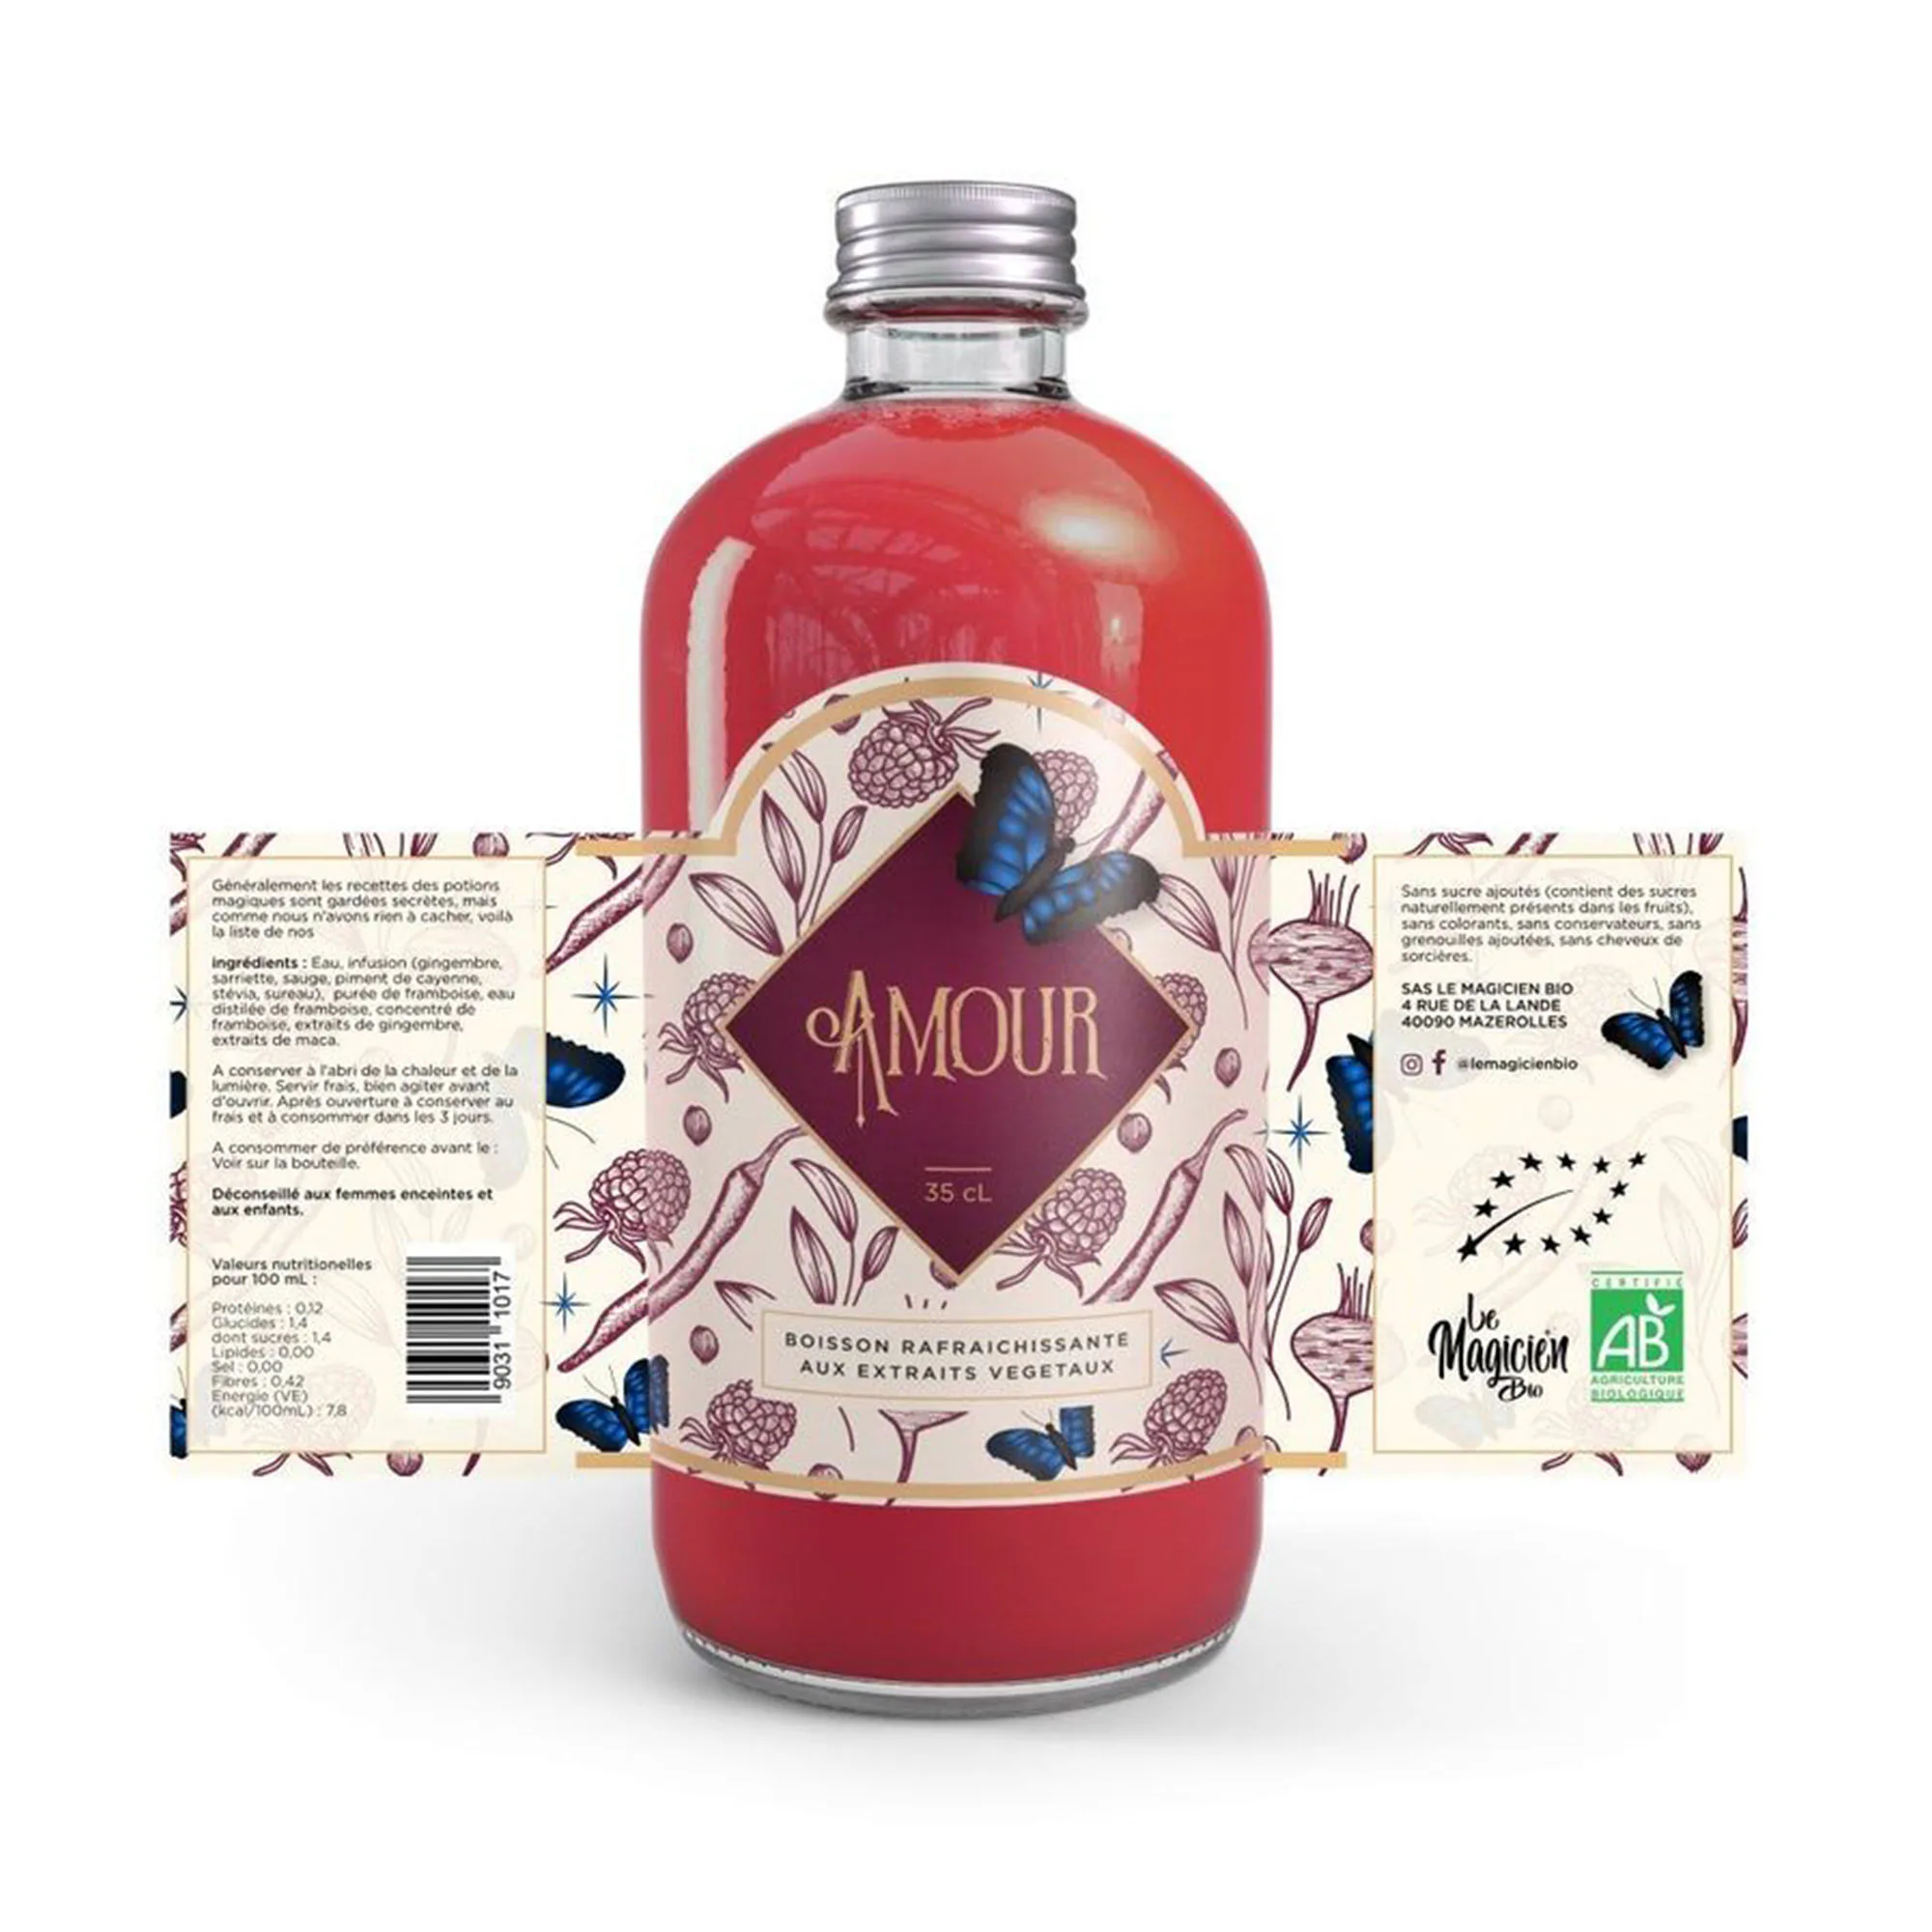
Compare finish choices for food, beverage and wine packaging style, color and readability.
Read GuideDecide between separate panels and full wrap labels for bottles, jars and cans.
Read Guide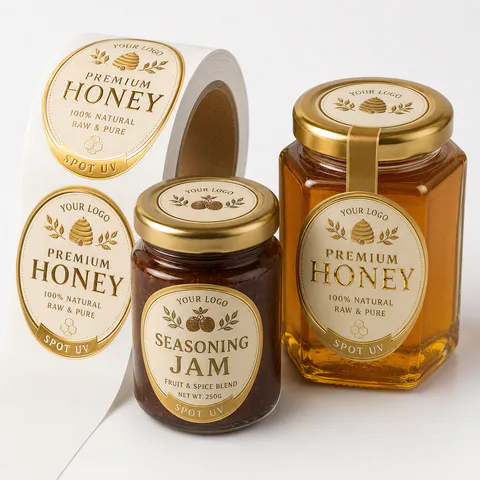
Plan the first label run for samples, market tests, small batches and safer bulk decisions.
Read GuideConfirm winding, core size, gap and artwork orientation before machine label production.
Read Guide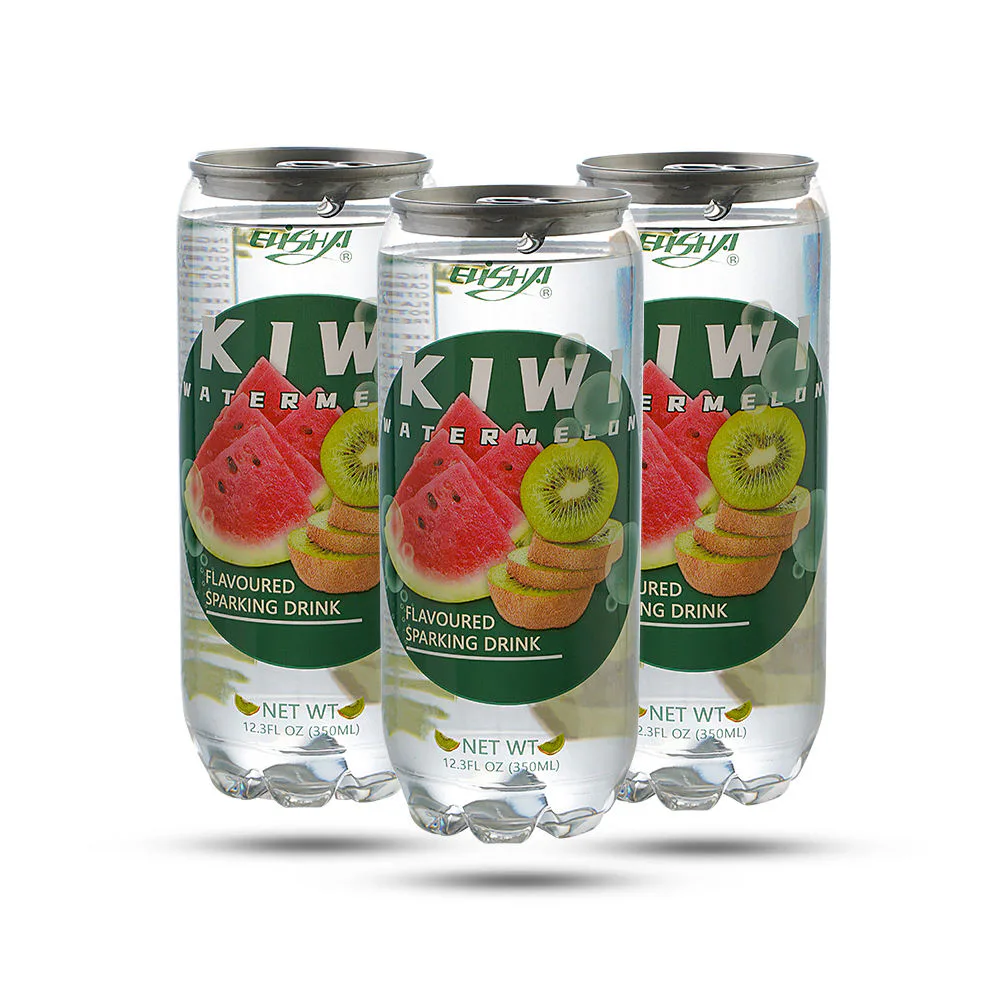
Compare flexible can labels with printed cans for small beverage launches and flavor tests.
Read GuidePlan ingredients, allergens, nutrition facts, barcode, QR code and storage information before printing.
Read GuideCompare transparency, color strength, condensation use, barcode readability and packaging fit.
Read Guide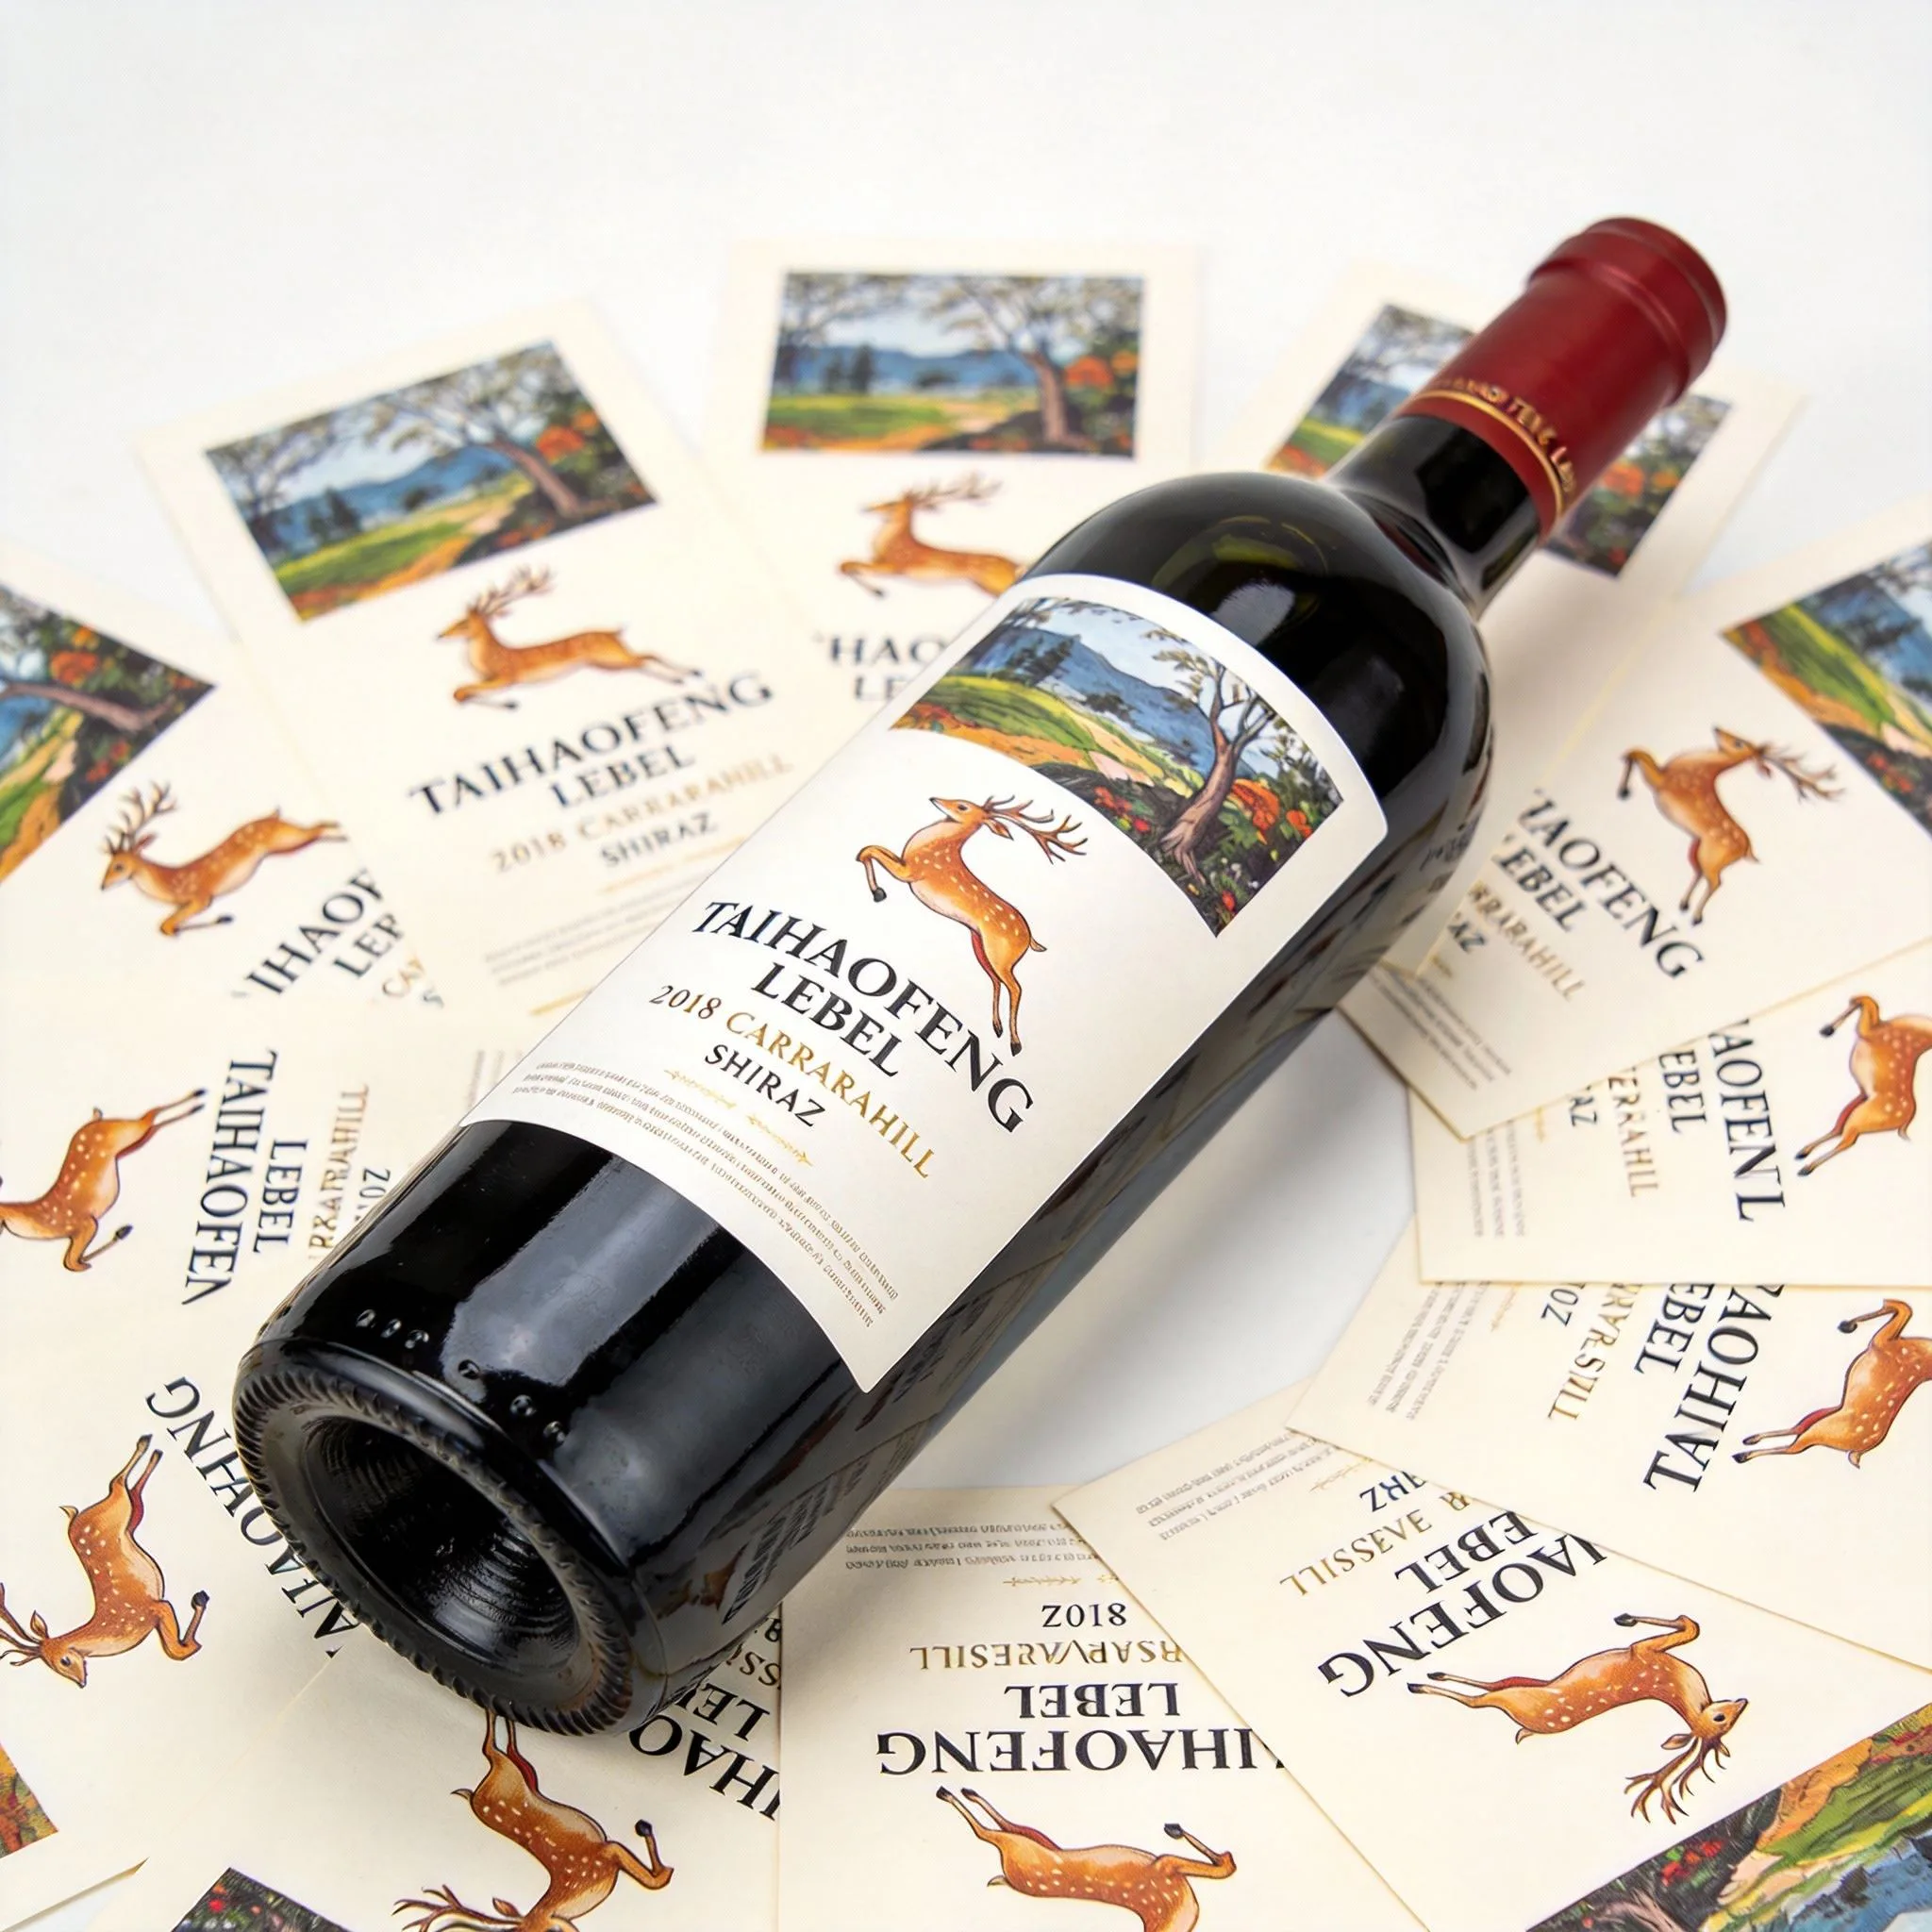
Choose paper, wet-strength paper, BOPP or PET for wet handling, cellars and premium bottles.
Read GuideCompare DIY printing with factory custom roll labels for small food, beverage and wine packaging projects.
Read Guide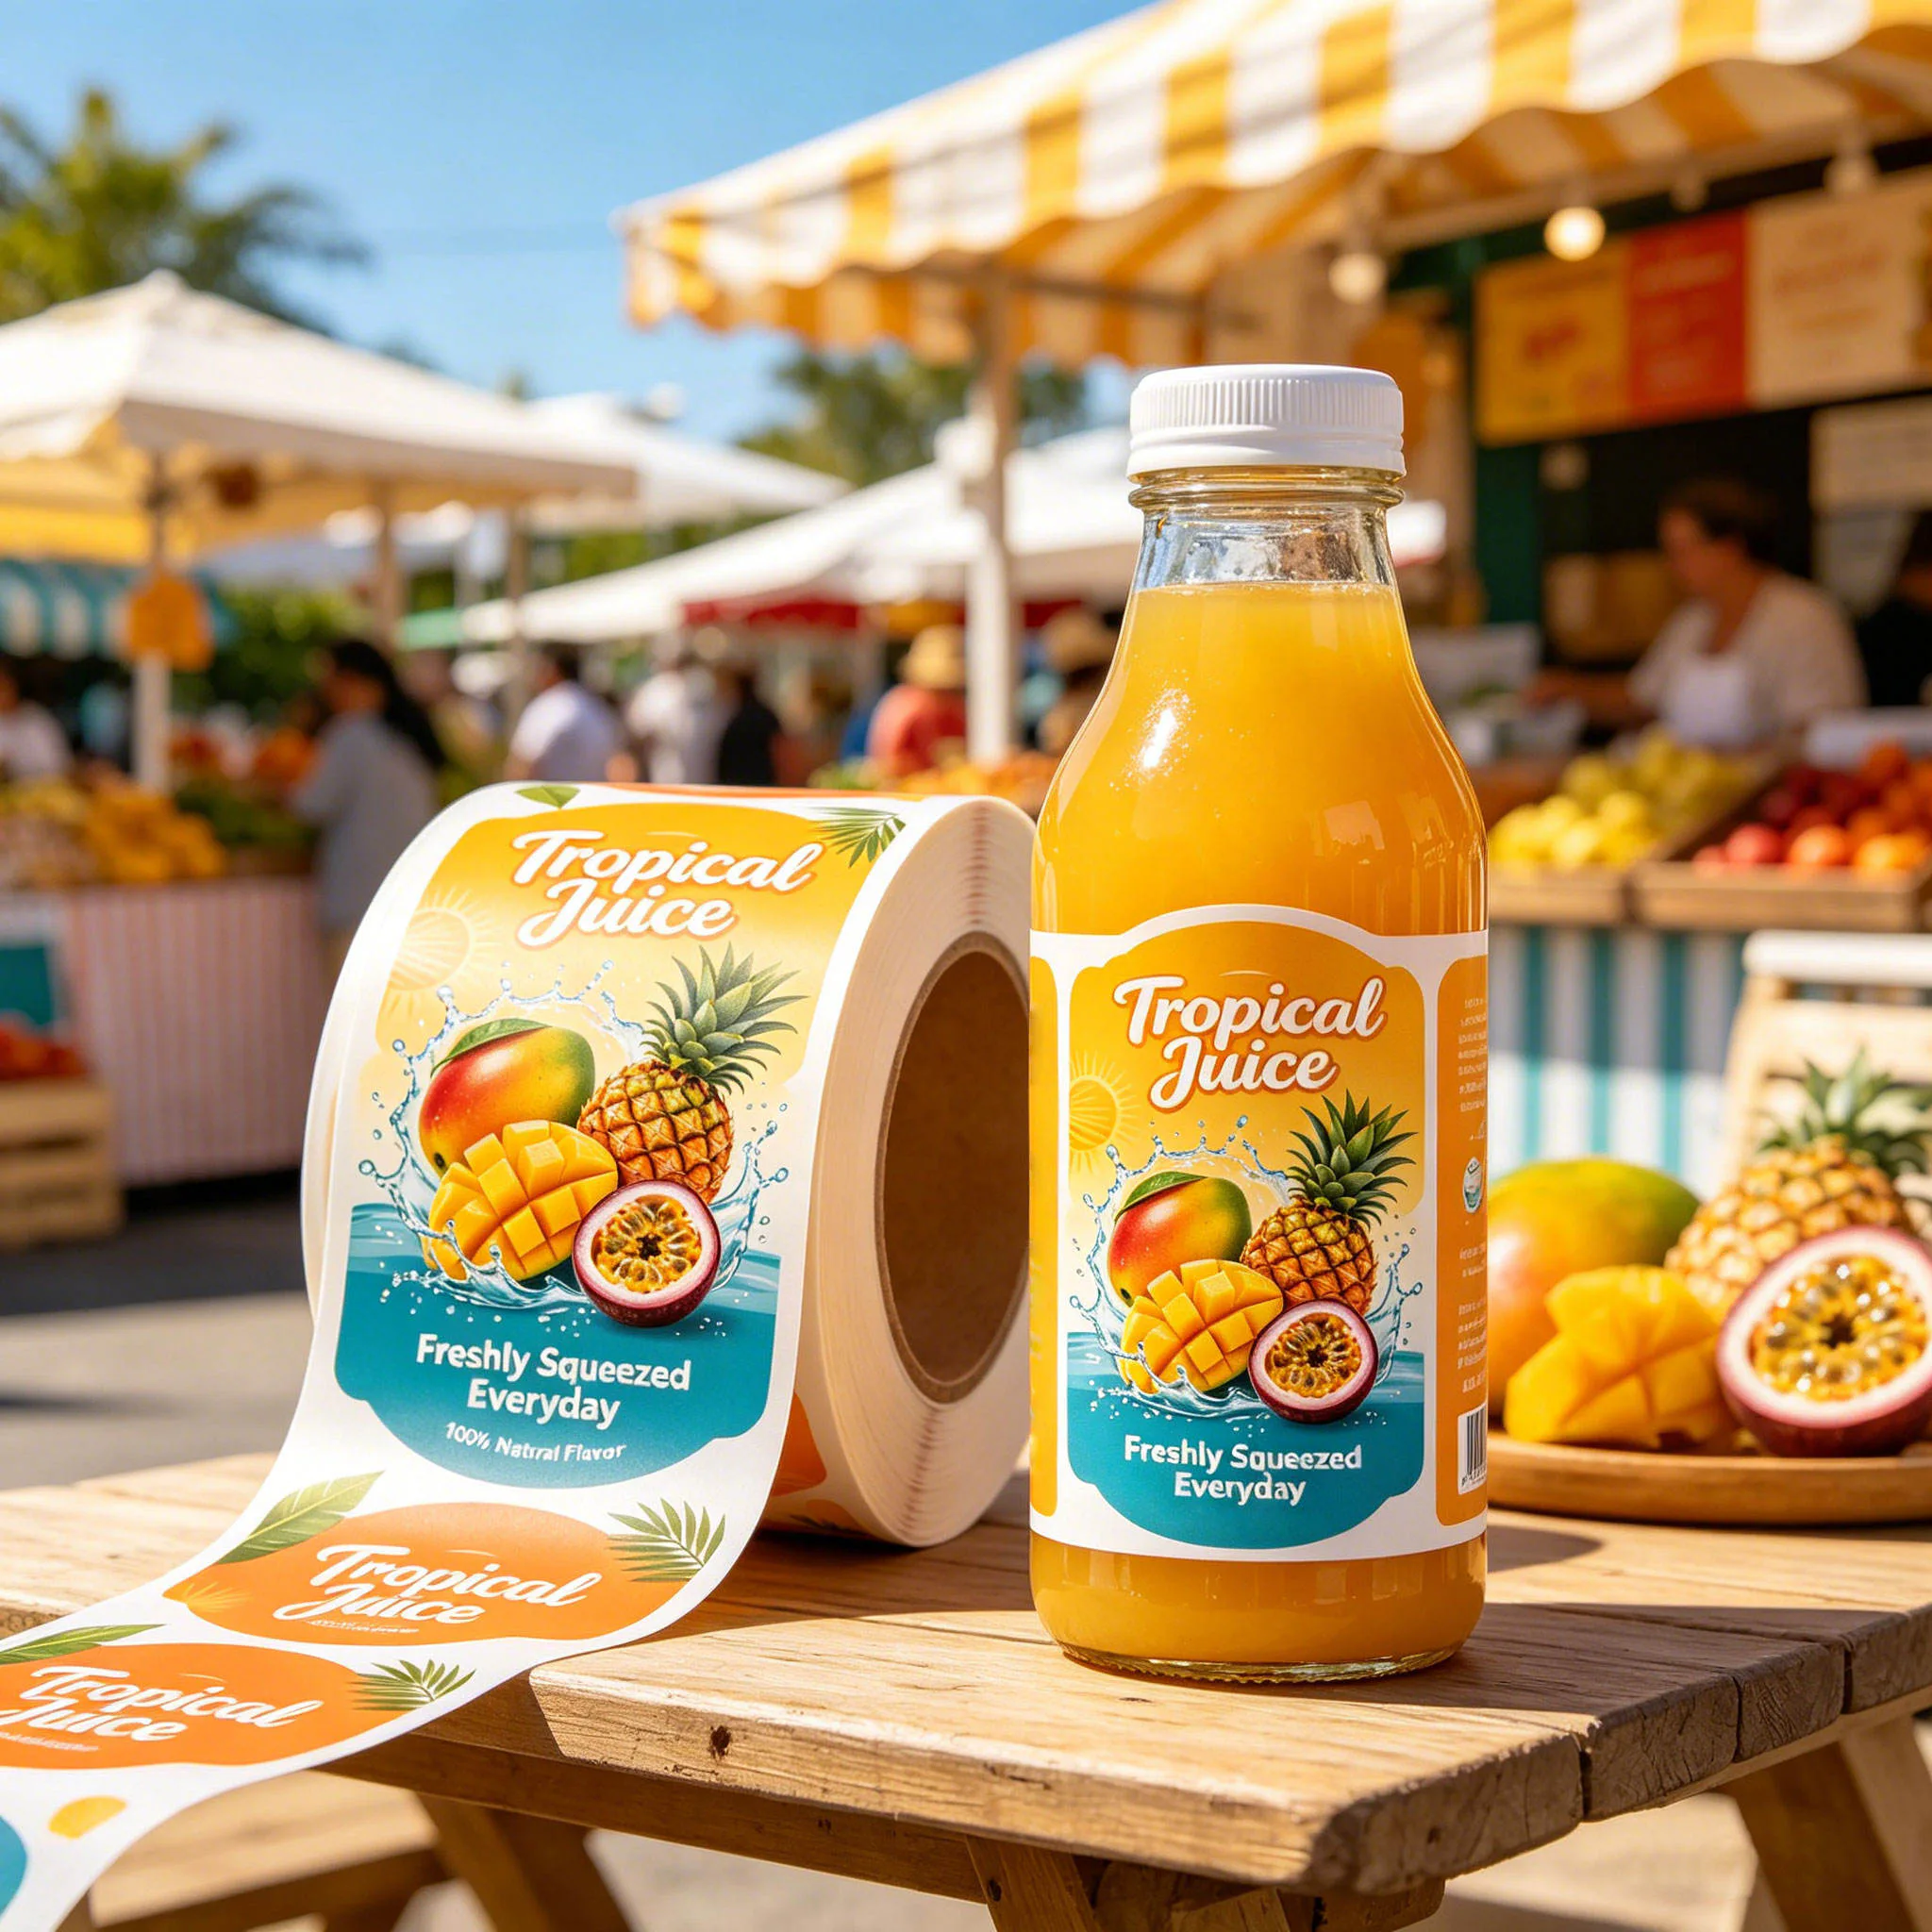
Troubleshoot condensation, oil, bottle curve, adhesive and material problems before bulk label production.
Read GuidePrepare label size, material, ingredient area, nutrition panel space, storage condition and proof details before ordering.
Read GuideChoose BOPP, PET or wet-strength paper for condensation, coolers, curved bottles and premium wine label projects.
Read GuideCompare production use, manual application, machine setup and small batch needs.
Read Guide
Compare BOPP, PET, clear film, white film, adhesive and roll setup for chilled beverage packaging.
Read GuideReview film, paper, adhesive, moisture, oil exposure and proof details for cold storage food labels.
Read Guide