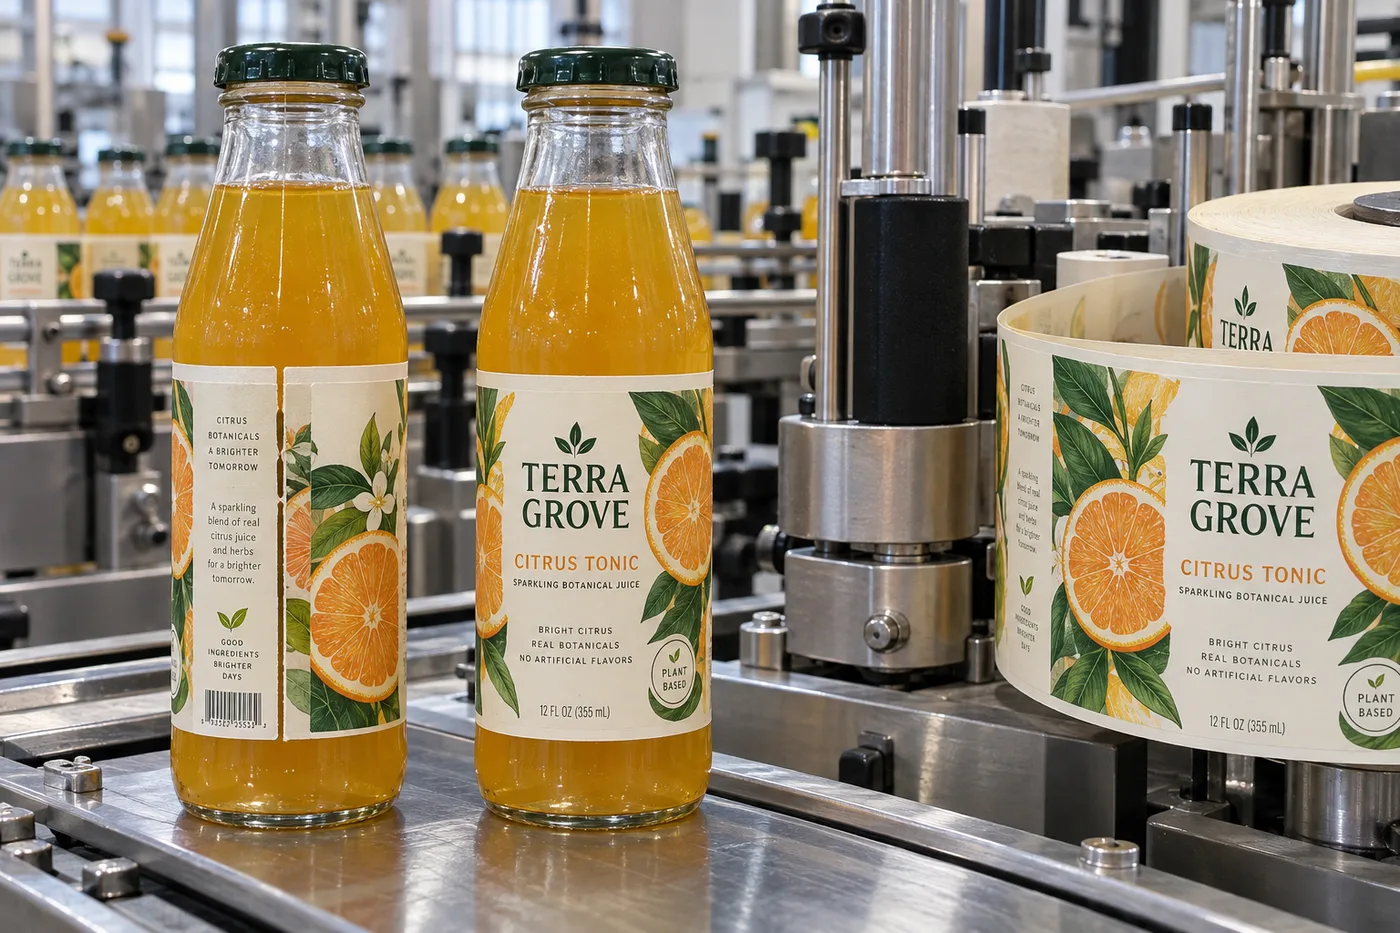
A wrap label has two ends, not one uninterrupted canvas
When a buyer says “full wrap,” I ask where the artwork should meet. That small question changes the dieline, bottle proof and sometimes the material choice. A designed gap can be clean; an accidental one looks like a production error. An intentional overlap may hide a tolerance, but too much extra thickness can look untidy. There is no universal millimeter value that fixes every bottle.
HERMA describes wraparound labeling as a process where dispense accuracy and bottle movement matter. The exact seam tolerance should therefore come from the specific container and applicator, not a catalog sketch.
Two bottlers with different priorities
Consider a composite cold-pressed juice brand with clear glass and a visible fruit illustration. A planned narrow gap on the back may preserve a crisp front and avoid hiding copy. I would place the gap where it looks deliberate and keep the barcode on a stable section of the wrap.
A second composite bottler uses opaque PET, fast machine application and artwork with an all-over pattern. It may prefer a controlled overlap so slight circumference variation does not reveal the bottle. That is reasonable only after the overlap looks acceptable and the machine handles the label thickness. I would not promise it from the art file.
Measure the actual label path
Measure circumference where the label will sit, not at the widest shoulder. Check multiple production bottles and the shape along the whole label height. If the sidewall tapers, a straight rectangle may drift or wrinkle even when its width is correct. The bottle finish, application temperature and whether the bottle is wet or dry also belong in the trial brief.
| Decision | Proof question |
|---|---|
| Planned seam gap | Does it read as deliberate on every bottle lot? |
| Controlled overlap | Is the edge flat and visually acceptable after handling? |
| Artwork repeat | Do graphics and required text stay clear of both ends? |
| Barcode zone | Does the finished bottle scan under the intended conditions? |
| Roll specification | Do gap, direction, core and speed suit the applicator? |
Approve a moving line, not just a hand-applied sample
Ask for a short run using the intended printed stock, adhesive and finish. Rotate several finished bottles: front, seam, back and barcode. Keep good and poor samples with the machine settings. If the seam slowly walks around the bottle, investigate bottle handling and dispensing before changing artwork repeatedly.
Our buying view
Design the seam in, then price the roll
I would settle the desired end joint and bottle tolerance before quoting a premium finish. The additional foil or varnish is easy to discuss, but a seam that keeps the brand mark straight has more impact on the finished pack.
Give the converter a seam brief
- Several real bottles and the target label height.
- Preferred visible gap or overlap, marked on a finished sample.
- Artwork safe areas at both ends and barcode placement.
- Application method, line speed and roll direction.
- Acceptance photos from the trial under normal lighting.
For the initial format choice, see front/back versus wraparound labels. If the bottle narrows along the label zone, read our tapered-bottle fit guide.
Frequently asked questions
Should a wraparound label overlap?
That depends on bottle circumference, material thickness, artwork and applicator setup. Approve the intended joint on real bottles.
Can we use one circumference measurement?
Check multiple bottles from the production supply and account for the actual application surface, including taper or molded variation.
Where should the barcode go?
Keep it away from the end joint and curvature problems, then verify the printed symbol in its real scanning environment.
Related buyer guides
Review your label specification
Send package photos, label dimensions, material details, quantity and application conditions. Include good and failed samples where possible so the discussion starts with evidence.