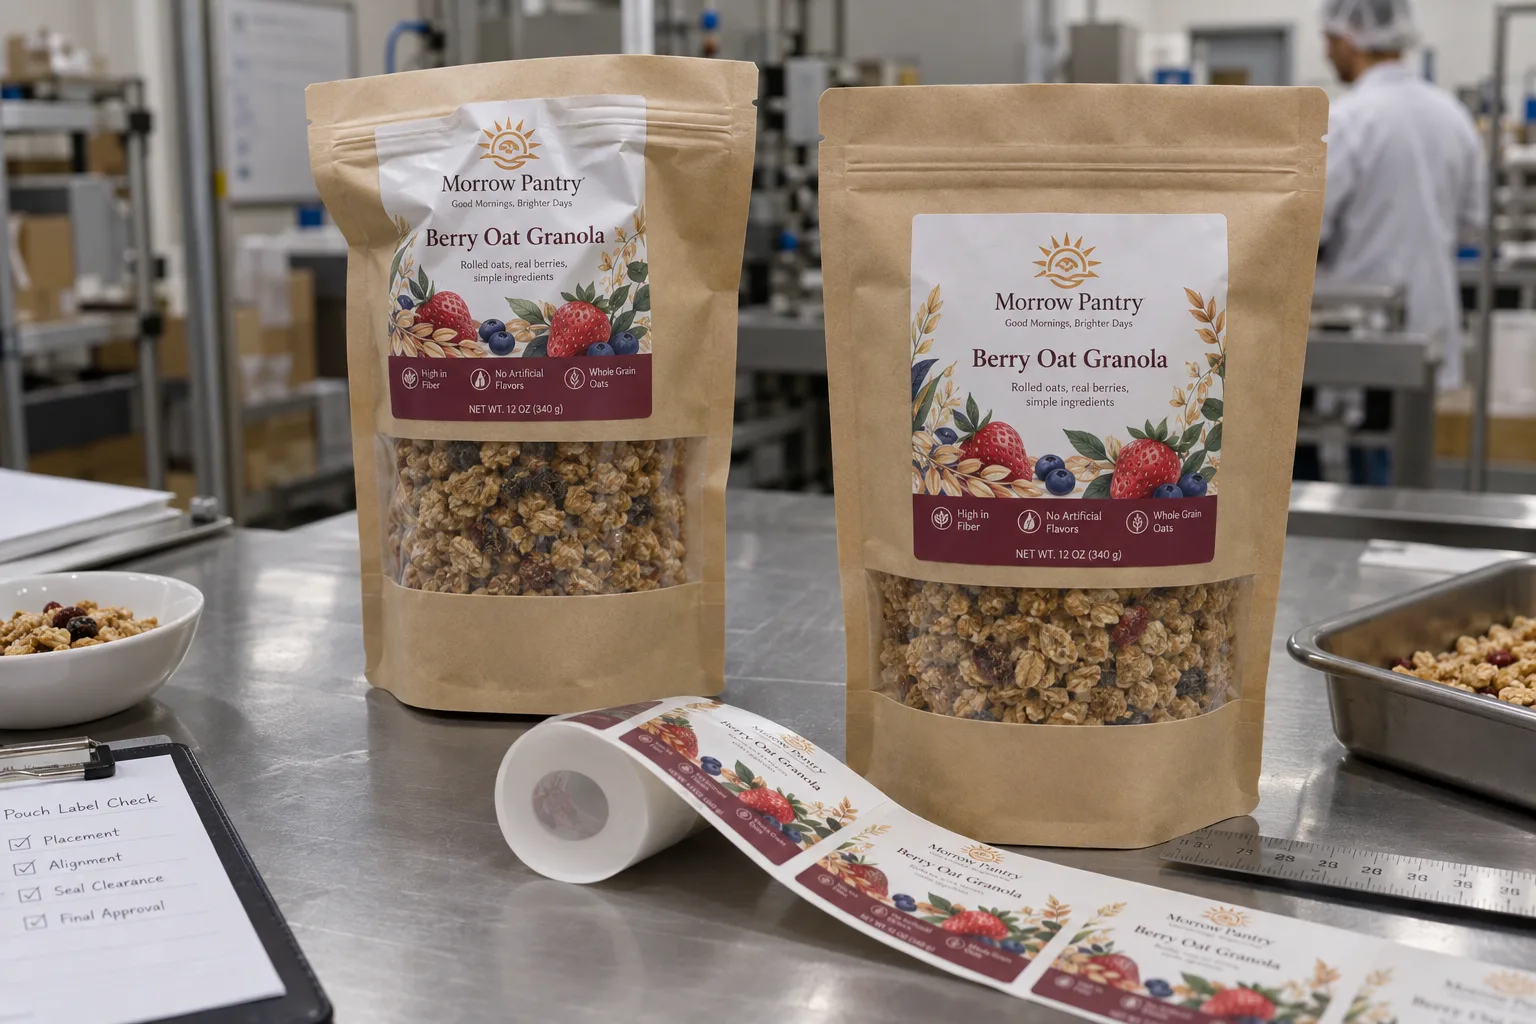
A dieline has no granola inside it
When I get a flat pouch drawing, I ask for a filled sample. The gusset opens, the front panel bows, and the zipper occupies a band that looks harmless on a screen. A tall label that reaches into that band can wrinkle as the customer opens the pack. The buyer ends up blaming adhesive for a placement error.
This is a narrower question than choosing paper versus film. First find a stable face on the real pouch, then choose a construction that behaves on it.
Different launches need different tradeoffs
Consider a composite market-test snack brand using plain stock pouches. It wants a large front label to look fully printed. I would mock up the filled pouch and find the largest flat panel below the zipper. A slightly smaller, well-positioned label may look more deliberate than a giant label that folds at the top.
A co-packer filling several flavors may prefer a shared pouch with SKU-specific labels. Its concern is not only appearance but repeatable placement after filling. I would ask the line owner to define where the pouch is held and whether the front panel is consistently supported during application.
Draw a no-go map on the filled pack
Mark the top heat-seal band, tear notch, zipper track, side seals and bottom gusset. Reserve practical clearance for opening and handling. Do not cover the seal area just to gain a few millimeters of artwork. A label that hides the seal can also make visual inspection harder. FDA container-integrity guidance treats defects in pouch seals as important; it is not a label-placement standard, so the packaging engineer must set the actual clearance.
If the label carries a barcode, GS1 advises keeping symbols away from folds and flaps that can obscure them. Confirm the retailer's barcode specification and scan the finished filled pouch, not only the flat label roll.
Run the simple fit trial first
| Test state | What to inspect |
|---|---|
| Empty flat pouch | Dieline and intended label coordinates |
| Filled sealed pouch | Curvature, zipper clearance and visual centering |
| Opened and reclosed pouch | Label creases and access to zipper |
| Cartoned product | Rubs, folds and barcode visibility |
Keep the fill weight and pouch construction consistent between candidates. A paper fit sample checks geometry; a printed production-like sample checks finish, adhesive and scuffing. Neither single test proves performance on all pouch films or temperatures.
Our buying view
Let the package open normally
I'd rather sell one slightly smaller roll label that stays flat and lets the zipper work than a bigger label that photographs well only on an empty pouch. If a brand needs full-bleed coverage, it may be time to compare printed packaging rather than force an adhesive label across moving parts.
Send the supplier a useful pouch brief
- Empty and filled pouches, with fill weight and dimensions.
- Top seal, zipper, tear notch and gusset locations.
- Application method and whether the pouch is supported on the line.
- Artwork and required barcode or information panels.
- Storage, handling and opening conditions for the trial.
Read our broader stand-up pouch label guide for material and format choices. If the project has many variants, our multi-SKU planning guide helps structure the order.
Frequently asked questions
Can a label overlap the pouch zipper?
The overlap may distort when the pouch opens or changes shape. Test a real filled pouch and prefer a stable panel unless the design specifically requires a bridge.
Should I measure an empty flat pouch?
Use the empty pouch for dieline reference, then confirm the usable label panel on a filled, closed pouch in its actual standing shape.
Where should a barcode go?
Keep it away from folds, seams and other scanning obstacles and follow the receiving retailer or GS1 requirements for the symbol.
Related buyer guides
Review your label specification
Send package photos, label dimensions, material details, quantity and application conditions. Include good and failed samples where possible so the discussion starts with evidence.