Short answer
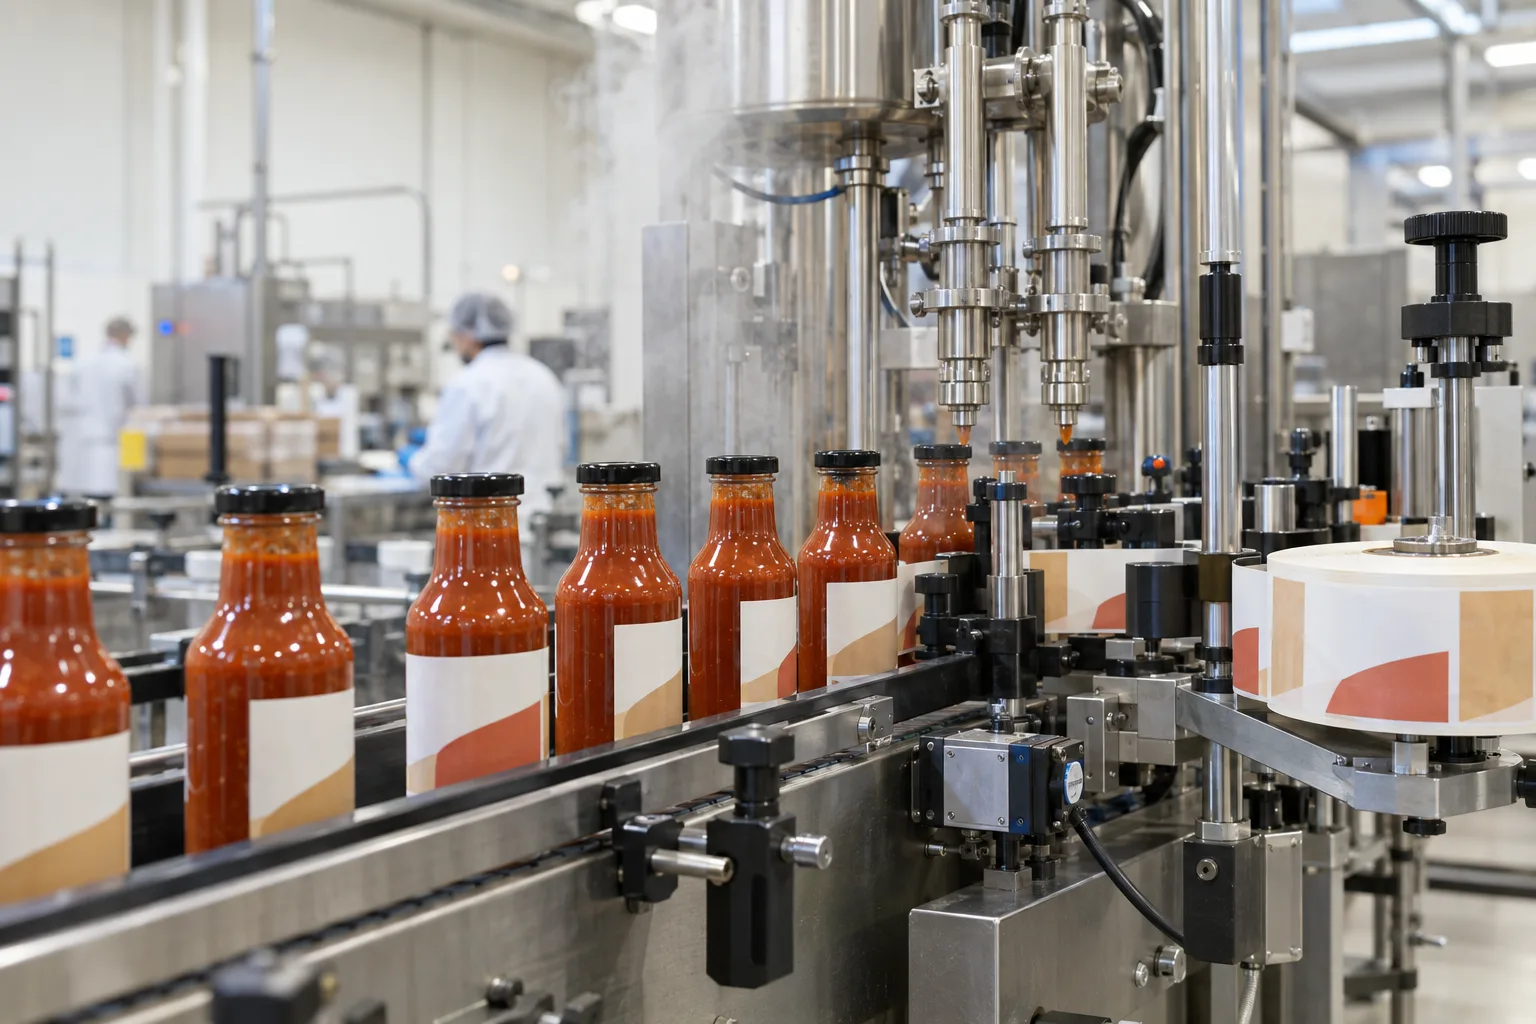
A hot-fill label should be selected around the whole filling sequence, not around the bottle alone. We need to know the container material, surface temperature when the label is applied, cooling method, condensation exposure and whether the bottle changes shape. The safest-looking material on a sample table can still fail once heat and cooling enter the process.
From the quote desk, the missing detail is usually not the label size. It is the timing. A buyer says "the product is hot filled," but that can mean the label goes on before filling, immediately after filling, after a water bath or after the bottle has cooled overnight. Those are four different label jobs.
The production sequence changes the label decision
| Application point | Main risk | Practical direction |
|---|---|---|
| Before hot filling | Bottle expansion, heat and later cooling movement | Test the labeled container through the full fill cycle. |
| Immediately after filling | High surface temperature and possible residue | Confirm adhesive application range and bottle cleanliness. |
| After cooling bath | Condensation or water on the surface | Dry the bottle completely before pressure-sensitive labeling. |
| After full cooling | Slower workflow but more stable surface | Usually the simplest route when production planning permits. |
I used to treat "heat resistance" as the first question. In practice, application timing often decides more. A strong adhesive cannot bond properly through water, oil or product residue, and a beautiful paper face cannot stop a moving bottle panel from creating a crease.
A typical inquiry: the label worked in the office, then lifted on the line
Consider a common planning example, not a claimed customer case: a sauce brand tests a label on an empty room-temperature PET bottle. The result looks perfect. During production, the bottle is filled hot, cooled, wiped quickly and labeled while a thin moisture film remains. By the next morning, several label edges have lifted.
The instinct is to ask for "stronger glue." That may help, but it skips the process problem. We would first check surface moisture, label timing, panel shape, label height and whether the bottle changed after filling. If the surface is not ready, upgrading material can become an expensive way to preserve the wrong workflow.
Paper, BOPP or PET: what actually wins?
| Material direction | Where it can win | Where it can lose |
|---|---|---|
| Coated paper | Dry bottles, stable panels and a warm retail look | Condensation, wet cooling and repeated abrasion |
| White BOPP | Moisture resistance, strong color and routine chilled handling | May feel less tactile than paper; still needs the right adhesive |
| Clear BOPP | No-label appearance on clean transparent bottles | Needs careful white ink and contrast planning |
| PET film | Dimensional stability and demanding handling | Higher specification is unnecessary for every project |
Film is not automatically the answer to every hot-fill project. If bottles are fully cooled, dry and stored in a dry environment, paper may deliver the desired shelf appearance at a sensible cost. Film earns its place when the process introduces water, handling or movement that paper does not tolerate well.
Five failure points we check before blaming the adhesive
- Application temperature: the bottle surface may be outside the adhesive's useful application range.
- Moisture or residue: a nearly dry bottle is not the same as a dry bottle.
- Container movement: thin PET can panel, shrink or distort as pressure and temperature change.
- Label geometry: a tall wrap on a curved or tapered area has little tolerance for movement.
- Insufficient pressure: pressure-sensitive adhesive needs firm, even contact during application.
This is also why a laboratory data sheet cannot replace a line trial. Published ranges help narrow the options, but the actual bottle, fill sequence and storage route make the final decision.
Factory-side view
The cheapest fix is often one step in the process
Moving label application until after the bottle is cool and dry can be more valuable than buying the most expensive material. That is not always possible on a fast integrated line, but it should be evaluated before the label is over-engineered.
A label should solve a packaging need, not hide a process that keeps recreating the same failure.
What to send for a hot-fill label review
- Bottle material, photos and the exact usable label panel.
- Fill temperature and estimated bottle surface temperature at labeling.
- Cooling method, drying step and time between filling and labeling.
- Exposure to water, oil, refrigeration or shipping abrasion.
- Label width, height, material preference and quantity by artwork.
- Hand or machine application, including roll direction and core size.
For related failure analysis, read Why Bottle Labels Peel Off and the oil-resistant sauce label guide.
Frequently asked questions
Can labels be applied to a hot bottle?
Sometimes, but the label construction and adhesive must be reviewed for the actual application temperature and process. Applying to a cooled, clean and dry bottle is usually the lower-risk route when the line allows it.
What label material is best for hot-fill bottles?
Film labels are often considered when moisture, cooling condensation or bottle movement is involved. Paper can still suit a dry, stable process, but the complete material and adhesive combination must be tested.
Why do hot-fill bottle labels wrinkle?
Wrinkles may come from bottle shrinkage, trapped moisture, an oversized label, a tapered panel or a rigid face material that cannot follow container movement during cooling.
Should I test labels before a full hot-fill run?
Yes. Test on the actual bottle through filling, cooling, storage and handling. A room-temperature sample alone does not represent the production process.
Related label guides
- Labels for Squeeze Bottles: Prevent Creases and Edge Lift
- Clear Labels on Dark Bottles: When White Ink Matters
- Kraft Paper Labels for Food Packaging: Best Uses and Limits
Test the specification before bulk production
Send the package photos, finished label size, quantity by artwork, storage conditions and application method. We will review the practical fit before preparing a quote and digital proof.
Continue with Beer Bottle Labels for Tunnel Pasteurization: What to Test First for a focused purchase checklist.