Short answer
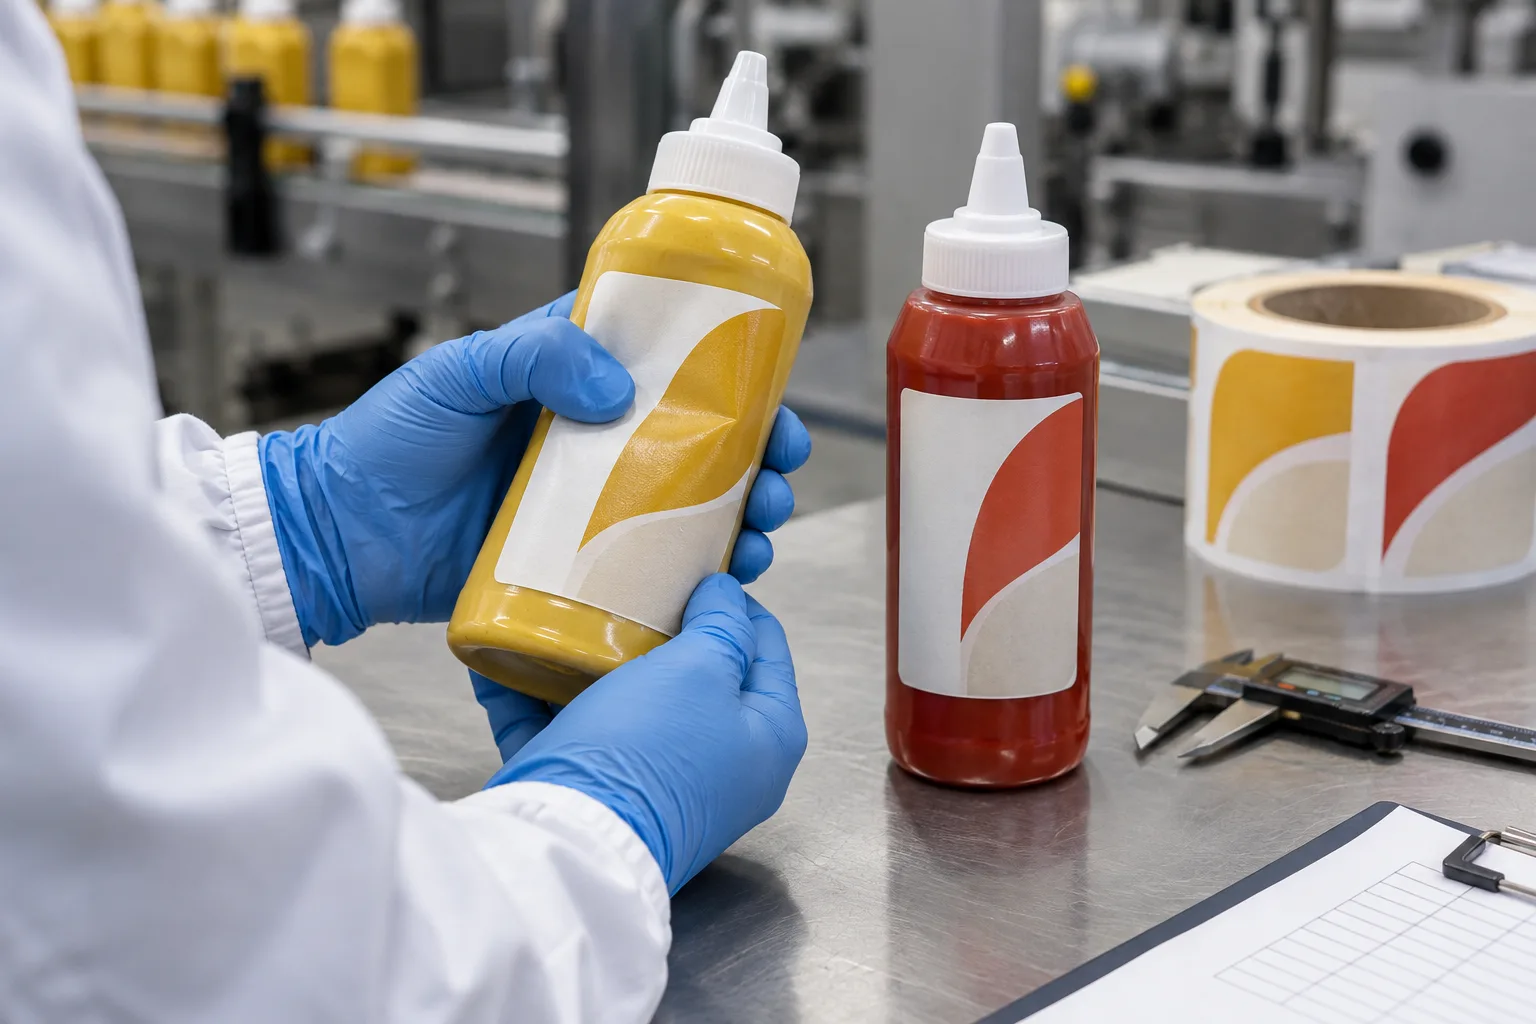
The best label for a squeeze bottle is usually smaller, more conformable and better positioned than the first artwork draft suggests. Flexible film helps, but material alone cannot rescue a label that crosses a deep curve, molded rib or high-flex panel.
On rigid jars, the package stays still and the label does most of the work. On squeeze bottles, both move. That small difference changes the decision from "Will it stick?" to "Will it stay attached while the package changes shape?"
Where squeeze bottle labels usually fail
| Symptom | Likely cause | First check |
|---|---|---|
| Vertical creases | Face material resists bottle compression | Try a more conformable film or reduce label width. |
| Edge lift | Label ends on a curve or active flex zone | Move the edge inward and use rounded corners. |
| Bubbles after squeezing | Uneven application or panel distortion | Apply with consistent pressure to a filled bottle sample. |
| Ink or finish cracking | Printed construction is too rigid for repeated flexing | Test the full print and finish, not blank stock alone. |
A typical quote that looks simple but is not
Imagine a brand ordering one front label for a soft honey squeeze bottle. The artwork is a large rectangle because the designer wants maximum shelf presence. On screen it is clean and confident. On the filled bottle, the right and left edges sit where the sidewall begins to curve. Every squeeze pushes those edges outward.
This is a composite planning example, not a customer claim. The practical fix may be a narrower label with more exposed bottle, not a stronger adhesive. That can feel like giving up design space, but a smaller label that stays flat looks more premium than a larger label with tired edges.
Material choices: do not pay for strength you cannot use
| Choice | Best fit | Tradeoff |
|---|---|---|
| Conformable PE-type film | Soft bottles and repeated squeezing | Material, print and finishing options must be confirmed by supplier. |
| BOPP film | Moderately flexible bottles, moisture and strong print color | Can be less forgiving on very soft, highly deformable walls. |
| Paper | Rigid or semi-rigid bottles with a dry, low-flex panel | More likely to crease, absorb moisture or show wear. |
Paper still has a fair win. It can deliver a natural or premium tactile look on a sturdy bottle whose label panel barely moves. The mistake is not choosing paper. The mistake is assuming every bottle sold as "squeezable" flexes the same way.
Placement matters as much as adhesive
Before finalizing the dieline, squeeze the filled bottle with the grip a customer will actually use. Watch where the wall folds. Keep label edges away from that zone when possible, and avoid crossing molded seams, texture, ribs or a sudden diameter change.
- Use rounded corners to reduce vulnerable points.
- Keep the label within the flattest, most stable panel.
- Reduce height on a tapered shoulder or lower curve.
- Leave enough gap on a wraparound label so the ends do not fight each other.
- Confirm whether the bottle is labeled empty or filled; wall stability can differ.
Our view
More adhesive is not the same as a better label
When a bottle flexes sharply, a very aggressive adhesive can keep the edge down while the face material buckles in the middle. The package has not been fixed; the failure has only moved.
We prefer to solve geometry first, material second and adhesive third. That order is less dramatic, but it produces cleaner bottles.
Run a test that represents real use
- Apply labels to the actual production bottle with the real application method.
- Allow normal adhesive dwell time before judging the bond.
- Fill the bottle and expose it to intended storage conditions.
- Squeeze repeatedly from the natural grip position.
- Wipe with water or product residue if that can happen in use.
- Inspect edges, wrinkles, print and finish after 24 to 72 hours.
If the bottle is also tapered, use the tapered bottle label guide. For oily sauce environments, review material and finish choices for sauce labels.
Frequently asked questions
What label material works on squeeze bottles?
A conformable film is often the practical starting point because it can follow bottle movement better than a rigid face material. The exact film and adhesive should still be tested on the real bottle.
Why do labels crease when a bottle is squeezed?
The container wall changes shape while the label resists that movement. A label that is too large, too rigid or placed across a high-flex area can buckle or crease.
Can paper labels be used on squeeze bottles?
They can work on relatively rigid bottles or small low-flex label panels in dry use. Paper is less forgiving when the bottle repeatedly bends, gets wet or is handled with oily hands.
How do I test a squeeze bottle label?
Apply the label under production-like conditions, allow the adhesive to build, then squeeze, refrigerate, wipe and handle the filled package repeatedly. Check edges and creases after the test.
Related label guides
- Hot-Fill Bottle Labels: Heat, Timing and Adhesive Guide
- Clear Labels on Dark Bottles: When White Ink Matters
- Kraft Paper Labels for Food Packaging: Best Uses and Limits
Test the specification before bulk production
Send the package photos, finished label size, quantity by artwork, storage conditions and application method. We will review the practical fit before preparing a quote and digital proof.