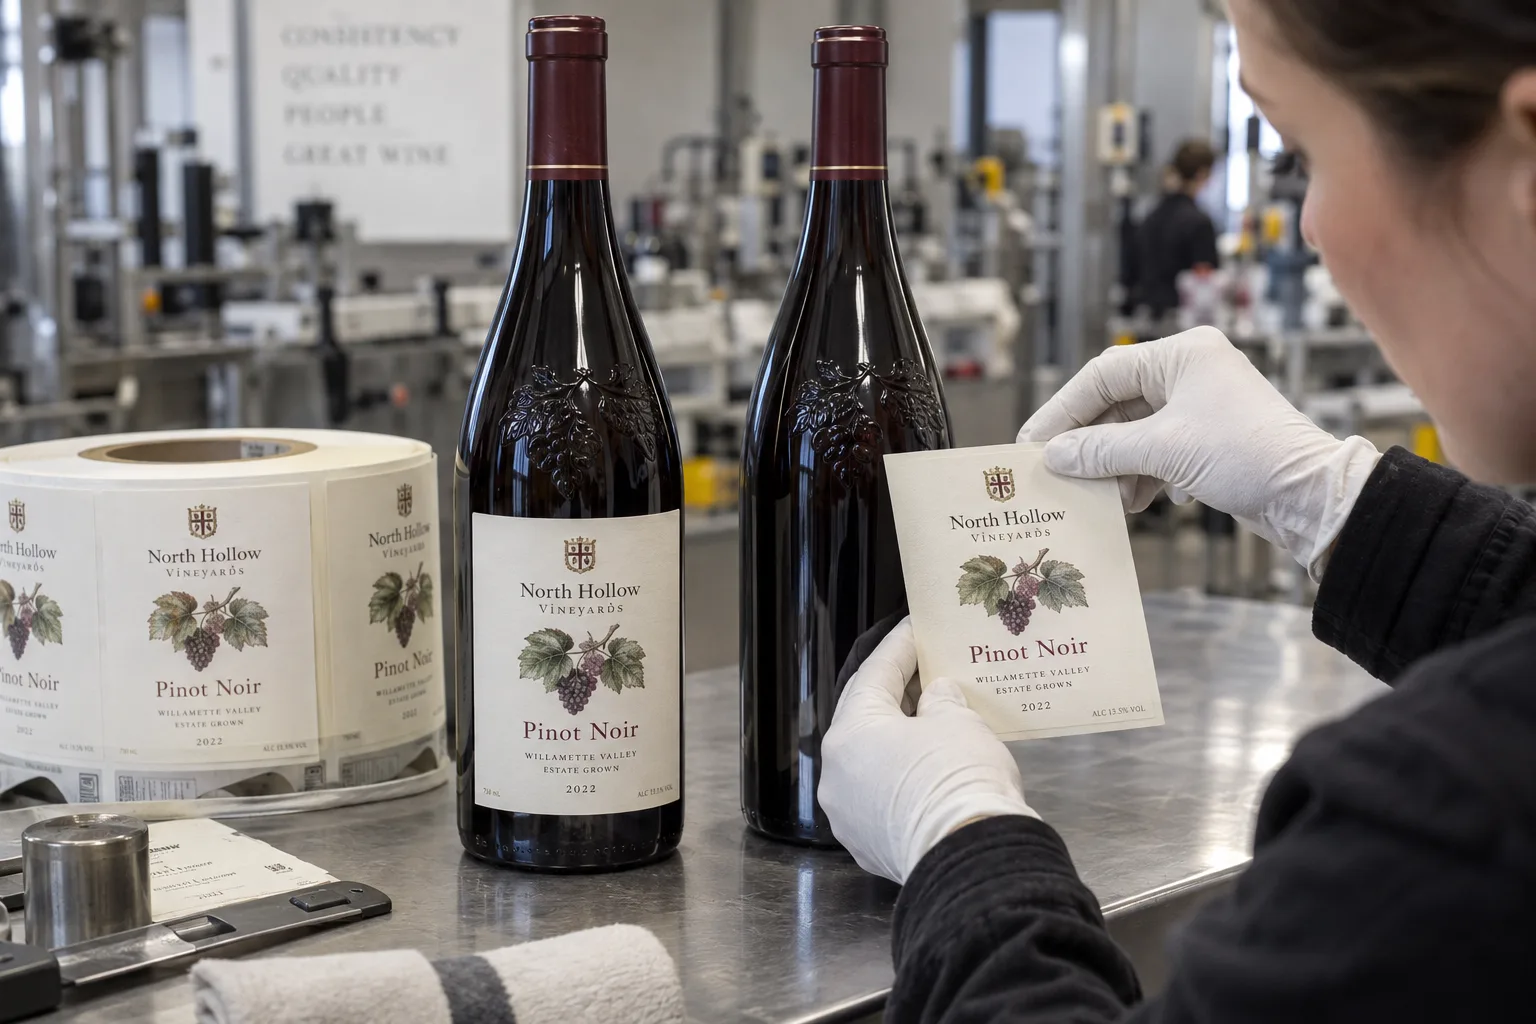
The bottle design spends part of your label area
I understand the appeal of embossed glass. A crest or raised grape motif makes the bottle recognizable before a customer reads a word. The cost is a smaller predictable area where a pressure-sensitive label can make full contact. If I quote the label from artwork dimensions alone, we might print a beautiful roll that fights the bottle.
Avery Dennison's wine handbook discusses glass variation, application pressure and bubbling around embossed and seam areas. That is a reason to trial the complete bottle-and-label construction, not a universal adhesive prescription.
Two wineries, two reasonable outcomes
Imagine a composite small winery changing to a new embossed bottle for a seasonal release. Its existing front label reaches close to the raised shoulder. A slightly shorter label may protect the presentation at very little extra design cost. Moving a line of optional story copy to the back is less painful than relabeling filled bottles.
Imagine a second bottling partner whose approved artwork already fits a generous smooth panel, but a few bottles show bubbles after application. I would not shrink that label on instinct. I would compare bottle lots, the glass seam, applied pressure and the condition of the bottles at the line. The package itself can vary even when the nominal bottle specification does not.
Measure what the applicator actually sees
Mark the smooth vertical area on several physical bottles, including its narrowest usable width and height. Keep clear of raised decoration, seams and the changing shoulder. Place a paper size sample on each, then inspect the edges while rotating the bottle. A digital mockup is useful for layout, but it cannot reveal an intermittent raised point under the label.
| Observation | First comparison | Likely decision |
|---|---|---|
| Edge reaches raised glass | Shorter or reshaped paper fit | Change size or placement |
| Bubble tracks the bottle seam | Label position across multiple bottles | Move the panel or control orientation |
| Only one bottle lot fails | Lot-to-lot surface variation | Review glass and application together |
| All lots fail after chilling | Dry and chilled retained samples | Trial a suitable full construction |
Approve the printed construction, not only the shape
Textured paper, foil and embossing on the label itself can change its flexibility. The most expensive finish is not automatically the best choice on an uneven bottle. Ask for production-like printed samples with the intended face, finish and adhesive, then run them on the actual glass under the expected bottling conditions. Record application appearance and later appearance after handling and storage.
If the bottler uses an applicator, agree roll direction, gap, core and line speed with its operator. Keep good and failed bottles plus an unused roll strip. Those are more useful than a single close-up of a bubble.
Our buying view
Let the embossed bottle win without making the label lose
I would rather quote a smaller front panel that stays flat than upsell a stronger adhesive to rescue an oversized one. If the brand genuinely needs that larger face, we can compare constructions and line trials. The order should be geometry first, material second, adhesive only with the real bottle in hand.
Put this in the next label brief
- Physical bottles from the intended glass lot, with the front-panel area marked.
- Label size, artwork revision and any textured or foil finish.
- Bottling temperature, bottle dryness and application method.
- Expected chilling, ice-bucket use and handling conditions.
- A named person to approve both appearance and line performance.
For wet presentation, compare our wine-label materials for ice buckets. If the raised glass is on the neck, use the neck-label fit guide.
Frequently asked questions
Can a wine label cross raised glass embossing?
It may bridge the raised detail and lose uniform contact. A fit trial on the actual bottle is safer than assuming a flat drawing will work.
Should we use a stronger adhesive?
Not as the first move. Review panel size, bottle variation, label stiffness and application pressure before comparing adhesive constructions.
What sample should a winery send?
Send filled-condition bottles from the intended bottle lot, a marked label area, artwork dimensions and bottling-line details.
Related buyer guides
Review your label specification
Send package photos, label dimensions, material details, quantity and application conditions. Include good and failed samples where possible so the discussion starts with evidence.